
- First Open your Visual Studio Code
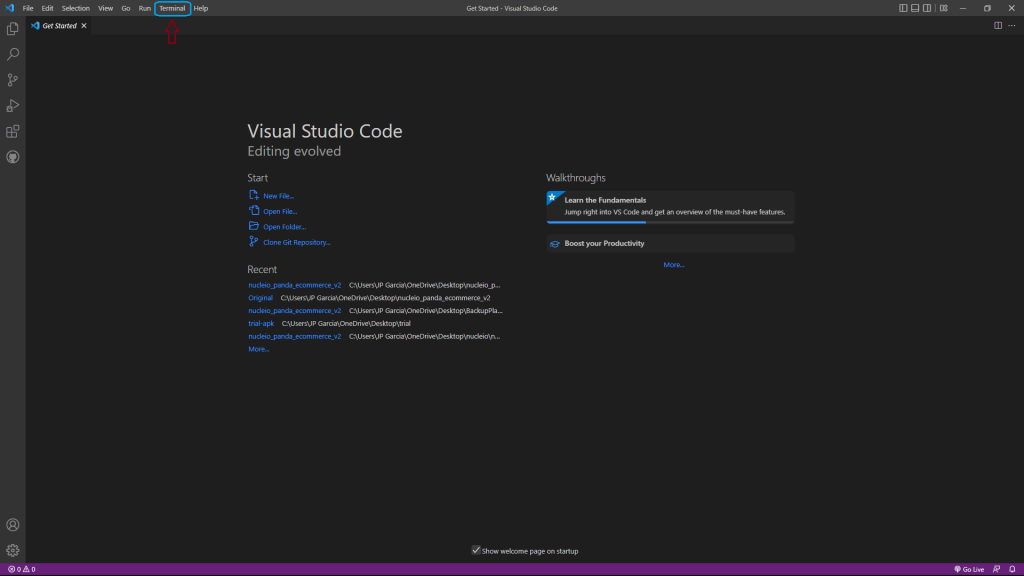
- Once Opened Go to the Upper Tab, Search for the Terminal, and Run the Terminal
- You can also Right Click the Project Manager and Find the “Open in Integrated Terminal” And then a Terminal would pop-out
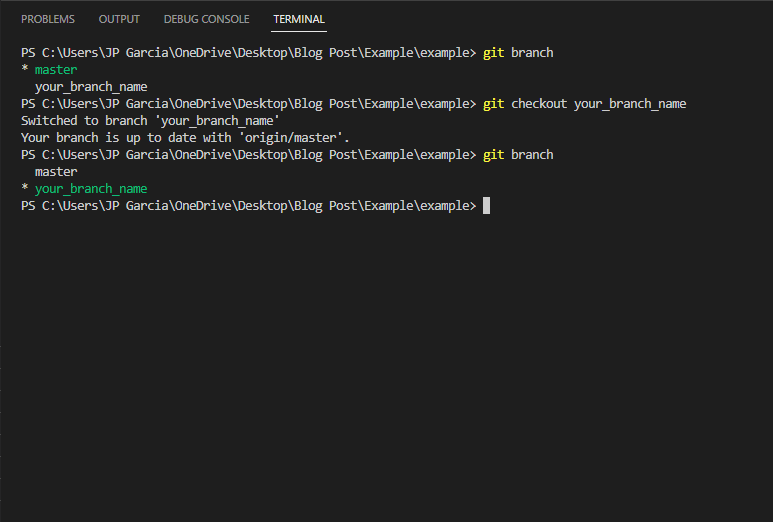
- To check your Branch Repositories type “git branch” to show you the lists
- And if you want to move your branch from ‘master’ to ‘your_branch_name’ type “git checkout your_branch_name”
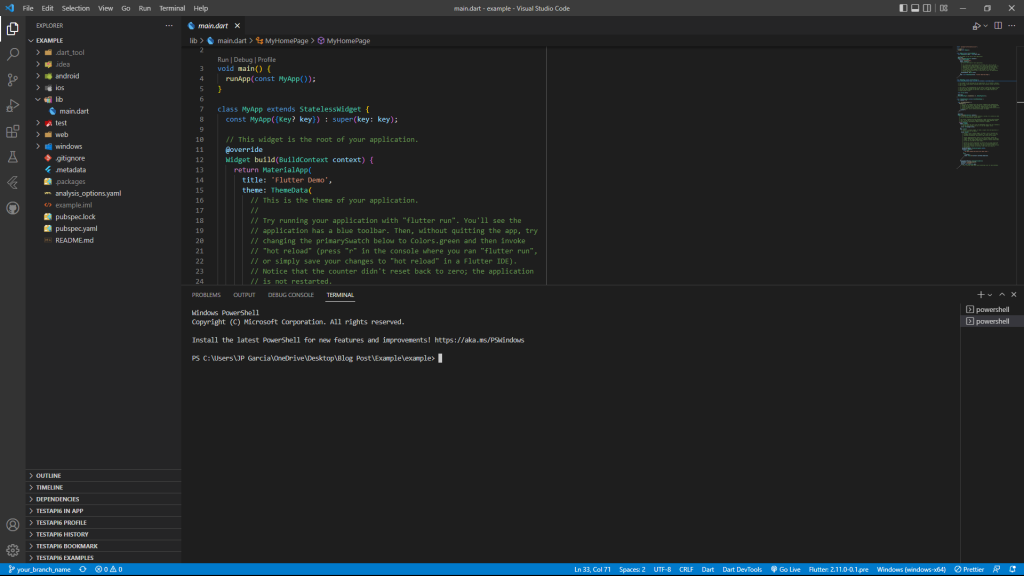
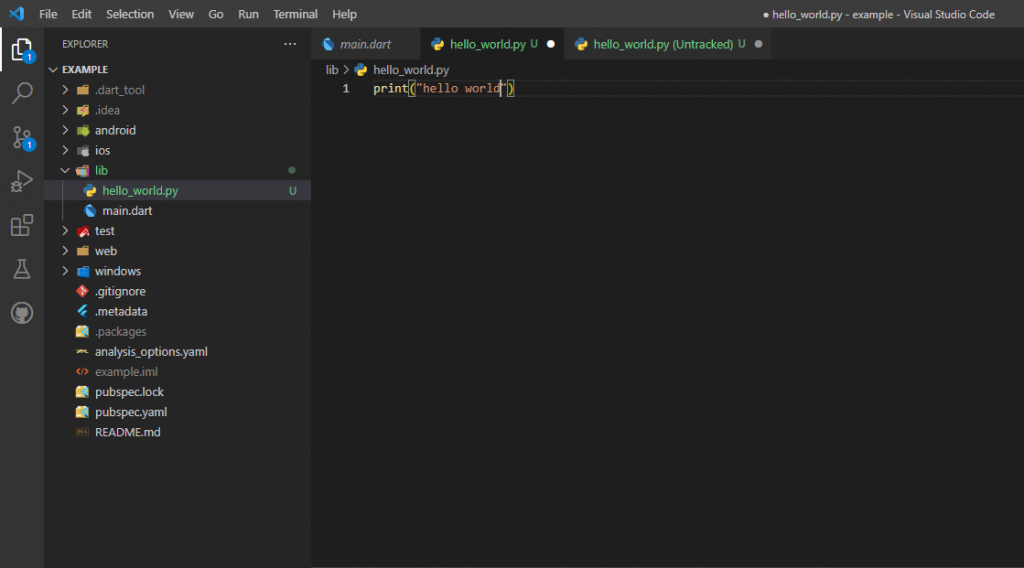
- Here we will have an experiment of adding another file to our workspace
- A simple code would be enough
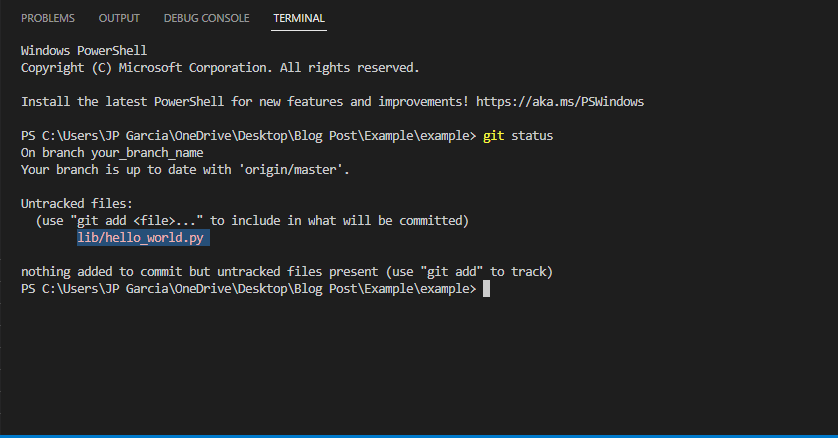
- With the help of VS code, we can immediately see the added file in our terminal and check if there are any changes.
- Untracked files are files created within your repo’s working directory but have not yet been added to the repository.
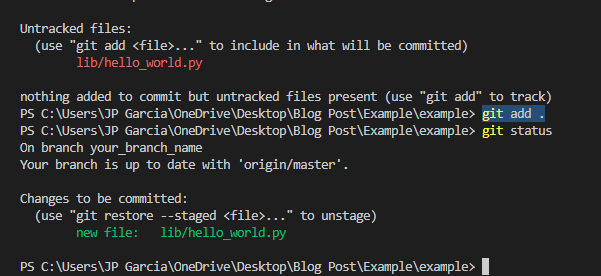
- to add those files to your local repository type “git add (“yourfilename”)” in order to select only the files needed
- or you could just use “git add .” to add all those files
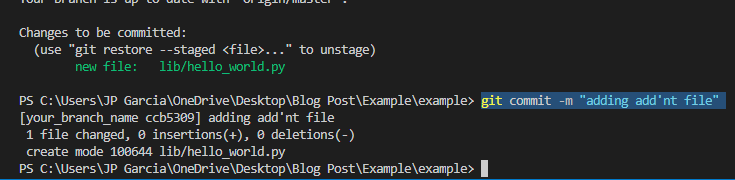
- and then after adding those files don’t forget to commit and add a comment ‘-m’ as this will help you check what has been modified or added
- then lastly “git push origin head” as this will push your local main branch to the branch of the same name on the remote
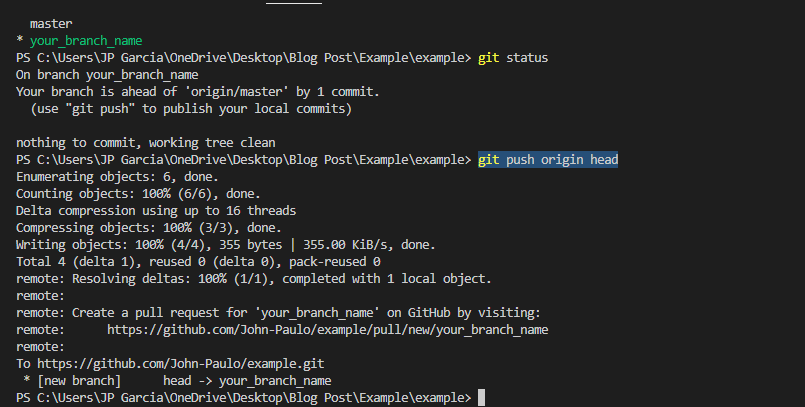
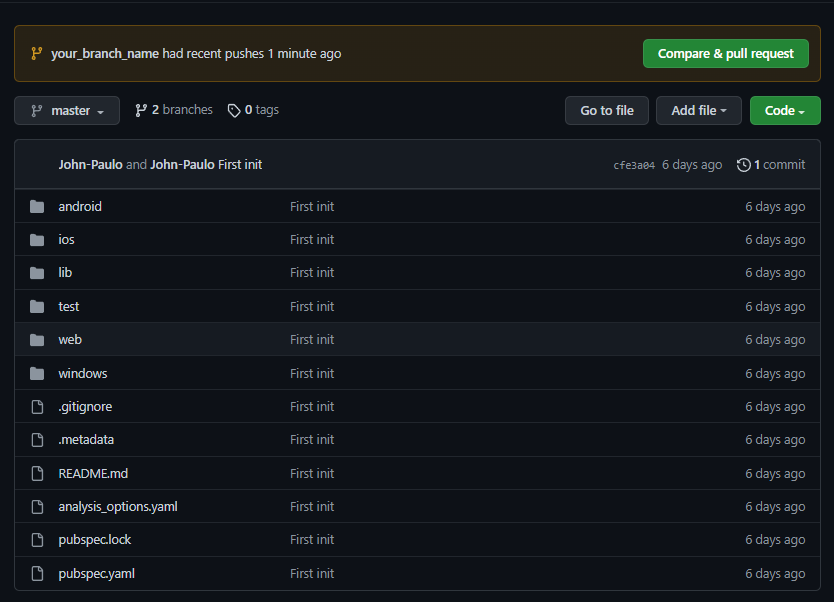
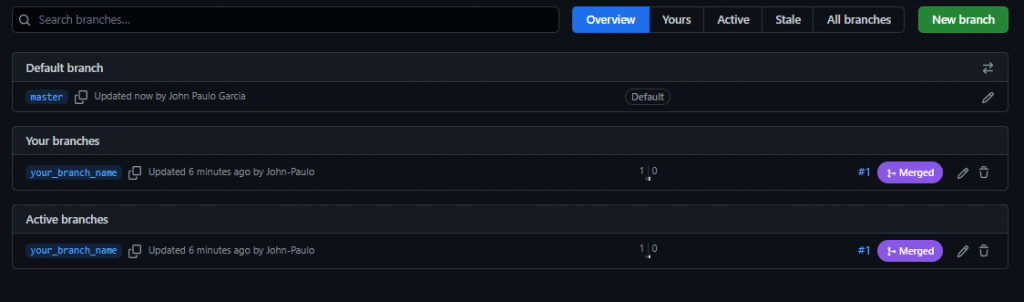
- then to check your added files go to your GitHub and 2 branches have been added
- then lastly merge the two branches and you’re done
- You’ve successfully added and modified your files to your main
This is the Continuation of Creating a New Branch in Github Using Visual Studio Code
References:
https://www.atlassian.com/git/tutorials/undoing-changes/git-clean#:~:text=Untracked%20files%20are%20files%20that,using%20the%20git%20add%20command.
https://www.kapwing.com/blog/how-to-rename-your-master-branch-to-main-in-git/
https://www.kahandatasolutions.com/