
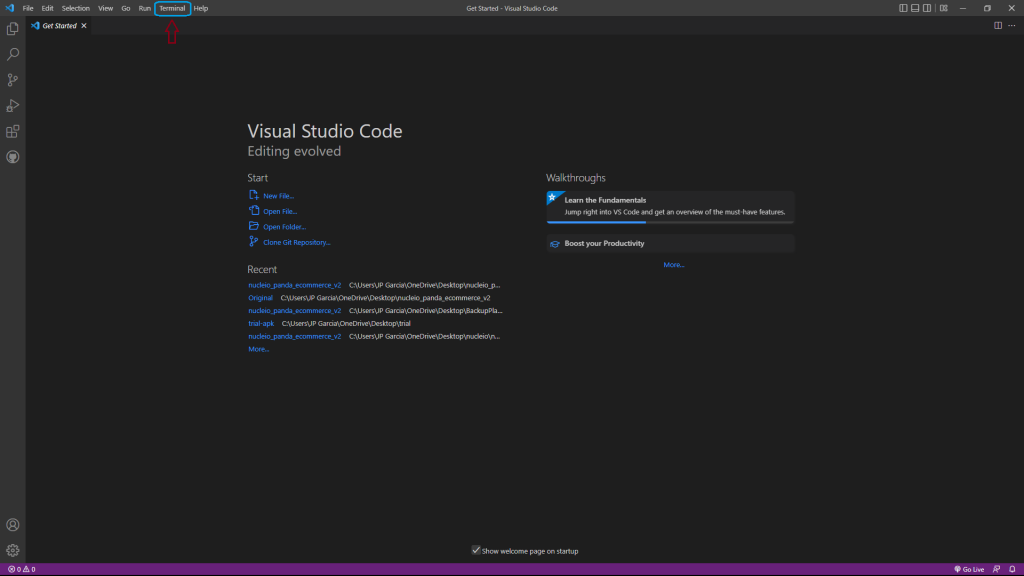
- First Open your Visual Studio Code

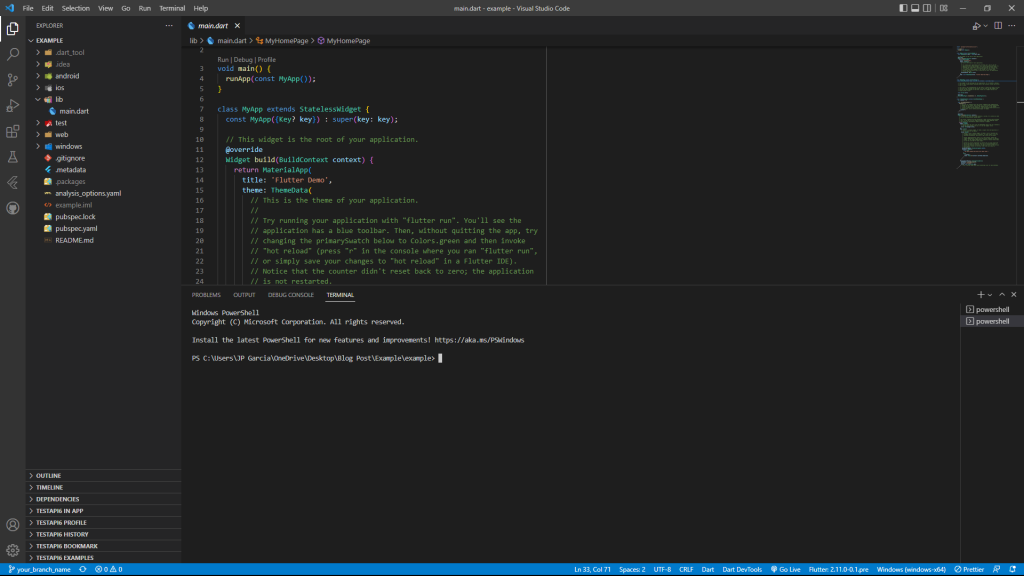
- Once Opened Go to the Upper Tab, Search for the Terminal, and Run the Terminal
- You can also Right Click the Project Manager and Find the “Open in Integrated Terminal” And then a Terminal would pop-out
Output
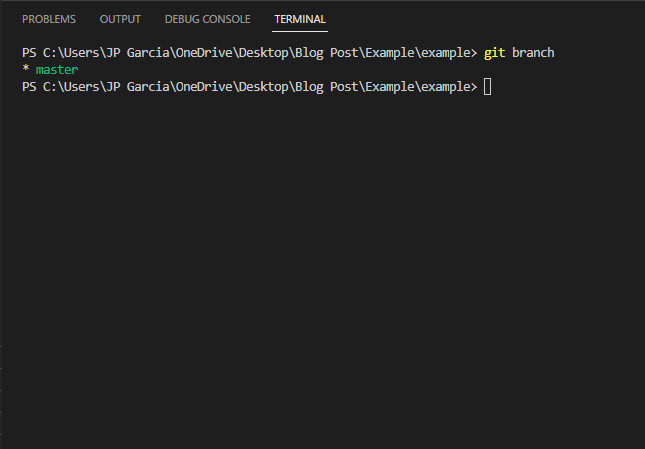
Creating a New Branch
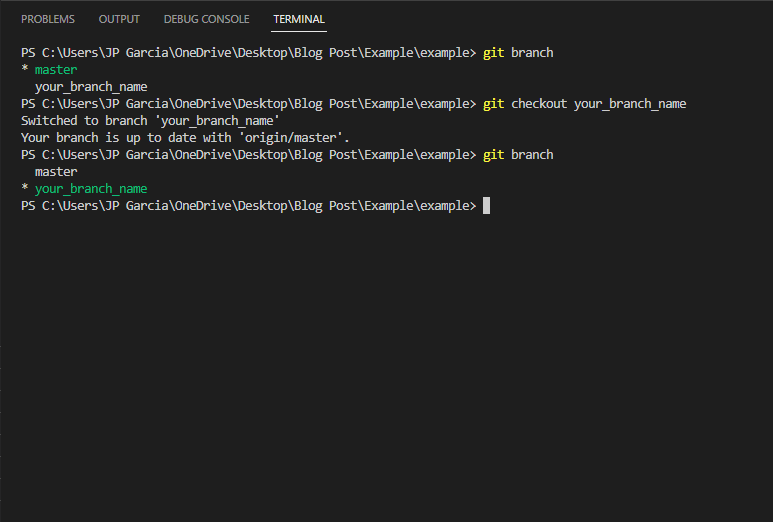
- First type “git branch”
- This would allow you to check any open branches
- So in order to create a New branch that can work on the side but not actually impact the main files or folders themselves
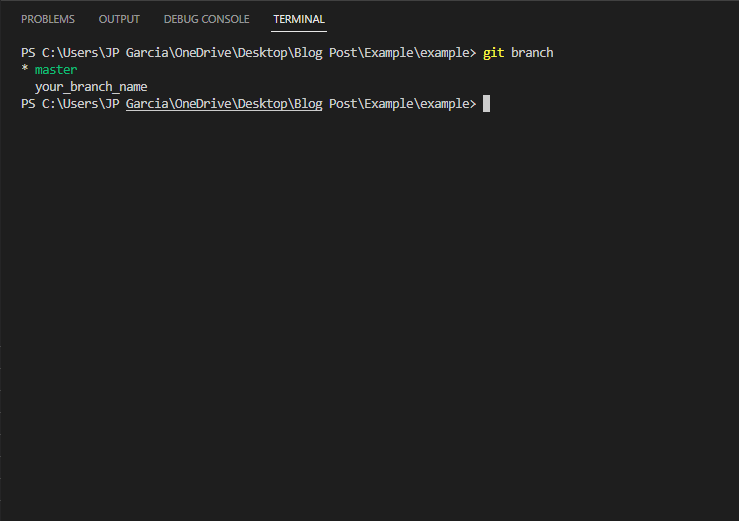
- Type in “git branch -c” for create and then name your file just as shown below

- And then to check your branches if they have been added
- Type “git branch”
- And if you want to move your branch from ‘master’ to ‘your_branch_name’ type “git checkout your_branch_name”
- git checkout- The git checkout command lets you navigate between the branches created by the git branch.
So With the Knowledge of Git branches, these are effectively a pointer to a snapshot of your changes. When you want to add a new feature or fix a bug—no matter how big or how small—you spawn a new branch to encapsulate your changes.