
Introduction
Github has become the platform where most open-source code is shared as the world is pushing more and more towards open-source projects and code. When sharing your code with the world, a problem that might occur is that they may not particularly understand how to use it or even understand it. So that is where the readme file helps. The readme file is used to explain what is uploaded and how we can install or use it. It even allows the uploader to add images and videos to help the reader navigate through the project.
Adding Screenshots to your Project Documentation
Step 1: Take Screenshots of your Project

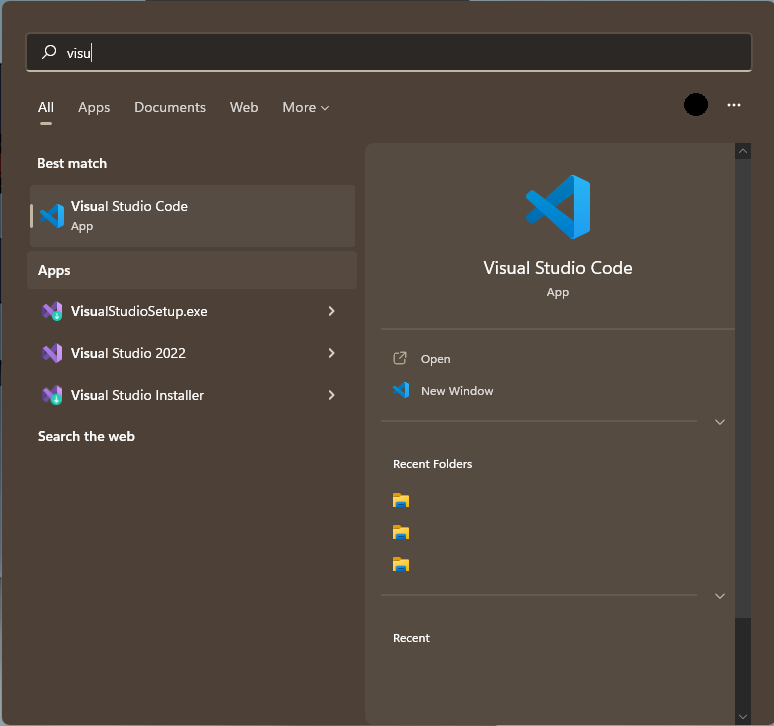
Step 2: Move your Screenshot Files to your Programming Language (Visual Studio Code)
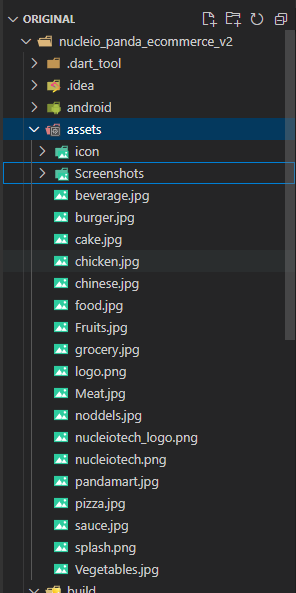
Step 3: Drag Your Screenshots To The Assets File After Moving Them Inside The Root Folder
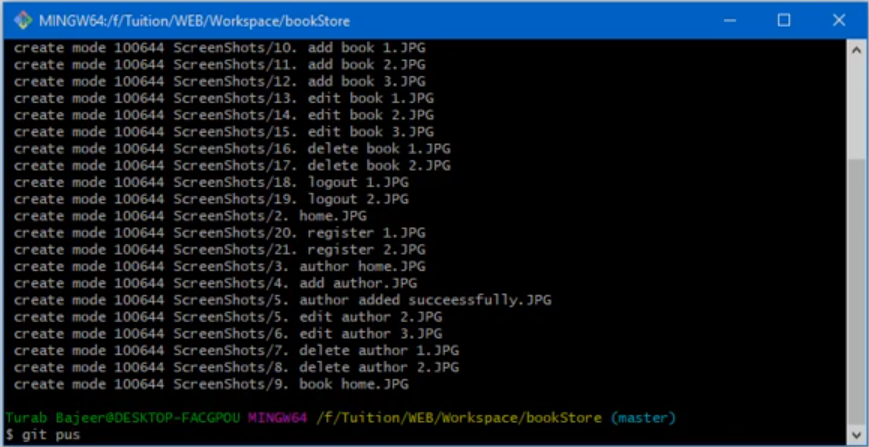
Step 4: push and commit to your GitHub Account
Step 5: Go to your GitHub Account and Open your Screenshot files
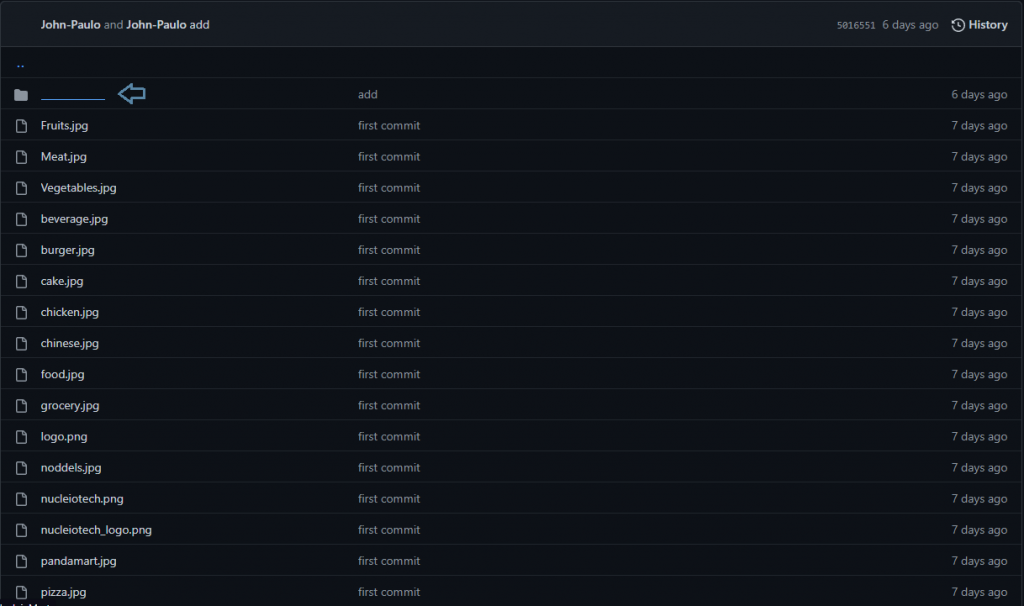
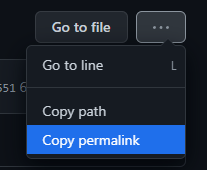
Step 6: Redirect your File
Step 7: Go to the readme.md file and enter this line of code

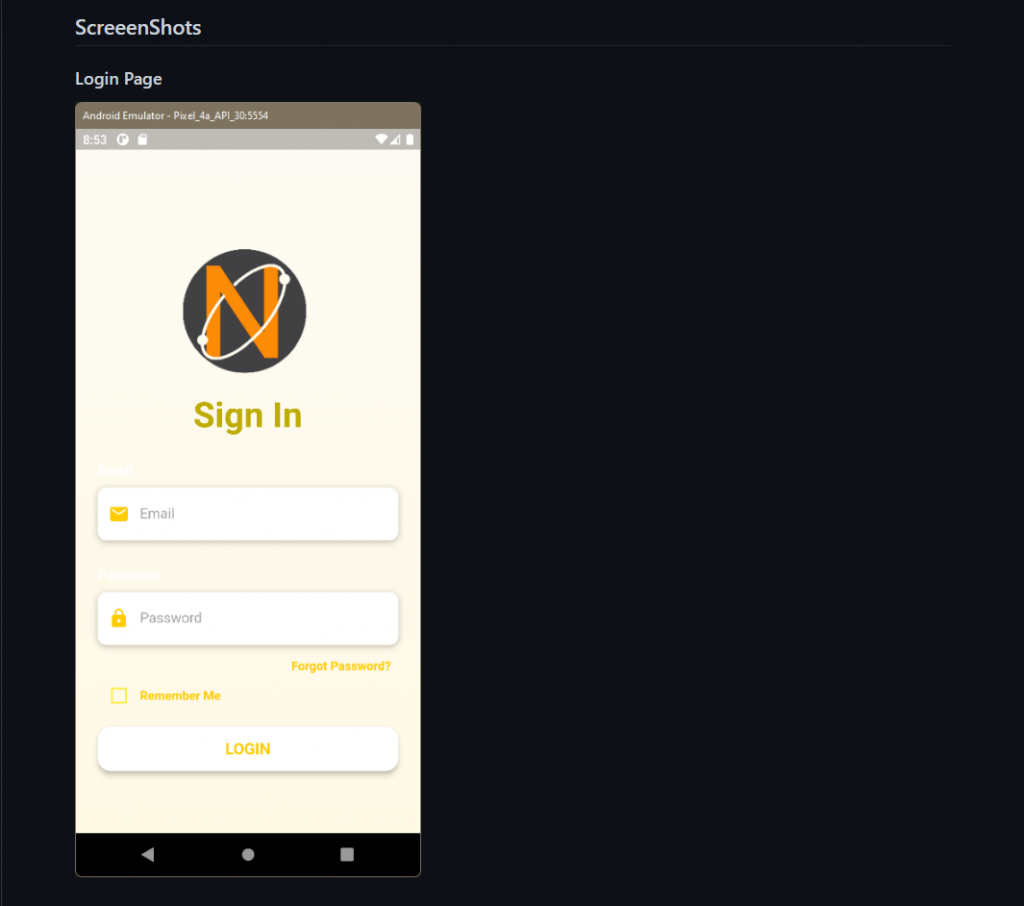
Check your Readme.md File
Conclusion
A README file is an essential guide that gives other developers a detailed description of your GitHub project. as it also helps your project to stand out from other projects, and create a pretty brief but detailed one. It is said A well-maintained description allows you to show off your work to other developers as well as potential employers. Therefore in creating Documentation make it your own and show them features that you accomplished.
References:
https://www.mygreatlearning.com/blog/readme-file/
https://www.seancdavis.com/posts/three-ways-to-add-image-to-github-readme/