
What if I told you there’s a way to communicate with the server without server polling? That’s where WebSockets come in handy. That is why today we are going to learn how to use WebSockets in Flutter. In this blog we’re going to create an app that connects, listens, sends, and closes WebSocket connections. Let’s get started!
WebSockets Prerequisites
Additionally, we will be using the following classes to use WebSockets in Flutter.
WebSocketChannel– provides aStreamof messages from the server.Stream– a fundamental part of thedart:asyncpackage. It provides a way to listen to async events from a data source. UnlikeFuture, which returns a single async response, theStreamclass can deliver many events over time.StreamBuilder– A widget that connects to a Stream and asks Flutter to rebuild every time it receives an event using the givenbuilder()function.
Connecting to WebSockets In Flutter
The web socket channel package contains the tools required to connect to a WebSocket server; you must include it in your app dependencies to utilize it. The package allows you to both listen for server notifications and push messages to the server. To build a WebSocketsChannel that connects to a server in Flutter, use the following line:
final channel = WebSocketChannel.connect(
  Uri.parse('wss://echo.websocket.events'),
);
Listening To WebSockets In Flutter
After connecting to the test server, you can begin sending and receiving messages from it. To listen for new messages, use a StreamBuilder widget, and then use a Text widget to display them in your web browser or mobile app.
StreamBuilder(
  stream: channel.stream,
  builder: (context, snapshot) {
    return Text(snapshot.hasData ? '${snapshot.data}' : '');
  },
)
Send Data Using WebSocket
To send data to the server, add() messages to the WebSocketChannel‘s sink.
channel.sink.add('Hello!');Closing Connection Of WebSocket
Close the connection once you’ve finished using the WebSocket:
channel.sink.close();Source Code
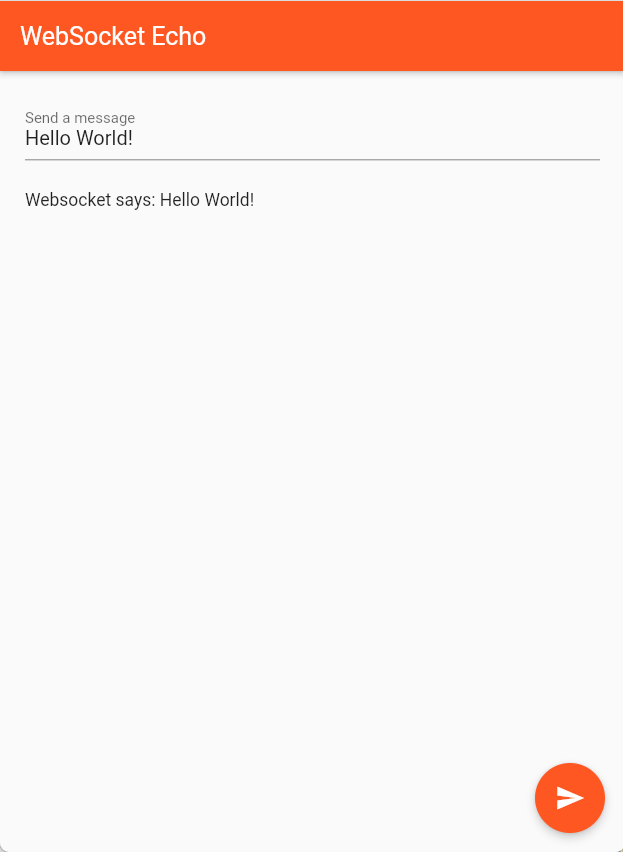
Here’s the code of the whole project, applying all the operations you can do with WebSockets.
import 'package:flutter/material.dart';
import 'package:web_socket_channel/web_socket_channel.dart';

void main() => runApp(const MyApp());

class MyApp extends StatelessWidget {
  const MyApp({super.key});

  @override
  Widget build(BuildContext context) {
    const title = 'WebSocket Echo';
    return  MaterialApp(
      debugShowCheckedModeBanner: false,
      theme: ThemeData(primarySwatch: Colors.deepOrange),
      darkTheme: ThemeData(
          brightness: Brightness.dark, primarySwatch: Colors.deepOrange),
      title: title,
      home: const MyHomePage(
        title: title,
      ),
    );
  }
}

class MyHomePage extends StatefulWidget {
  const MyHomePage({
    super.key,
    required this.title,
  });

  final String title;

  @override
  State<MyHomePage> createState() => _MyHomePageState();
}

class _MyHomePageState extends State<MyHomePage> {
  final TextEditingController _controller = TextEditingController();
  final _channel = WebSocketChannel.connect(
    Uri.parse('wss://echo.websocket.events'),
  );

  @override
  Widget build(BuildContext context) {
    return Scaffold(
      appBar: AppBar(
        title: Text(widget.title),
      ),
      body: Padding(
        padding: const EdgeInsets.all(20.0),
        child: Column(
          crossAxisAlignment: CrossAxisAlignment.start,
          children: [
            Form(
              child: TextFormField(
                controller: _controller,
                decoration: const InputDecoration(labelText: 'Send a message'),
              ),
            ),
            const SizedBox(height: 24),
            StreamBuilder(
              stream: _channel.stream,
              builder: (context, snapshot) {
                return Text(snapshot.hasData ? 'Websocket says: ${snapshot.data}' : '');
              },
            )
          ],
        ),
      ),
      floatingActionButton: FloatingActionButton(
        onPressed: _sendMessage,
        tooltip: 'Send message',
        child: const Icon(Icons.send),
      ), // This trailing comma makes auto-formatting nicer for build methods.
    );
  }

  void _sendMessage() {
    if (_controller.text.isNotEmpty) {
      _channel.sink.add(_controller.text);
    }
  }

  @override
  void dispose() {
    _channel.sink.close();
    _controller.dispose();
    super.dispose();
  }
}
Conclusion
In conclusion, the web socket channel package contains the tools required to connect to a web socket server. We build an app using the WebSocketsChannel package that connects to a server in Flutter. After we set it up, we can connect to the test server, which we can begin sending and receiving messages from. If you find this blog outdated, you may check out the official documentation. Thank you for reading. Please share it with your family and friends. Farewell