
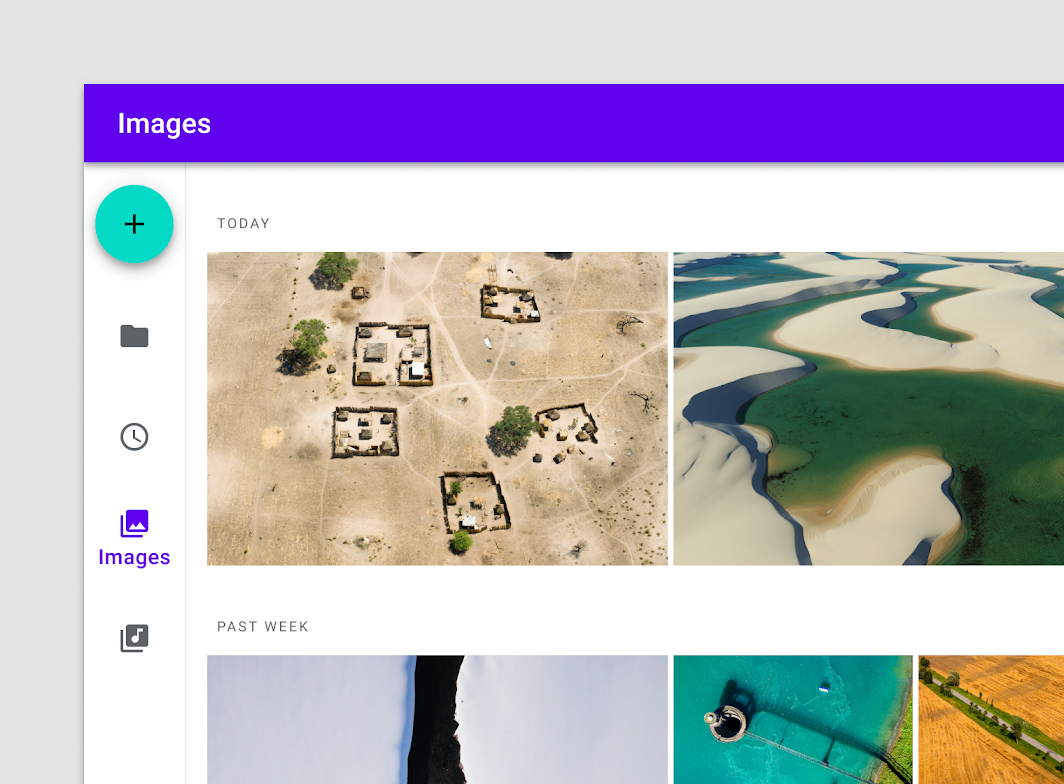
You’ve probably heard of navigation bars and drawer menus, but this one is really similar. It’s known as a navigation rail. Navigation rails provides more comfortable moving between major app destinations. The rail is a side navigation component that displays three to seven app destinations as well as a Floating Action Button if available. The text label and an icon represents different destinations. At bigger screen sizes, such as desktop and tablet, the rail can work on its own. The rail can also supplement other navigation components, such as bottom navigation, when users switch between screen sizes and devices. You can check it’s official documentation here in case you found this blog outdated. Before knowing how to use the navigation rail in Flutter, we must understand its fundamentals first. Let’s get started!
Navigation Rail Fundamentals
The navigation rail is a compact configuration that places high-priority locations on huge screens within easy reach. In an app, the rail should display on the same side of each screen. It works in tandem with adaptive and responsive navigation patterns to keep users focused on their preferred destinations.
Dos and Donts
Dos
- To navigate through menus and menus, use navigation rails for top-level destinations that need to be available wherever in an app, such as the home screen or menu bar.
- Use navigation rails when there are many different destinations within a single app.
- For tablet or desktop layouts, use navigation rails.
- Write short labels that define a destination when utilizing navigation rails.
- Make the active destination the active or high-emphasis “On” color.
- Do a top-aligned FAB in the navigation rail when using navigation rails.
- Ensure that rail destinations stay stationary while on-screen content scrolls vertically.
- When there are secondary destinations or actions that do not belong on the rail, pair it with a modal navigation drawer.
Donts
- Navigation rails should not be used on small screen sizes.
- When there is only one task, such as seeing a single email, you should not use navigation rails.
- Navigation rails should not be used on secondary navigation destinations.
- Place the navigation rail container vertically, not horizontally.
- Do not truncate or use an ellipsis to replace label content.
- To fit more characters into a destination label, do not reduce the type size.
- Use no more than two colors for destinations, and avoid using low-contrast colors in the navigation rail. This will make distinguishing between active and inactive objects more complex.
- Place the FAB above train destinations.
- On the same screen, do not utilize a navigation rail and bottom navigation.
- Use of a navigation rail and bottom navigation on the same screen is not permitted.
- Do not use the rail in conjunction with a permanent or persistent navigation drawer.
Navigation Rail Implementation Codes
You must first import the Material Components package for Flutter before you can create a navigation rail.
package:flutter/material.dartvoid main() => runApp(const MyApp());
class MyApp extends StatelessWidget {
const MyApp({Key? key}) : super(key: key);
static const String _title = 'Flutter Code Sample';
@override
Widget build(BuildContext context) {
return const MaterialApp(
title: _title,
home: MyStatefulWidget(),
);
}
}
class MyStatefulWidget extends StatefulWidget {
const MyStatefulWidget({Key? key}) : super(key: key);
@override
State<MyStatefulWidget> createState() => _MyStatefulWidgetState();
}
class _MyStatefulWidgetState extends State<MyStatefulWidget> {
int _selectedIndex = 0;
@override
Widget build(BuildContext context) {
return Scaffold(
body: Row(
children: <Widget>[
NavigationRail(
selectedIndex: _selectedIndex,
onDestinationSelected: (int index) {
setState(() {
_selectedIndex = index;
});
},
labelType: NavigationRailLabelType.selected,
destinations: const <NavigationRailDestination>[
NavigationRailDestination(
icon: Icon(Icons.favorite_border),
selectedIcon: Icon(Icons.favorite),
label: Text('First'),
),
NavigationRailDestination(
icon: Icon(Icons.bookmark_border),
selectedIcon: Icon(Icons.book),
label: Text('Second'),
),
NavigationRailDestination(
icon: Icon(Icons.star_border),
selectedIcon: Icon(Icons.star),
label: Text('Third'),
),
],
),
const VerticalDivider(thickness: 1, width: 1),
// This is the main content.
Expanded(
child: Center(
child: Text('selectedIndex: $_selectedIndex'),
),
)
],
),
);
}
}Conclusion
To conclude, we now know that the navigation rail is a compact configuration that places high-priority locations on huge screens within easy reach. It works in tandem with adaptive and responsive navigation patterns to keep users focused on their preferred destinations. In an app, the rail should be displayed on the same side of each screen. I already shared with you the code above, just like in a similar manner. If you find this useful, share it with your family and friends. Thank you for reading.