
What is Gradient
Color gradients take a starting color and position and an ending color and position. Then it performs a transition between the colors. With consideration of color theory, they can make an application more visually interesting than a plain design. A gradient creates visual interest and helps move users through a design. The eye will land on one area of color and the change between hues and light and dark areas helps shift focus across the screen. Gradients can be a highly useful and engaging design tool and add spark and intrigue to a multitude of projects.
Different types of How to Setup Gradient colors
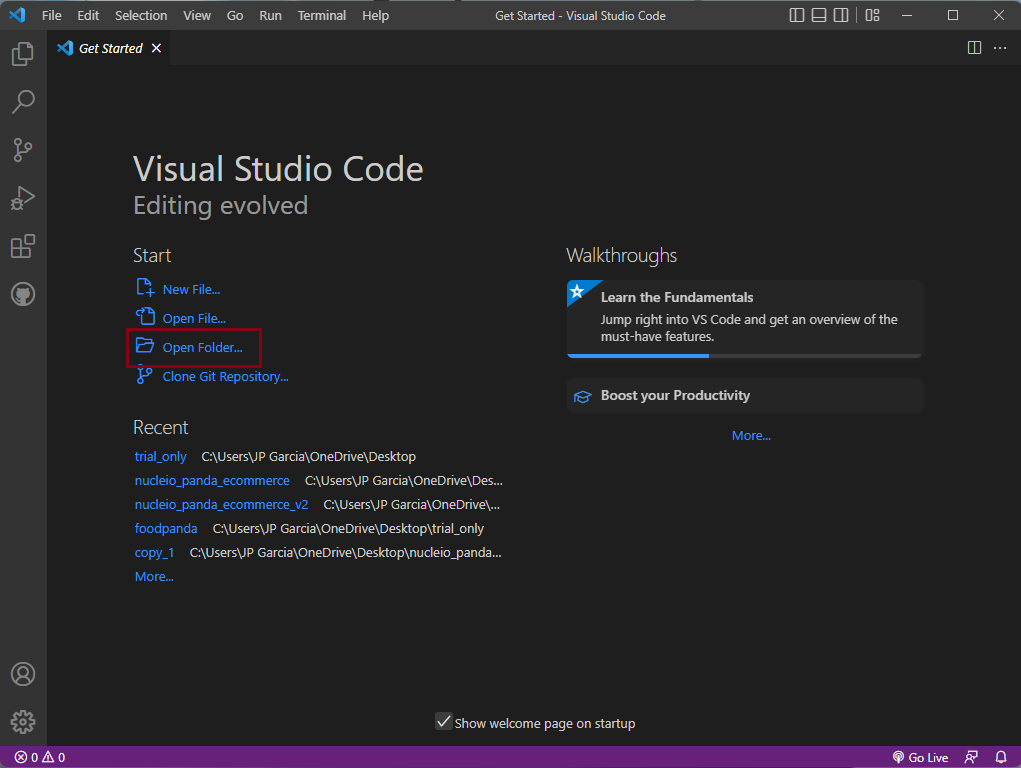
1. Open your Visual Studio Code and Open an Existing Folder
- Open the Visual Studio Code and Create or open a New File
- Go to the Lib >> main.dart
2. Using Linear Gradient
Widget build(BuildContext context) {
    return Scaffold(
      body: AnnotatedRegion<SystemUiOverlayStyle>(
        value: SystemUiOverlayStyle.light,
        child: GestureDetector(
          child: Stack(
            children: <Widget>[
              Container(
                height: double.infinity,
                width: double.infinity,
                decoration: BoxDecoration(
                    gradient: LinearGradient(
                        begin: Alignment.topRight,
                        end: Alignment.bottomLeft,
                        colors: [
                      Color(0xfffff9e5),
                      Color(0xffffea99),
                      Color(0xffffdb4c),
                      Color(0xffffcc00),
                    ],
                    )
                    ),
The key to this is the addition of a decoration and BoxDecoration to the Container widget. This allows you to define a LinearGradient which can be given colors, as well as a begin and end Alignment.
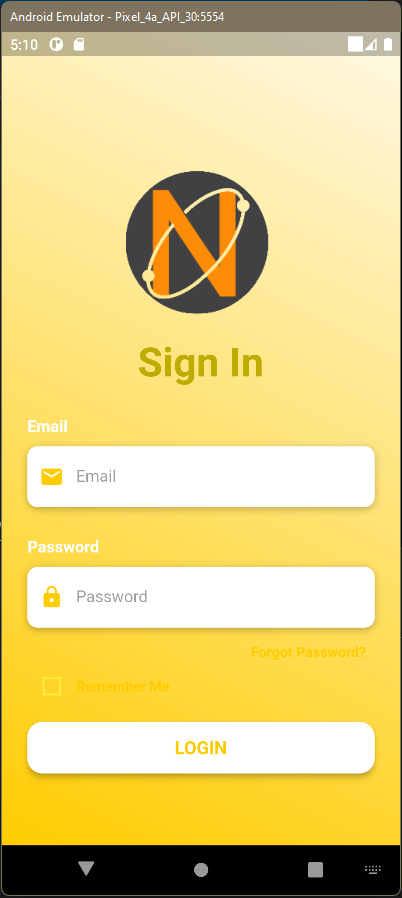
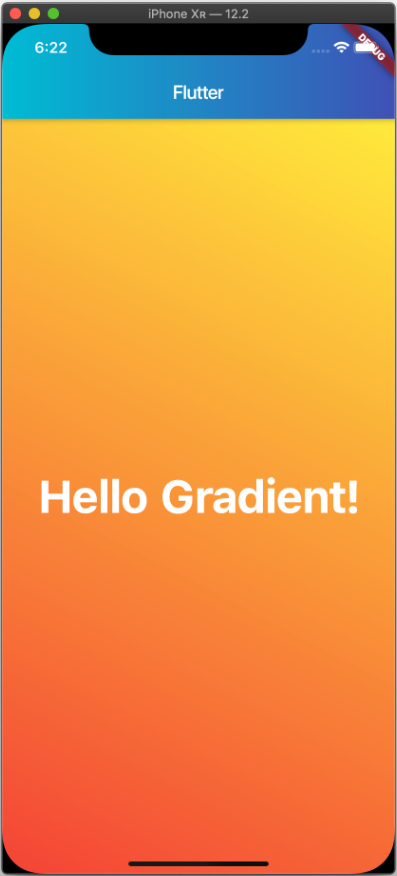
Compile your code and have it run in an emulator:
3. (Another Option) Using Stops with Linear Gradient
@override
Widget build(BuildContext context) {
return Scaffold(
body: AnnotatedRegion<SystemUiOverlayStyle>(
value: SystemUiOverlayStyle.light,
child: GestureDetector(
child: Stack(
children: <Widget>[
Container(
height: double.infinity,
width: double.infinity,
decoration: BoxDecoration(
gradient: LinearGradient(
begin: Alignment.topRight,
end: Alignment.bottomLeft,
stops: [
0.1,
0.4,
0.6,
0.9,
],
colors: [
Colors.yellow,
Colors.red,
Colors.indigo,
Colors.teal,
],
)
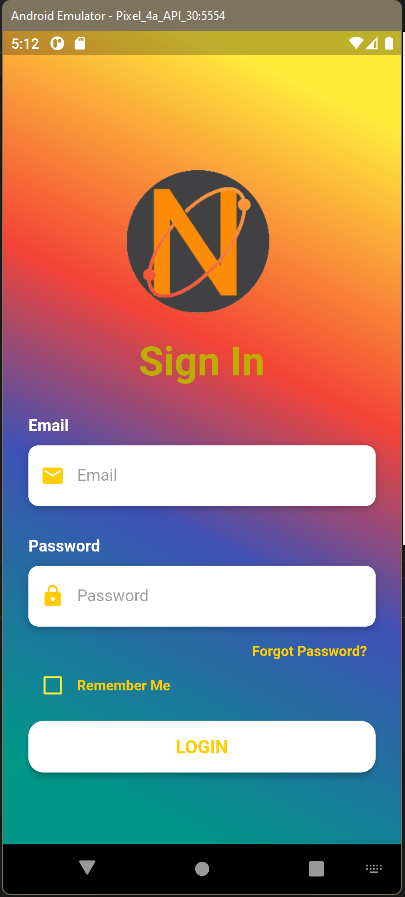
), This creates a linear gradient that starts at
0.0of the way down the screen with yellow, then at0.4of the way down the screen it transitions to red, then at0.6of the way down the screen it transitions to indigo, then at0.9of the way down the screen it transitions to teal.
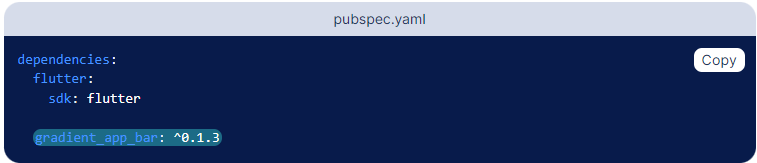
4. (Another Option) Using gradient AppBar

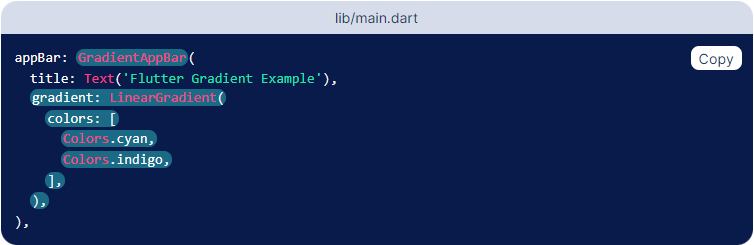
This creates a linear gradient that starts at the left of the screen with cyan and gradually transitions to indigo at the right of the screen.
Conclusion
Using Gradient colors not only creates visual interest or creates these unique and refreshing transitions but also helps us be creative and really play around with it and see its limits. although these are the basic designs you can implement in your UI or artwork take everything step-by-step and everything will be set in place as you progress.
References:
https://www.digitalocean.com/community/tutorials/flutter-flutter-gradient