
On the previous blog, we have added elements on the xml file in Android Studio. Today, we are going to learn about the constraint layout and fix the error we have on the xml layout
What is Constraint Layout?
A Constraint Layout is a ViewGroup which allows you to position and size widgets in a flexible way. In Android Studio, you can just hold and drag the circle button on the side of the element. When using a constraint layout, you should always constraint at least 2 sides of the element or you will get an error.
How To Use Constraint Layout?
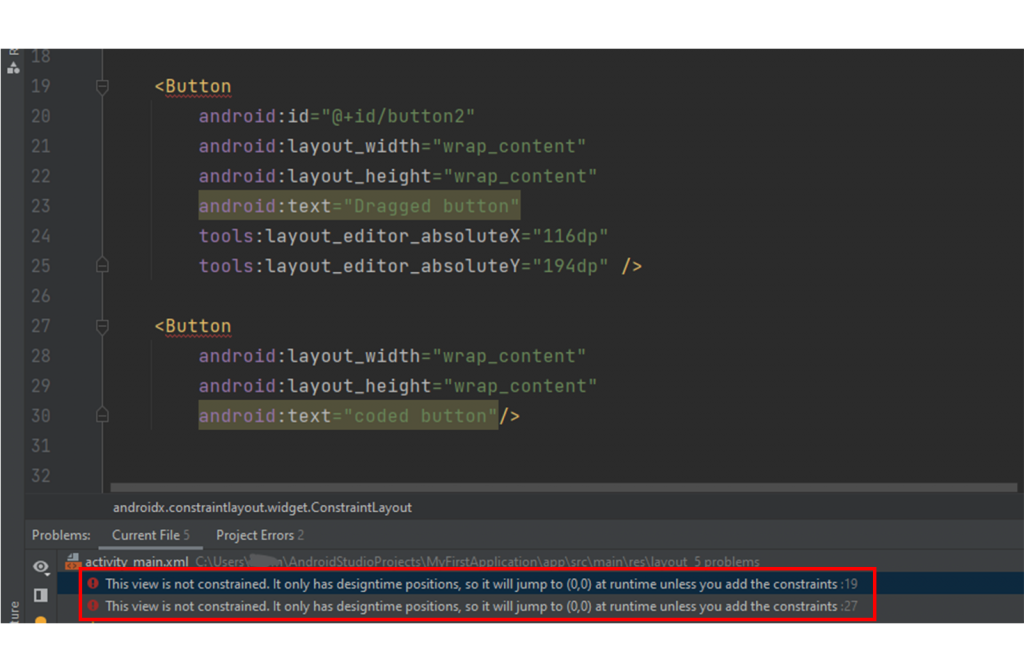
When using constraint layout, you’ll most likely encounter this error but don’t worry because you can fix it right away. This error happens when an element does not have any constraints. In the image below you can see that the two buttons have the error because there’s no constraints on them.
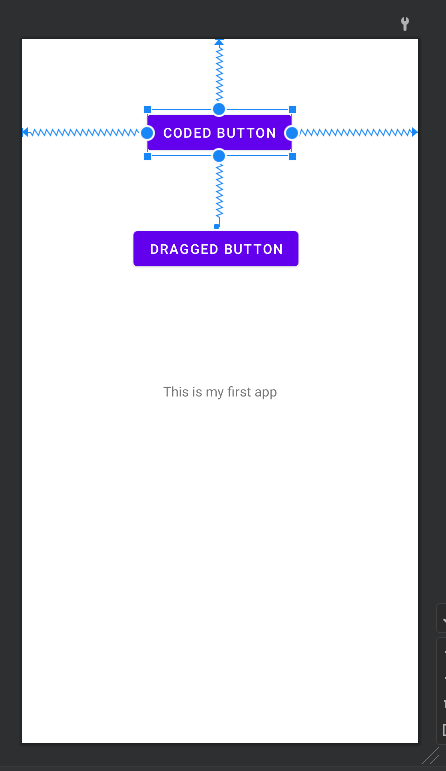
To fix it you need to add a constraint of at least two sides of the element. Just drag the circle on the side of the element and pull it on the edge of the screen layout or another element.
Note:
If the arrow doesn’t snap it means that it already have a constraint. You will need to remove it or find another element to put the constraint on.
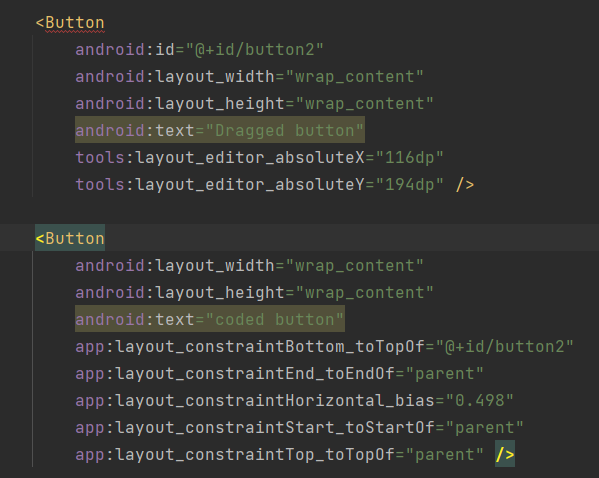
You can also do it programmatically, see the image below.
I hope this helped, thank you!