
Through Android Studio you can create apps for Android phones, tablets, Android Wear, Android TV, and Android Auto, which offers a single development environment. You may split your project into functional portions that you can separately create, test, and debug using structured code modules.
Using Android Studio consumes large disk space storage whenever you use specific android versions and APIs. While you have decided to delete and uninstall a specific emulator in order to free up disk space, but you have found that the space it used to occupy has not entirely been recovered. Meaning, there are hidden files that were excluded when the emulator was deleted. This means that deleting or uninstalling unnecessary emulators does not completely free up all the occupied disk space.
Here are the steps to delete and remove the remaining files in Android Studio:
- Open your Android Studio.
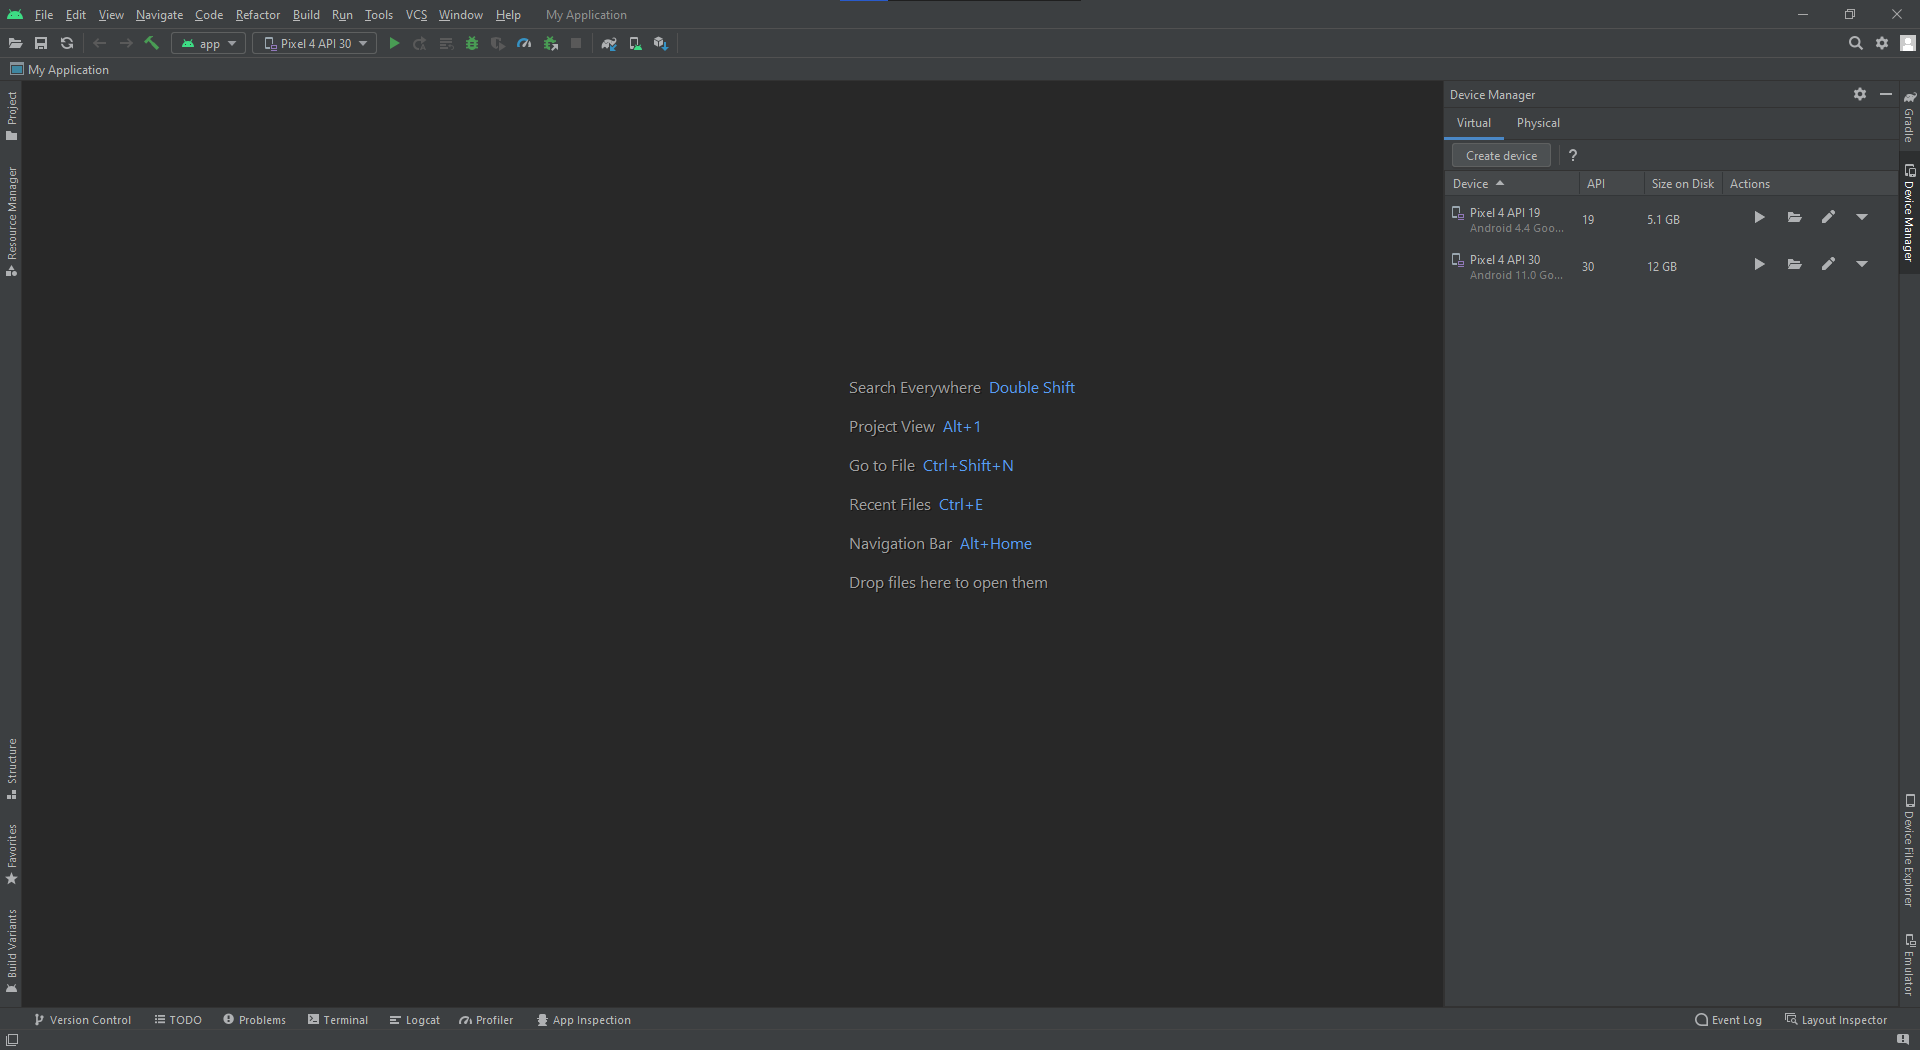
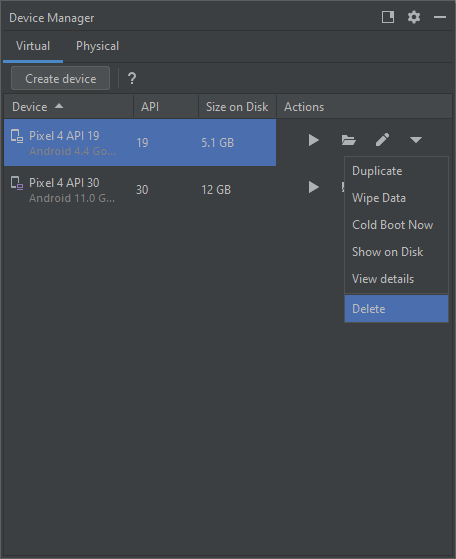
- On your Device Manage, choose and delete the emulator you want to remove.
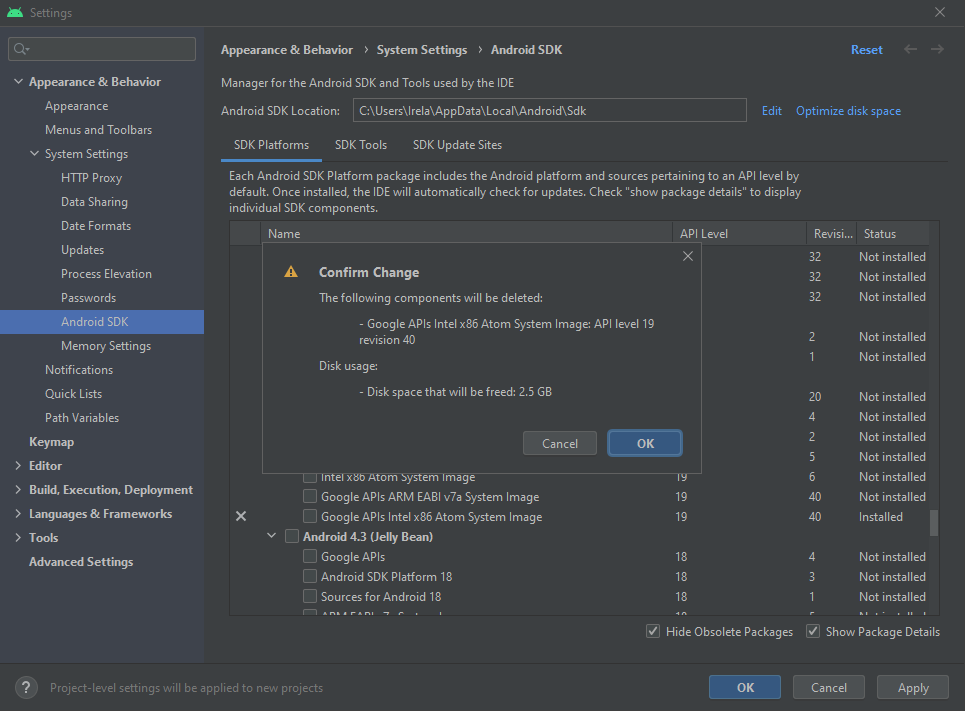
- Go to Appearance & Behavior > System Settings > Android SDK and on the bottom right corner, check the Show Package Details.

- On your SDK Platforms, scroll down un till you find the Android version and API that you’ve deleted earlier.
- Once you’ve found the version, uncheck then click Apply. A dialogue box will appear, click OK.
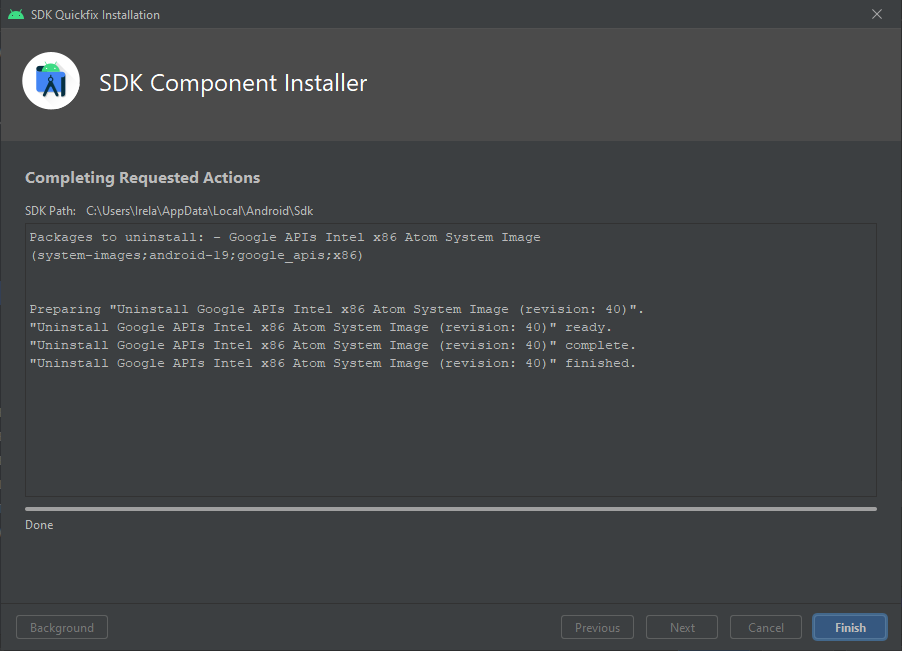
- Afterwards, click Finish and you’re done.
Sometimes, just deleting a folder or uninstalling an application leaves files that does not include in the process of deletion or uninstallation. Revisiting back the file locations for assurance can help prevent unexpected leftover files consume disk space and to help return your storage to its original state.
Reference
Android Developers. (January, 2022). Android Studio Features. Retrieved from: https://developer.android.com/studio/features#:~:text=Android%20Studio%20provides%20a%20unified,build%2C%20test%2C%20and%20debug.