
Introduction
Header is what make the site attractable sometimes. In this section, you will find the logo of the website, the menus and search bar or icon. What commonly used header nowadays is the transparent type, because of the minimalist as it looks. In this blog, I will show you how to make one.
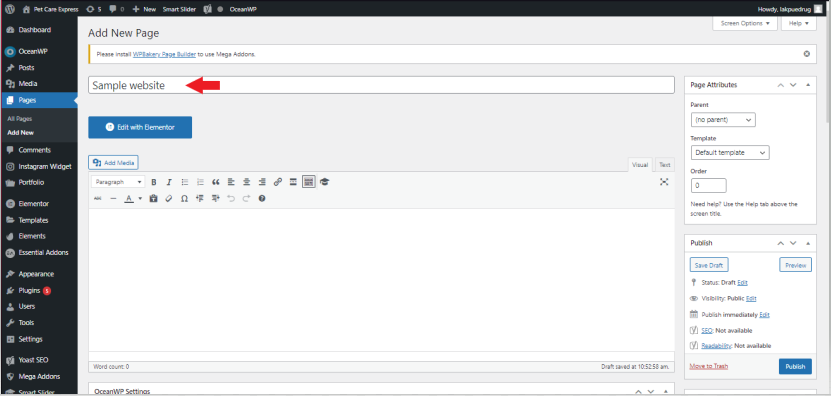
Step 1: Let us make a new website. We will name it as Sample Website.
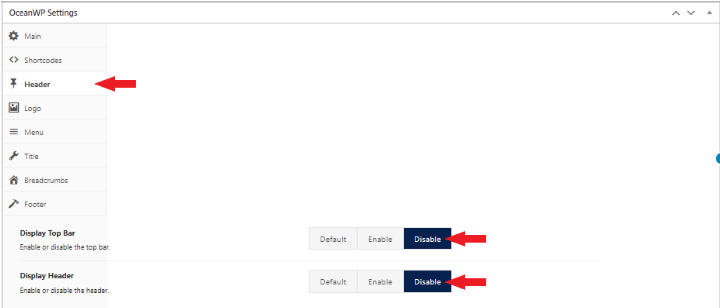
Step 2. Before we click Edit with Elementor, let us first configure the following so it will be a blank page if we open our page. On Header, Disable the Display Top Bar and Display Header.
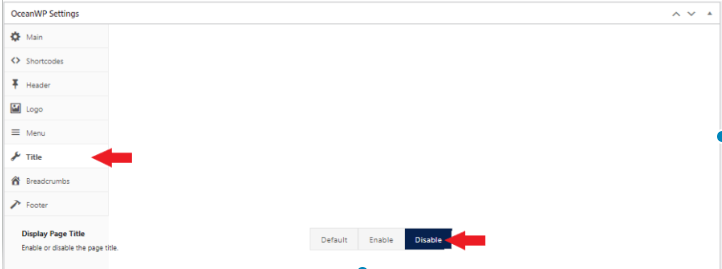
Step 3: On Title, Disable the Display Page Title.
Step 4: On Footer, Disable Footer Widgets Area and Copyright Area.

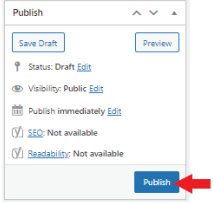
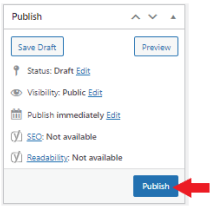
Step 4: Scroll up and you will see on right side the Publish Area, simply click the Publish.
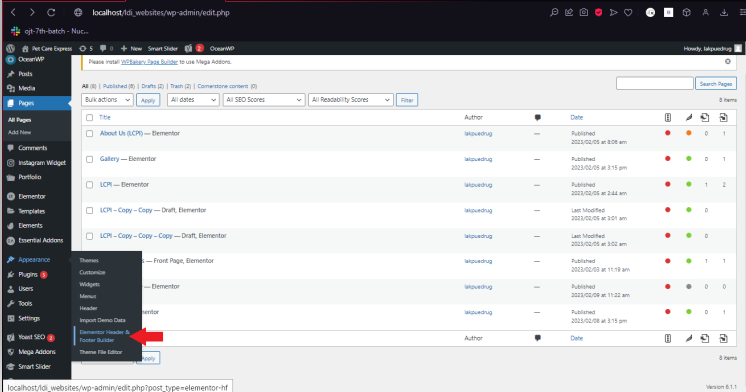
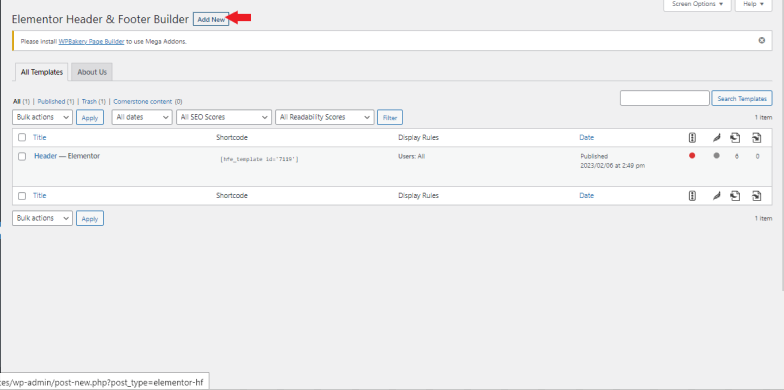
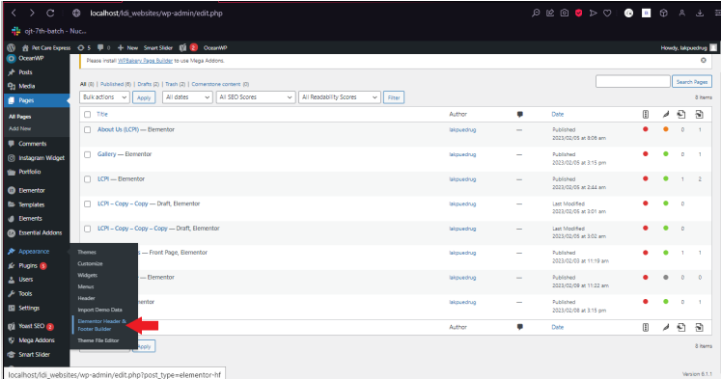
Step5: After publishing, let us make our own header first. Appearance -> Elementor Header and Footer Builder -> Add new.
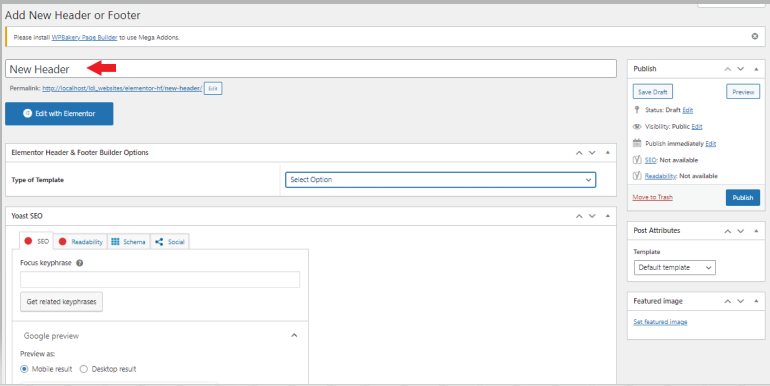
Step 6: We will name it as New Header.
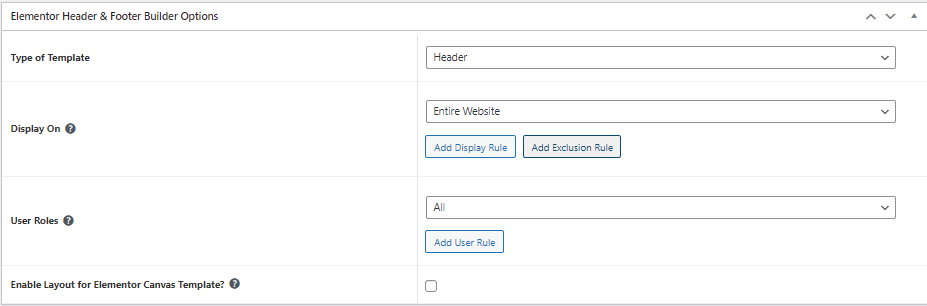
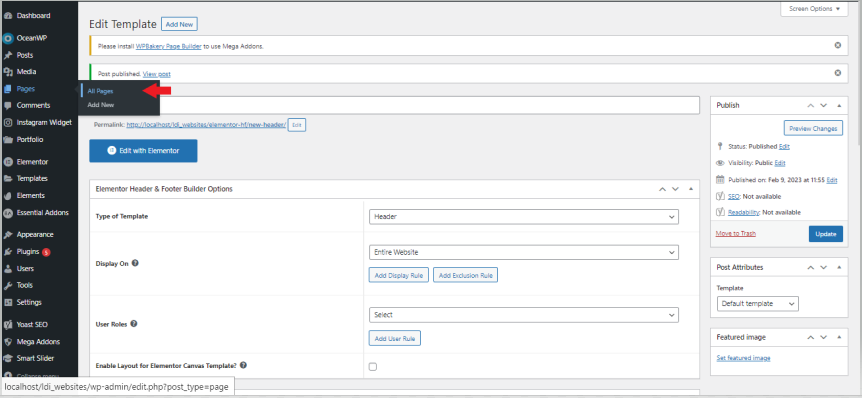
Step 7: Configure the Elementor Header & Footer Builder Options. Type of Template -> Header, Display ON -> Entire Website, User Roles -> All.
Step 8: Scroll up and you will see on right side the Publish Area, simply click the Publish.
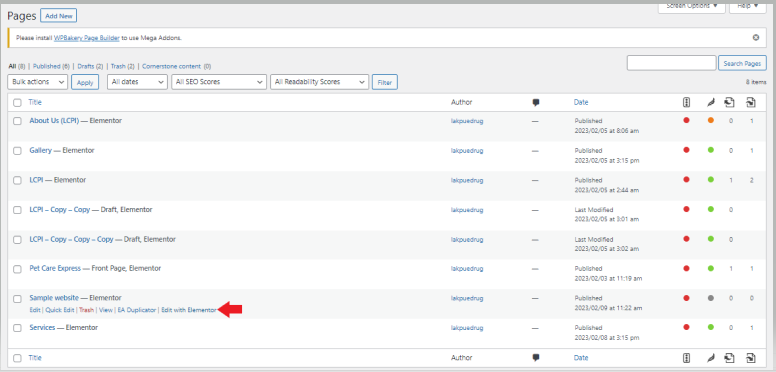
Step 9: After configuring, let us now put a sample banner on our website. It will help us to view if the header is already transparent. Let’s go back to our Sample Website Page. Page -> All Pages, Sample Website -> Edit with Elementor.
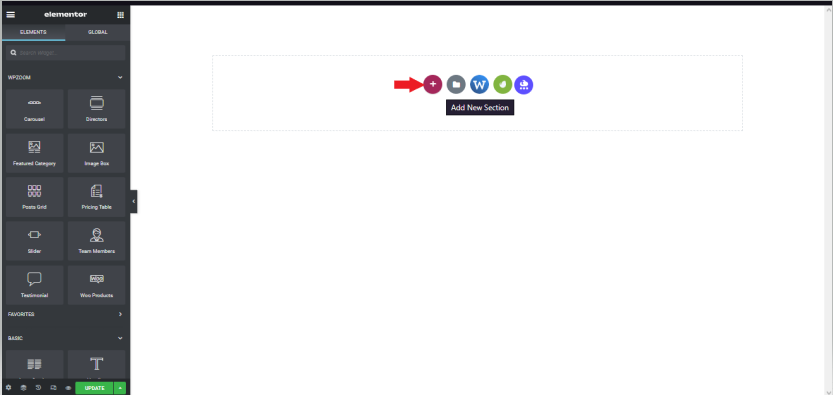
Step 10: On the Elementor, Click the + icon, to add new section.
Step 11: Choose this structure.

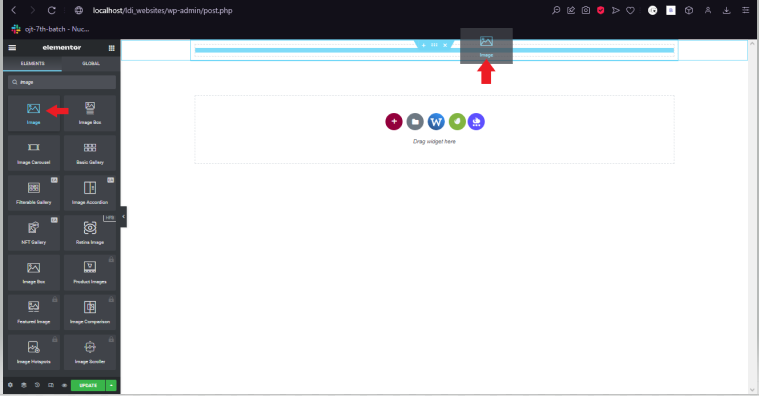
Step 12: Search for image in Elementor and drag it on our section.
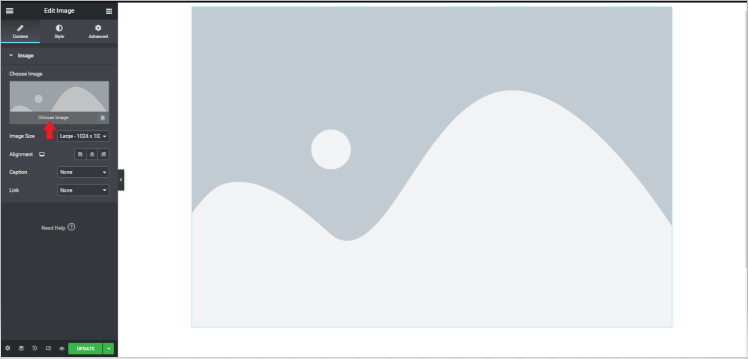
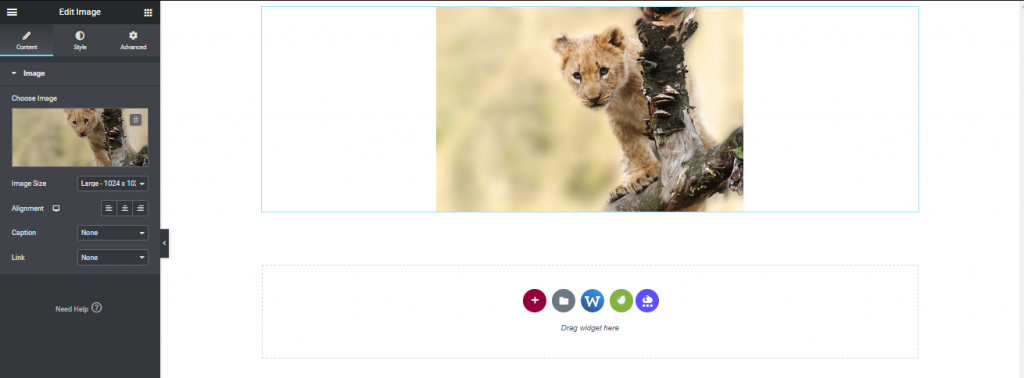
Step 13: Click the image and choose image. Select the image you want, insert media.
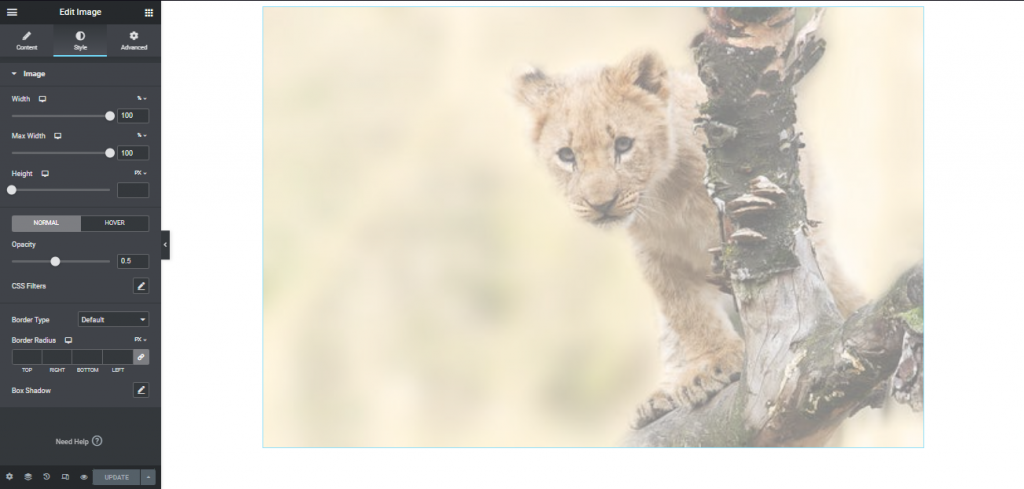
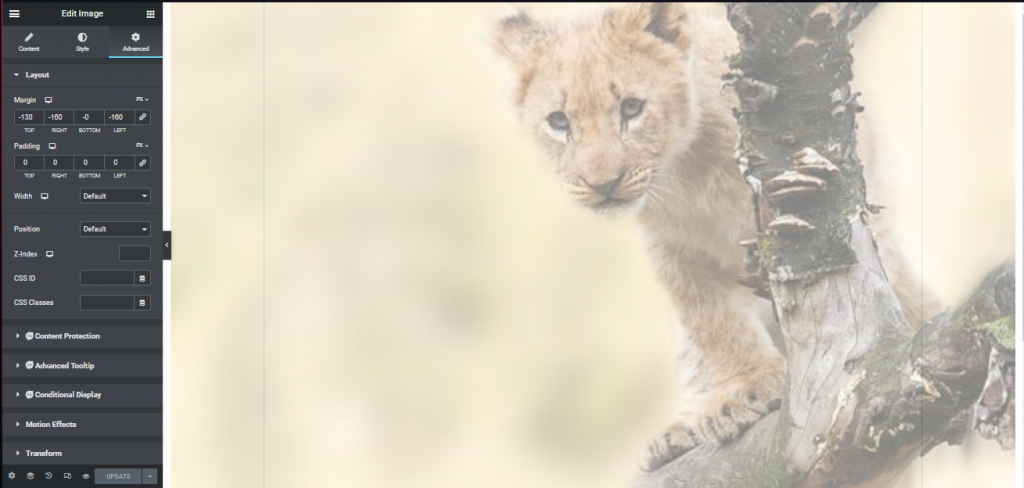
Step 14: Change the size of the Image and its opacity. Click Style -> Width = 100, Max Width =100, Opacity= 0.5. Click Update.
Step 15: On the Advanced, Set the following on Margin. Top = -130, Right = -160 , Left= -160. Click Update.
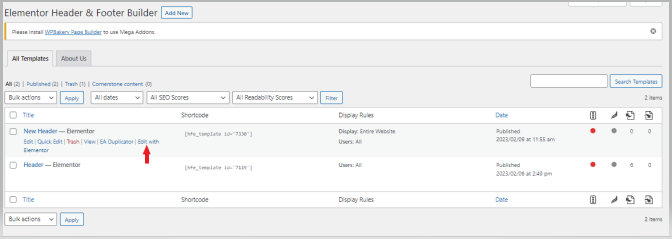
Step 16. Let us now make our own Header. Exit on the Elementor. Appearance -> Elementor Header and Footer Builder -> New Header -> Edit with Elementor.
Step 17: On the Elementor, Click the + icon, to add new section.
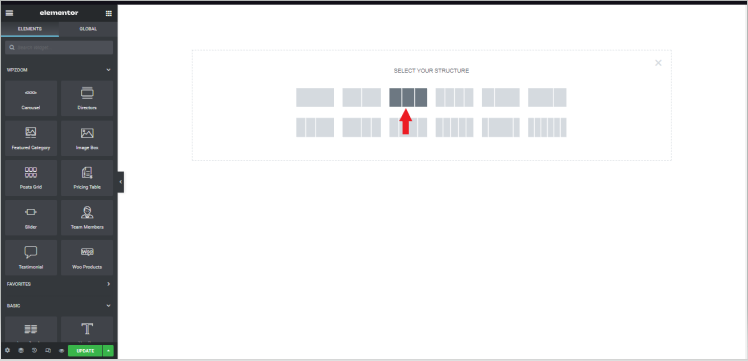
Step 18: Choose this structure.
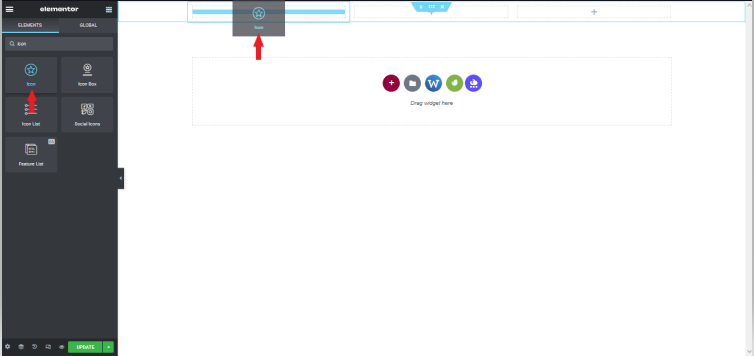
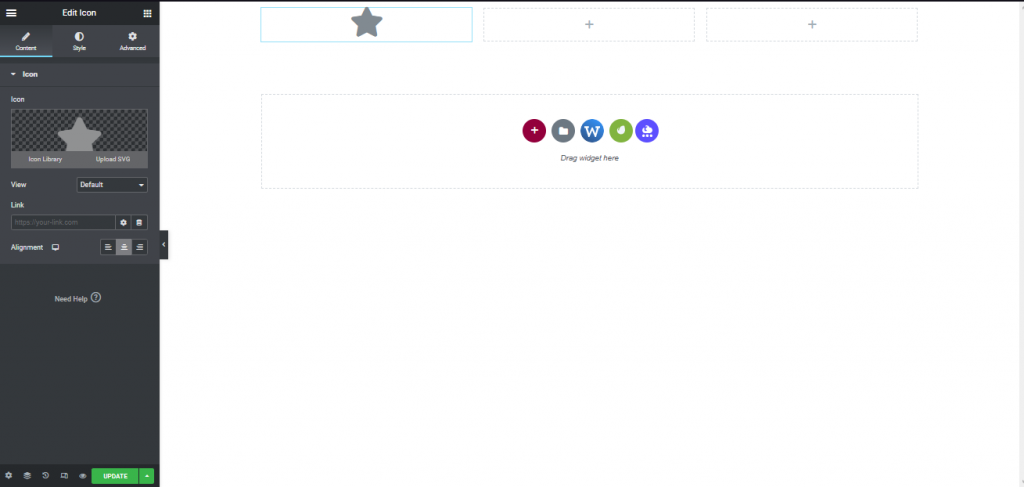
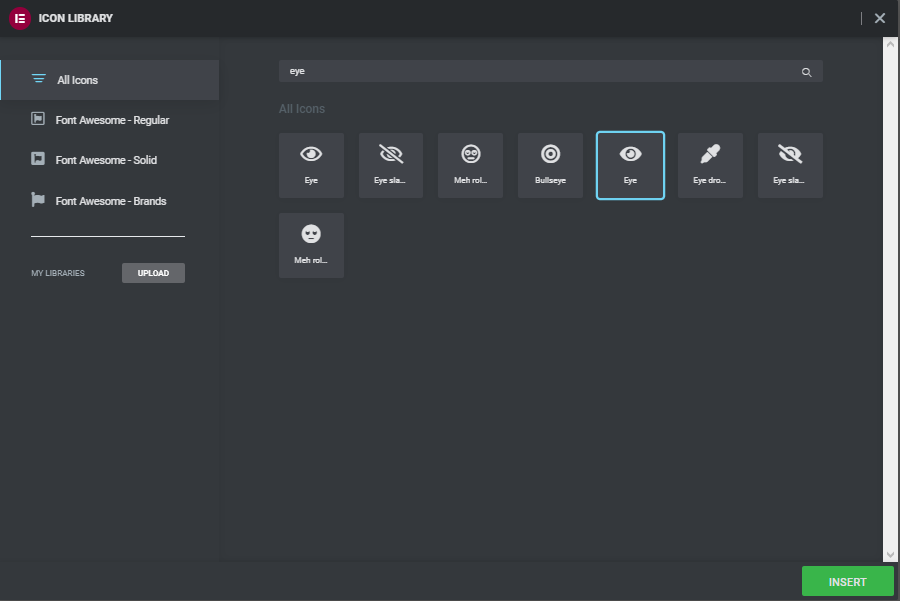
Step 19: Search for Icon and drag it on first column. Select an Icon, I will choose the eye icon as logo. Click Insert.
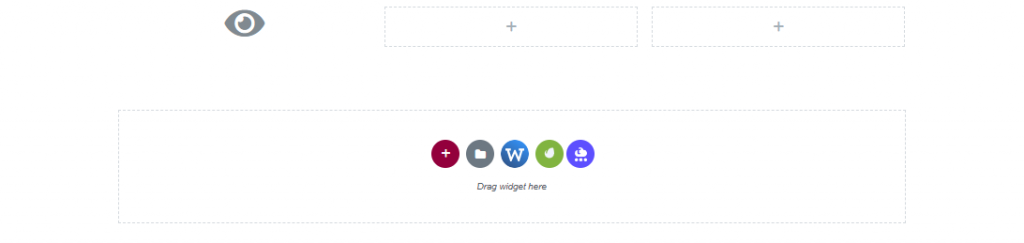
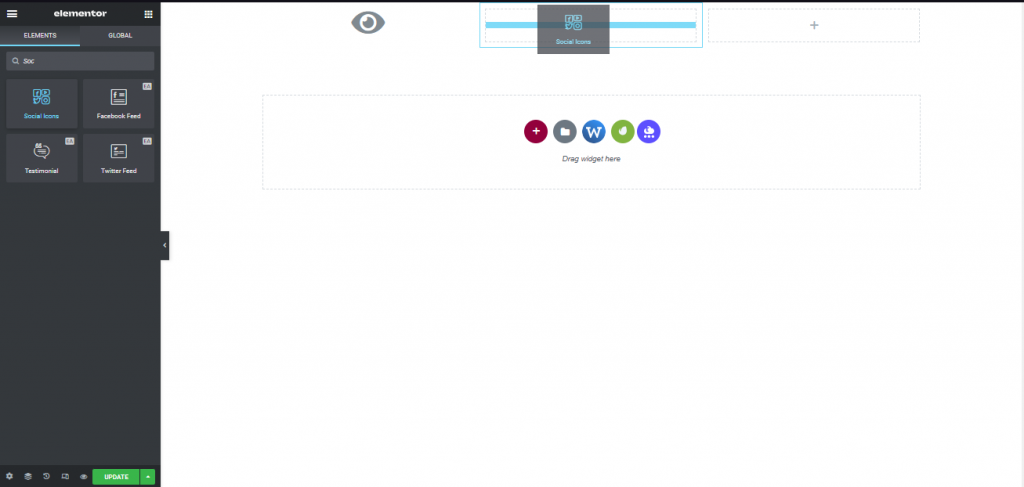
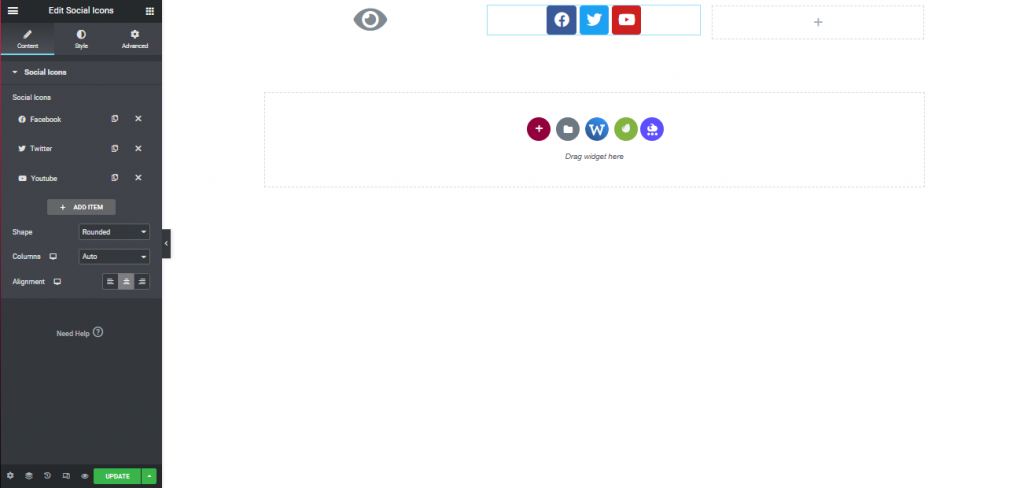
Step 20: Let us insert Social Icons. Search for Icon and Select Social Icons.
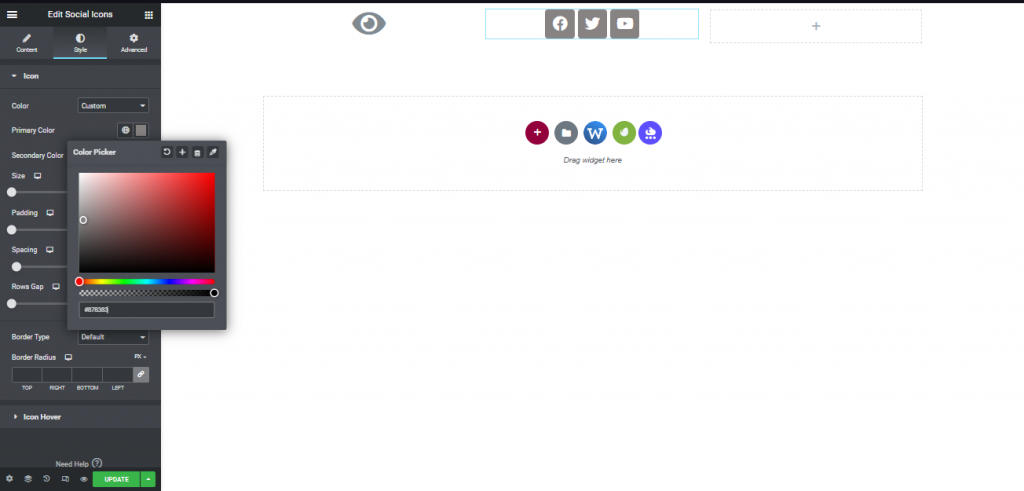
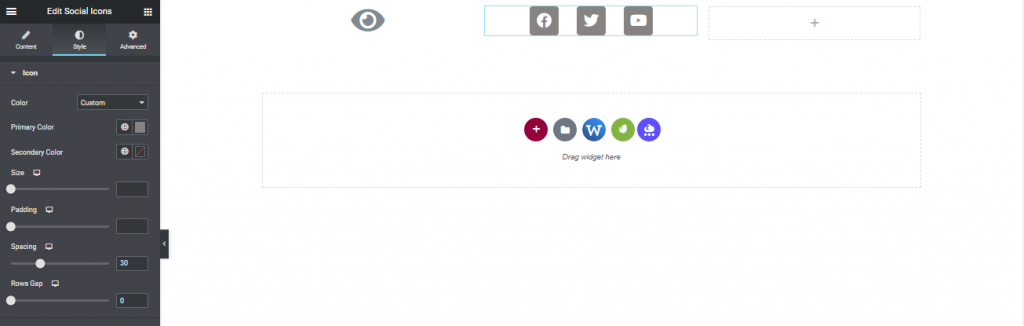
Step 21: Change the color of icon, we want to make it as gray social icons. Style -> Color -> Custom -> Primary Color.
Step 22: Change the Spacing into 30.
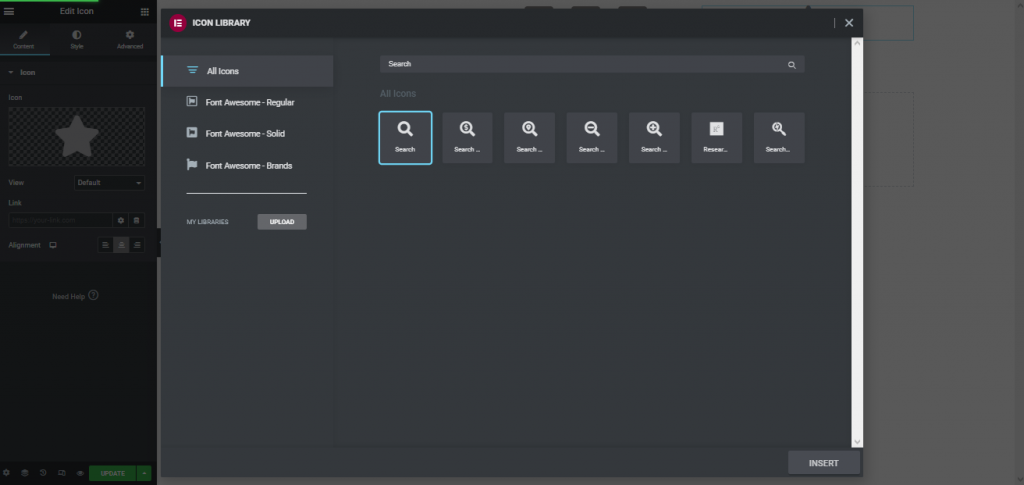
Step 23: Let Us Insert a search button. Search for Icon, and drag it on the 3rd Column. Change the icon by selecting the icon -> Icon Library -> Search -> Insert -> Click Update.

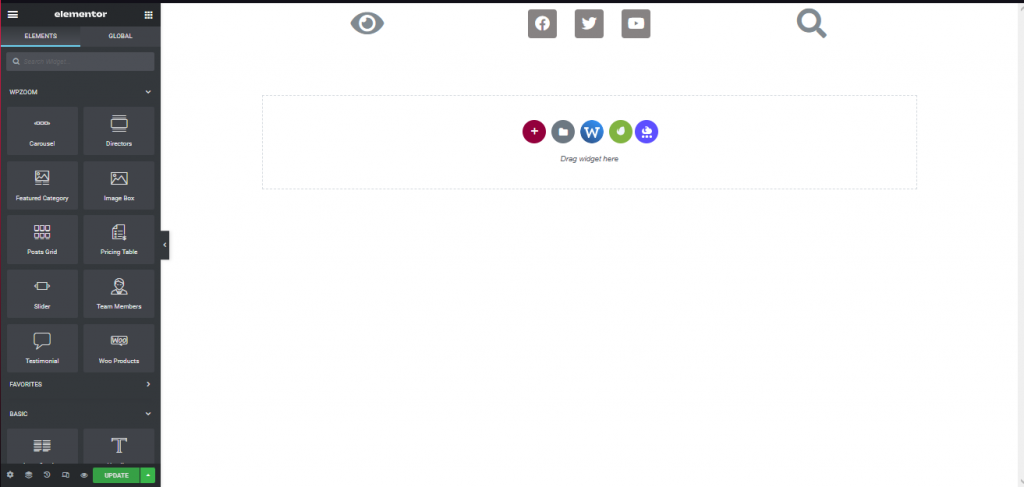
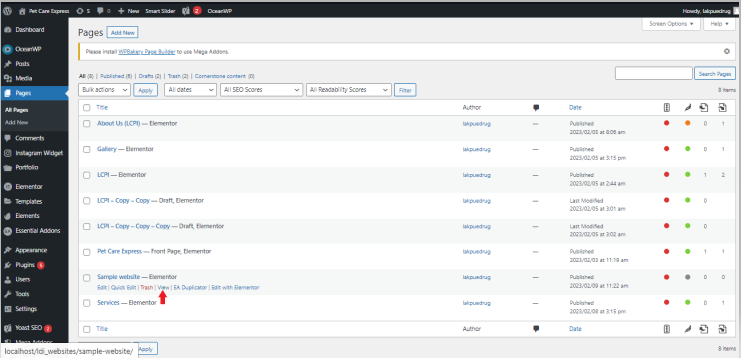
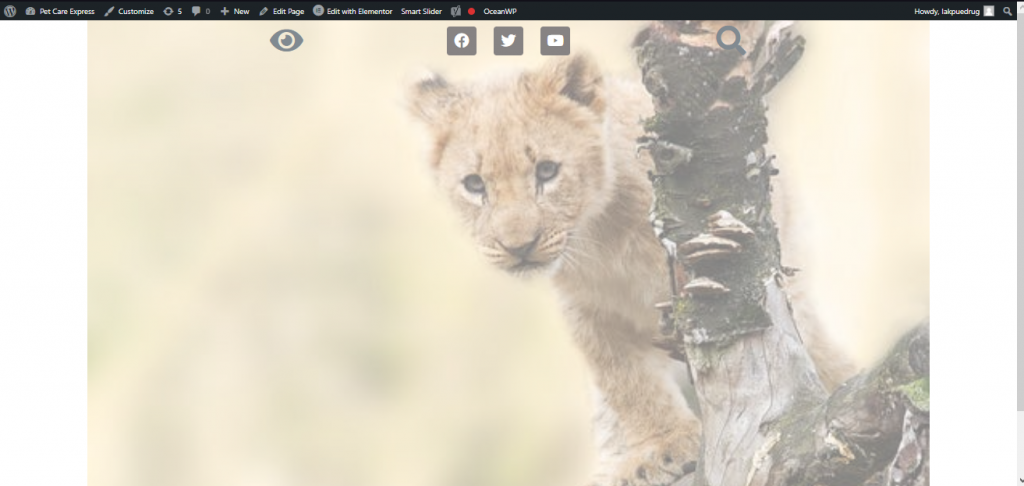
Step 24: Let us preview on our website our created header. Simply go back to our website. Pages -> All pages -> Sample Website -> View. As you can see our header is transparent automatically since we don’t set any background color on our header.
Conclusion
This technique is a comfort in our eyes, it will depends if the header and the background image is both dark or both light. Always have the conflict between the dark and light colors so it will be easily can be seen by our eyes. Hope this blog will help you in your web design.