

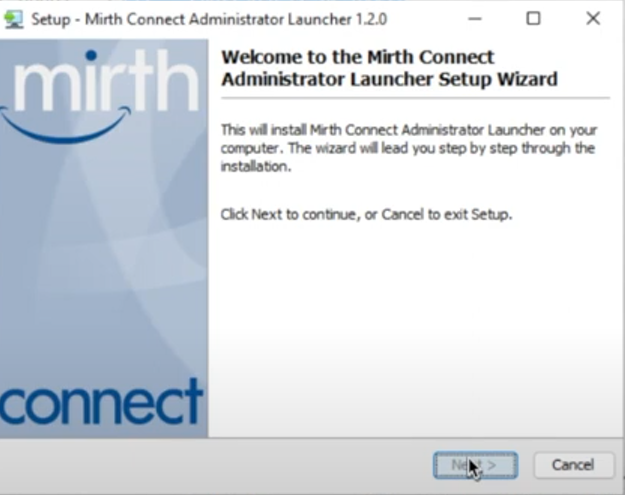
In this blog, here are the next steps on how to install Mirth Connect on Windows 11:
1. Run the installer and choose the “Custom” installation option.
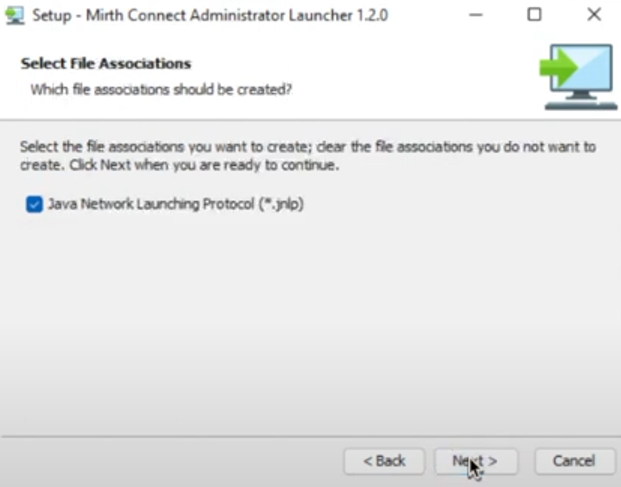
2. Select the “Mirth Connect Administrator” component and continue the installation process.
Note: Click Java Network Launching Protocol for Select File Associations.
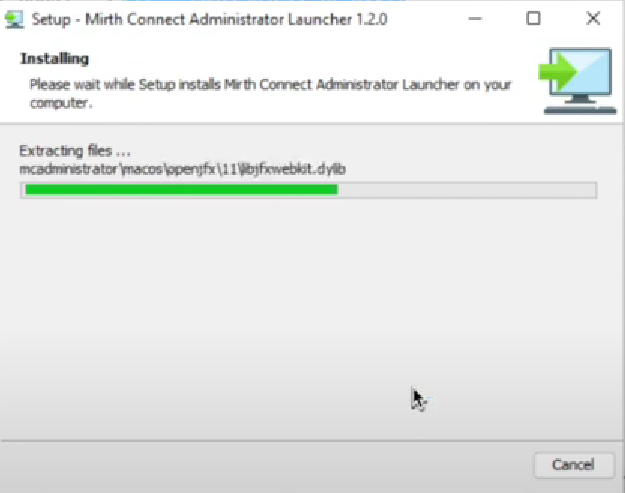
3. Review the installation settings and click “Install” to begin the installation process.
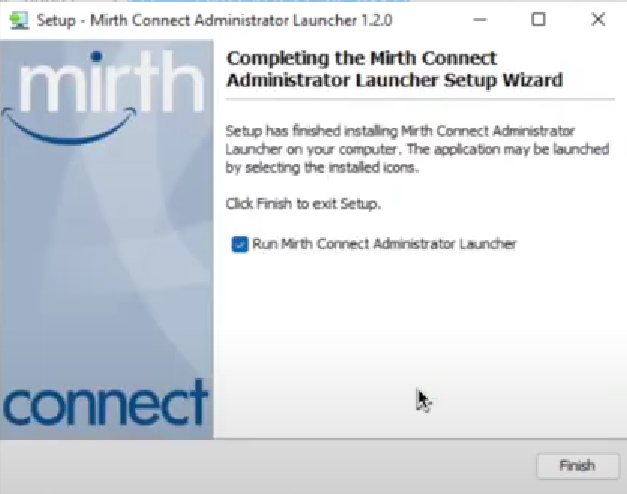
4. Setup has finished installing Mirth Connect on your computer.
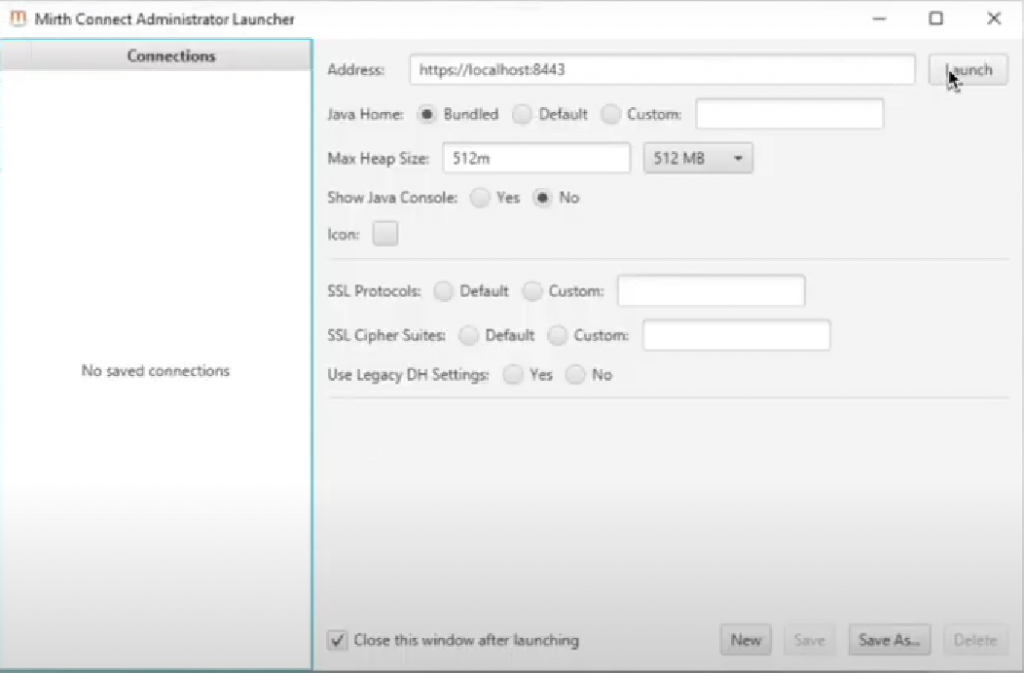
5. Start the Mirth Connect Server by double-clicking on the “Mirth Connect Server” icon on your desktop. You can access the Mirth Connect Administrator by opening a web browser and navigating to http://localhost:8080/administrator.
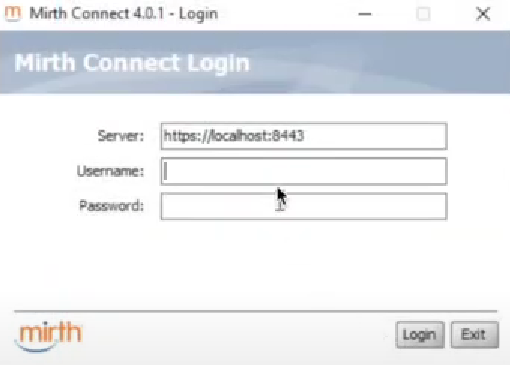
6. Enter your Mirth Connect Administrator username and password to log in.
7. You have successfully installed Mirth Connect on your Windows 11 machine.
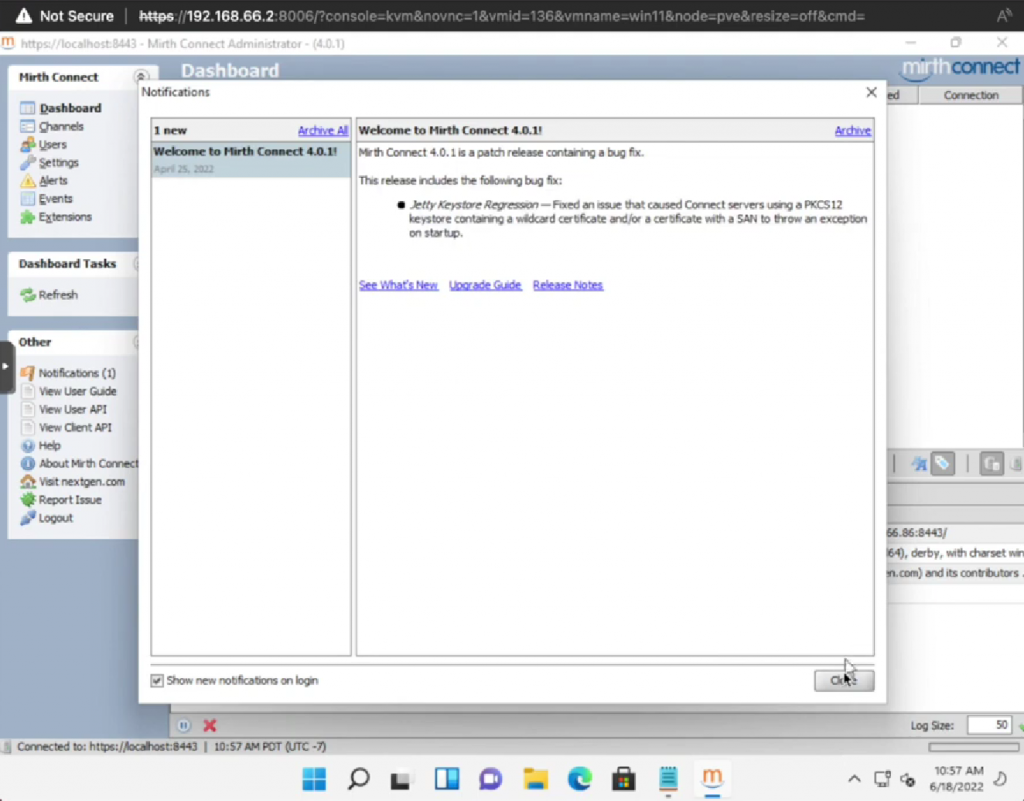
Note: From there, you can manage your Mirth Connect channels, view logs, and configure other settings as needed.