

In this blog, here are the steps on how to install Mirth Connect on Windows 11:
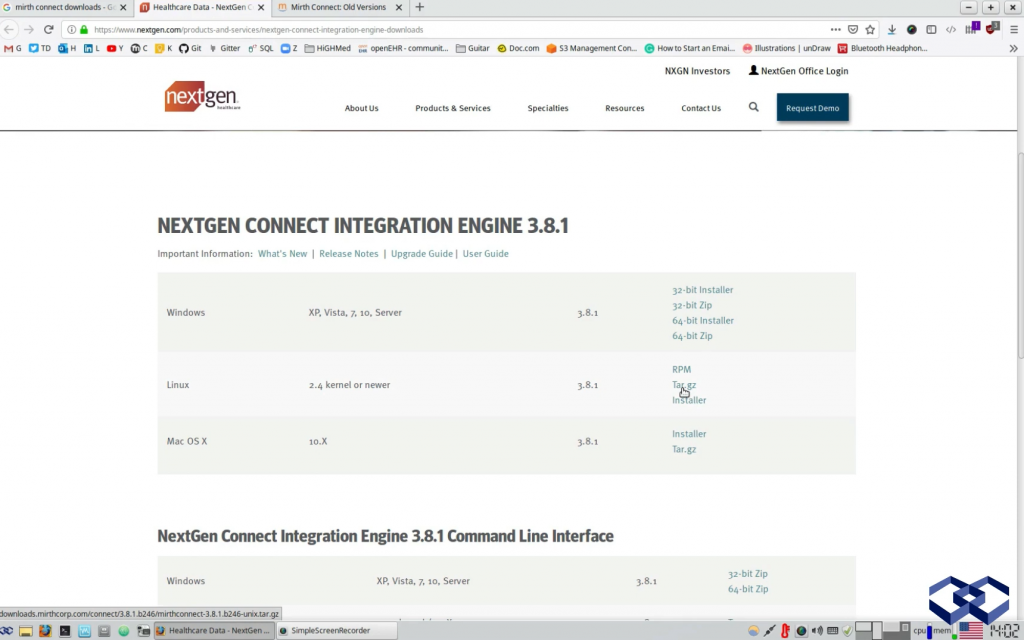
1. Download the latest version of Mirth Connect from the official website:
Open the mirth website, https://www.mirth.com/Downloads/MirthConnect. Choose the appropriate version (32-bit or 64-bit) for your Windows operating system.
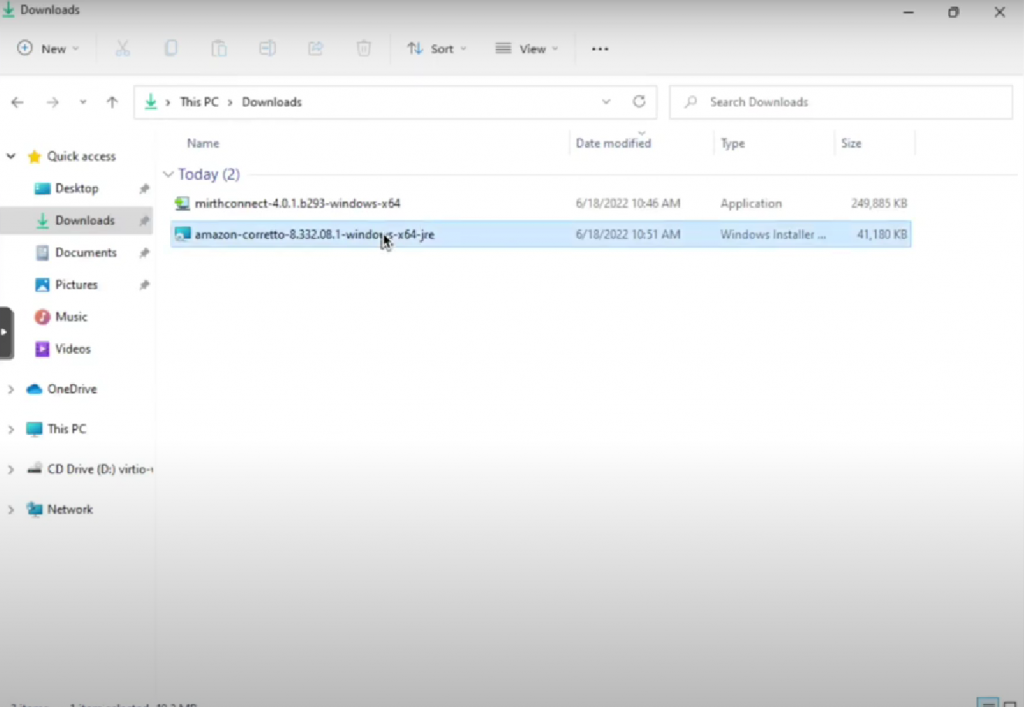
2. Once the download is complete, open the downloaded file and run the installer.
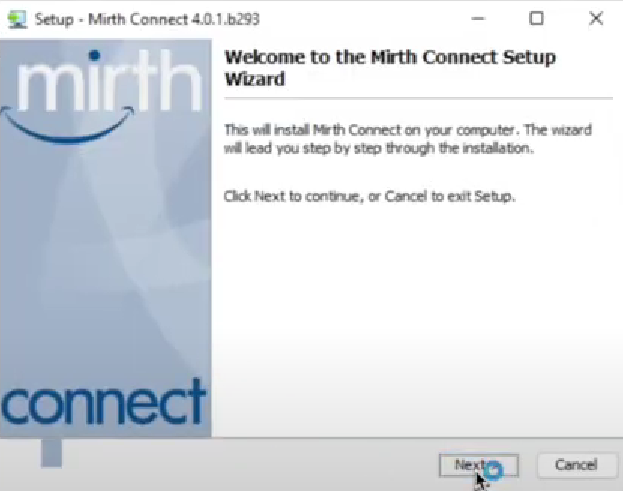
3. Click “Next” to begin the installation process.
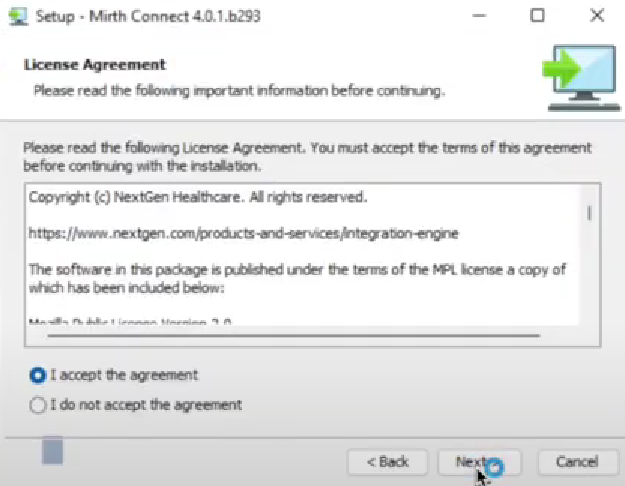
4. Accept the license agreement and click “Next”.
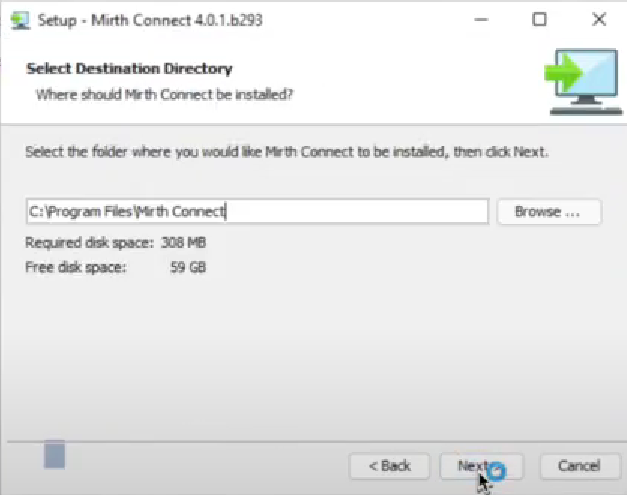
5. Choose the destination folder where you want to install Mirth Connect, or use the default location, and click “Next.”
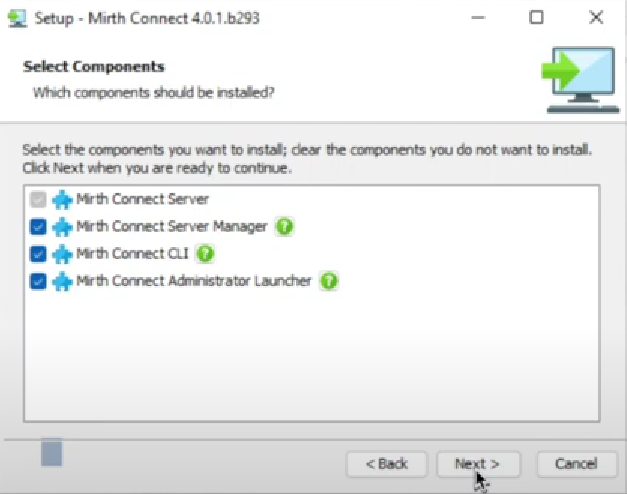
6. Choose the components you want to install. You can choose to install the Mirth Connect Server, Mirth Connect Administrator, and Mirth Connect Client. Click “Next” when you have made your selection.
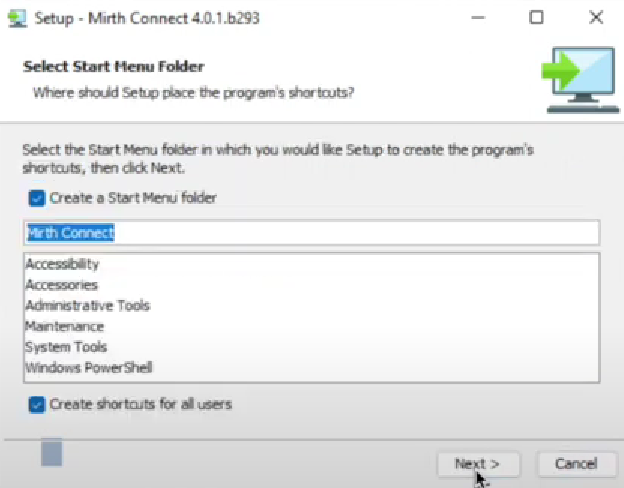
7. Select the Start Menu Folder. Setup and Create Folder shortcuts, then click Next.
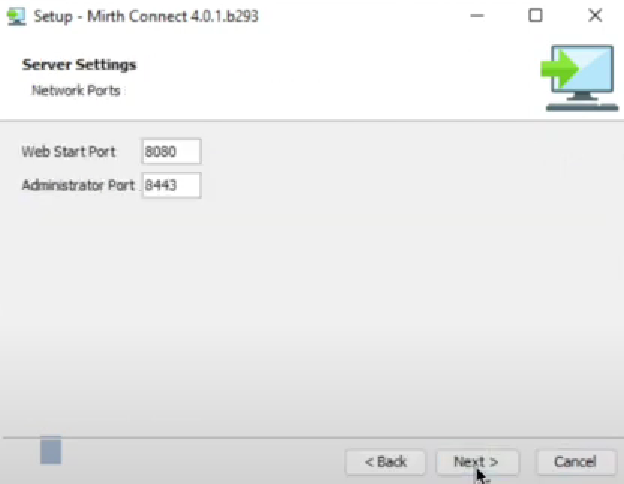
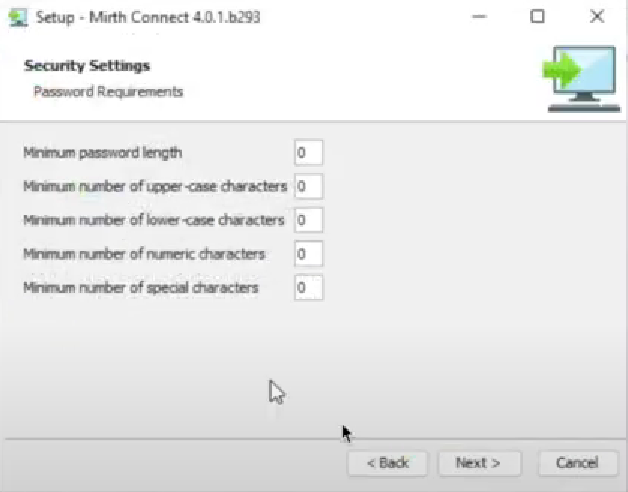
8. Select the port number you want to use for the Mirth Connect Server. The default port number is 8080. You can also choose to enable SSL encryption. Click “Next”.
9. Configure the database settings for Mirth Connect. You can choose to use an embedded database or an external database. If you choose to use an external database, you will need to provide the connection details. Click “Next” when you have configured the database settings
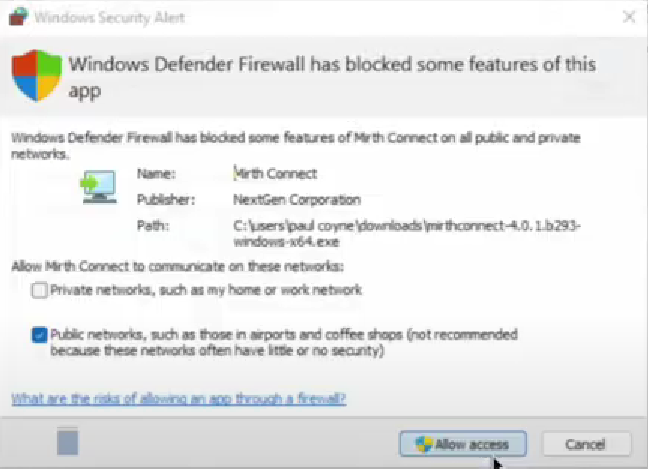
Note: You need to allow the Windows Defender Firewall to avoid blocking features in Mirth Connect.
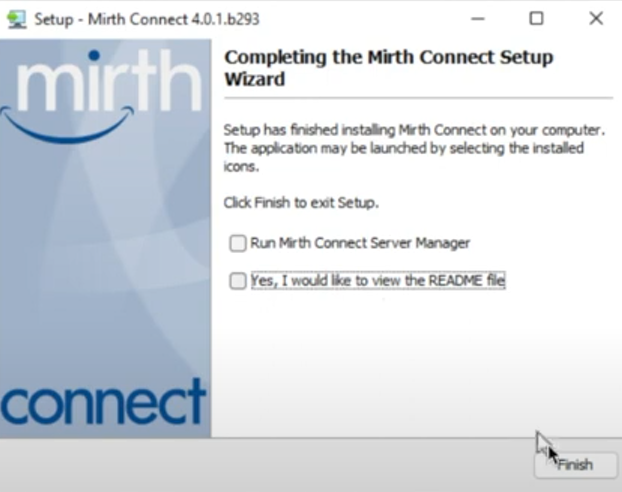
10. Setup has finished installing Mirth Connect on your computer.
In the next blog, we will discuss Part 2 which is the Mirth Connect Administrator Launcher. This will help to run Mirth Connect properly. They can log in to your mirth account anytime, anywhere. Thanks for learning.