
In this tutorial I will be showing you how you can utilize the Direct Selection Tool to create new shapes. This tool enables a shape or path to be selected and move or modify. Through anchor points in the shape or path you can create new design by moving those anchor points.
Some things to learn before we proceed to the demo, here are some useful keys you need to keep in mind:
shift key: holding it down will move the object in true horizontal and vertical location.
alt key: holding alt while moving a bezier handle will separate it from its opposite one. This will enable you to move them one at a time.
Creating Custom Shape using Direct Selection Tool
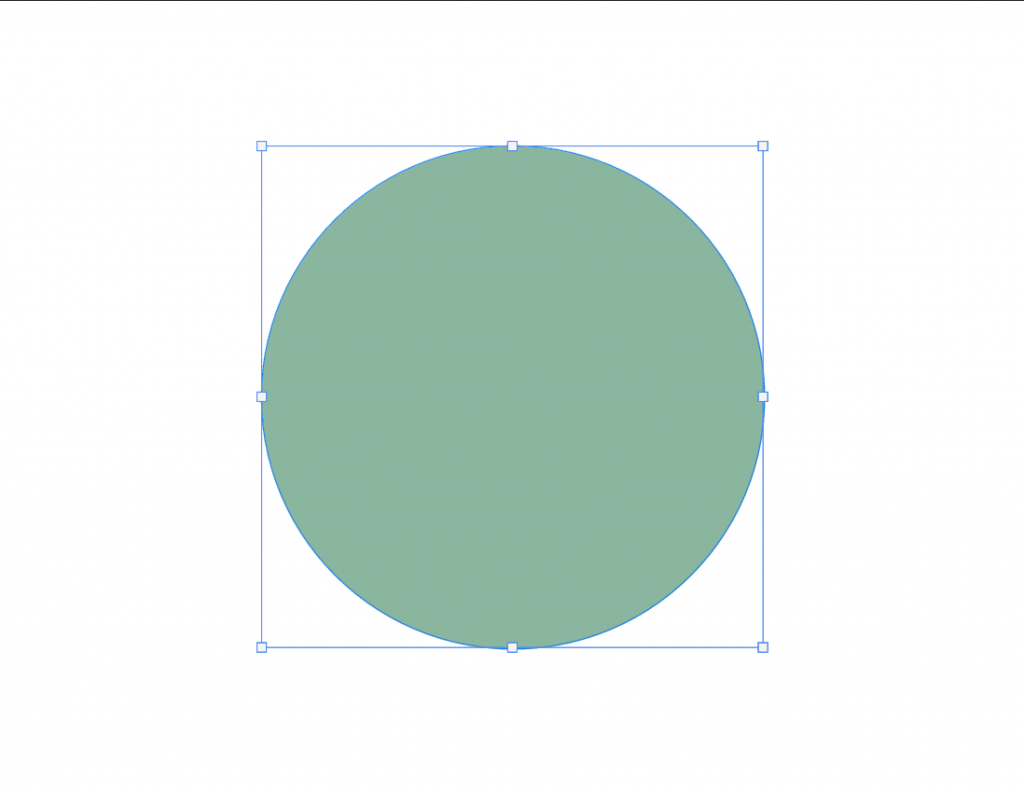
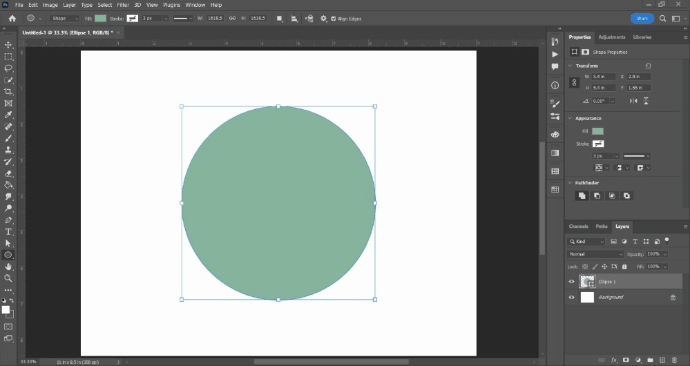
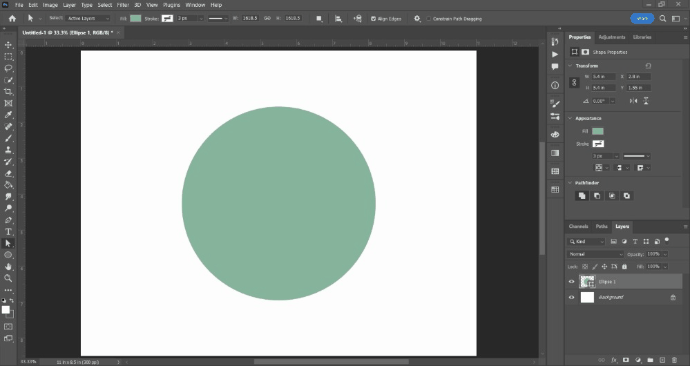
First things first create a shape using the rectangle tool or ellipse tool.
Next grab the Direct Selction Tool or press the shortcut A.
Select a section of the shape you want to move by click and drag across the canvas.
Move the anchor point to any direction you want to make your own custom shape. You can also move the bezier to add further modification to your shape.
Conclusion
And there you go you can now create your custom shapes in photoshop using the direct selection tool. You can also do this with text as long as you make the live text as paths. Try and incorporate this to your next project. Always remember to keep learning and stay creative.