
In this article I will be discussing the use of clipping mask in Photoshop. During the course of this reading you will learn the basics of clipping mask and have a solid understanding on how clipping mask works.
During the writing of this article, I am using the 2022 version of Abobe Photoshop but the clipping mask works the same way as for all other versions.
What is Clipping Mask?
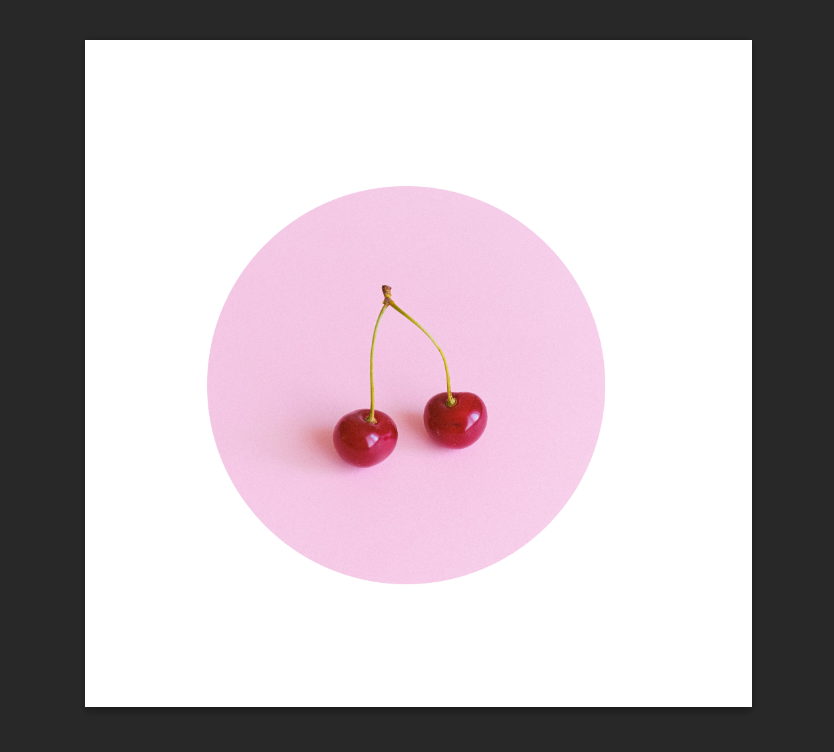
According to the description provided by Adobe in their user guide, “A clipping mask is a group of layers to which a mask is applied. The bottommost layer, or base layer, defines the visible boundaries of the entire group. For example, suppose you have a shape in the base layer, a photograph in the layer above it, and text in the topmost layer. If the photograph and text appear only through the shape outline in the base layer, they also take on the opacity of the base layer. “
Breaking this down, a clipping mask is composed of a base layer where it should be at the bottom of the group of layer that you are working with. The base layer will define the boundaries or the outline of the group of layers. While the layer/s above the base layer is/are the asset/s that will be showed according to the boundaries set.
How to Create a clipping mask?
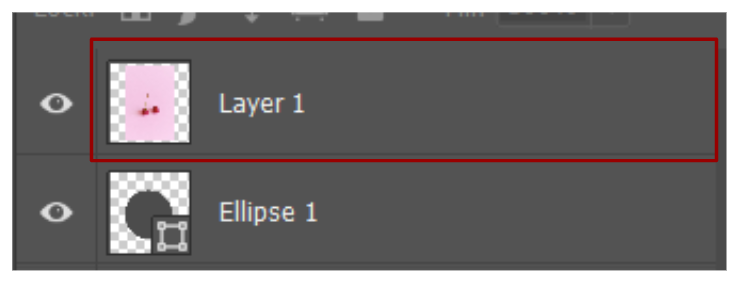
To create a clipping mask, you must first select the layer that is going to be clipped. The layer must be the topmost layer between the group of layers.
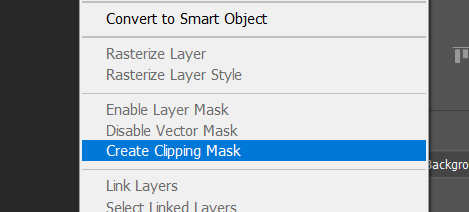
Now right click the layer to open the menu bar and select Create Clipping Mask.
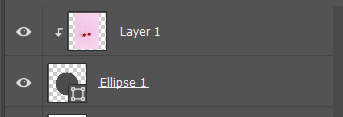
And that’s it. You have created the clipping mask, in the layer panel now shows the top layer is slightly indented with an arrow pointing down to the layer below which is the base layer.
Conclusion:
Congratulations! You have now acquired the understanding of clipping mask. You can use the clipping mask to creates seamless transitions between layers. This technique will be perfect if your project asks for something to fit inside a shape. I hope this article help you learn what is clipping mask and how to use it. Incorporate this to your next project and remember to keep learning and stay creative.