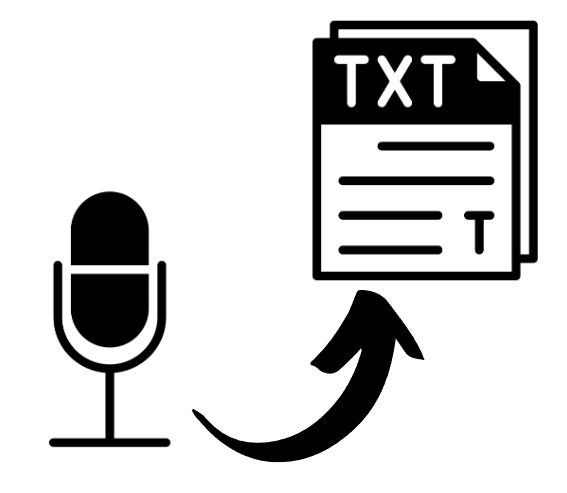
What is Voice Typing?
Voice typing, also known as speech-to-text, allows you to speak into a microphone and have your words translated into written text. This is a great tool for those who may have difficulty typing or prefer to use their voice instead of their hands.
How to Use Voice Typing on Windows 10/11?
To use voice typing on your Windows 10/11 PC, follow these steps:
1. Open a document or text editor where you want to type or select a text box where you want to type. This can be a Word document, an email, or even a web page.

2. Make sure that your microphone is properly connected and working.
3. Press the Windows key + H on your keyboard to open the voice typing toolbar.

4. The voice typing toolbar will appear at the top of your screen. Click on the microphone icon to start voice typing.
5. Begin speaking into your microphone. As you speak, your words will appear on the screen.

6. If you need to pause or stop voice typing, click on the microphone icon again or press the Windows key + H.
7. You can also use voice commands to edit your text, such as “delete” or “undo.”
Tips for Using Voice Typing on Windows 10/11
1. Speak clearly and slowly. This will help ensure that your words are accurately translated into text.
2. Use a high-quality microphone. A good microphone will pick up your voice more clearly and help prevent errors in transcription.
3. Take breaks. Voice typing can be tiring, so make sure to take breaks and rest your voice.
4. Use voice commands to edit your text. This can save you time and help you avoid mistakes.
5. Practice! The more you use voice typing, the better you will get at it.
Conclusion
Voice typing is a great tool for those people who want to save time and increase their productivity. By using voice typing on your Windows 10/11 PC, you can easily talk instead of type, and create documents or emails quickly and efficiently.
Reference:
Use voice typing to talk instead of type on your PC – Microsoft
