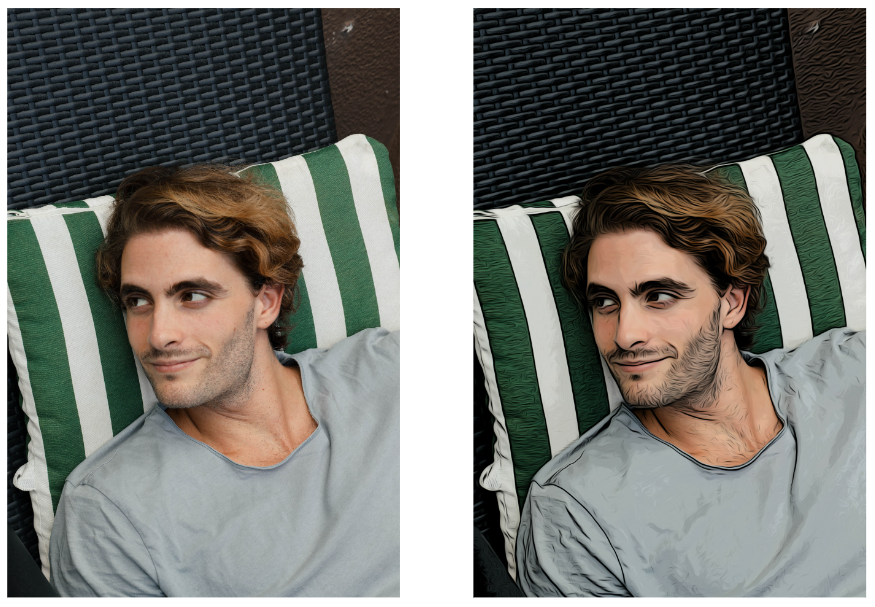
In this demo I will be showing you how to create a comic book effect in your image. This effect can be used to create an artistic look to your image to replicate a comic book style.
I will be using an image from Pexels by Yelena Odintsova.
How to Create a Comic book effect
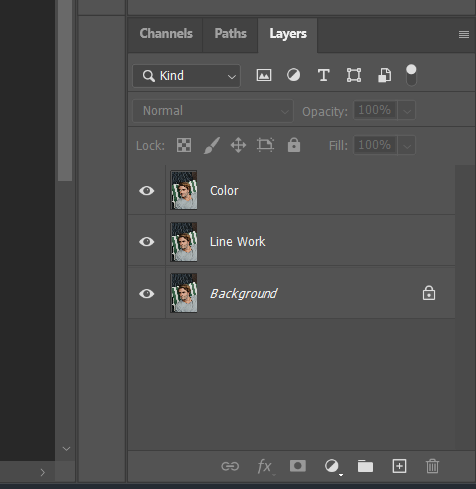
First to do is import your image and make 2 duplicates of the original image. Rename the first one “line work” and the second duplicated layer “color”.
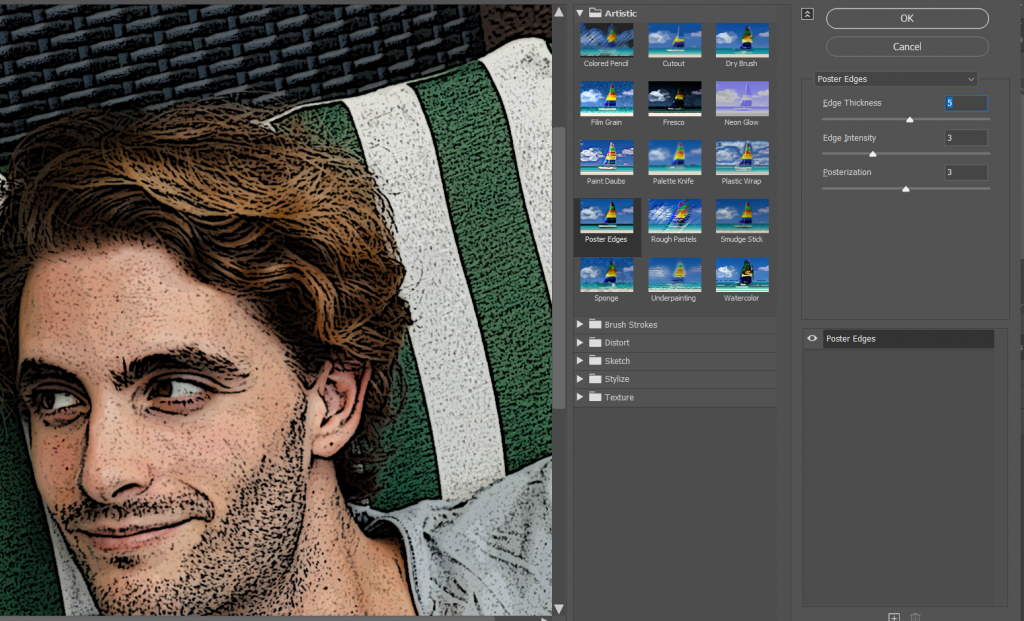
Next hide the color layer to be able to work on the line work first. To make the line work go to Filter>Filter Gallery. Once the window opens, in the Artistic section choose Poster Edges. Adjust the Edge Thickness and Edge Intensity according to the needs of the image. this will enhance the black lines of the image to create the line work.
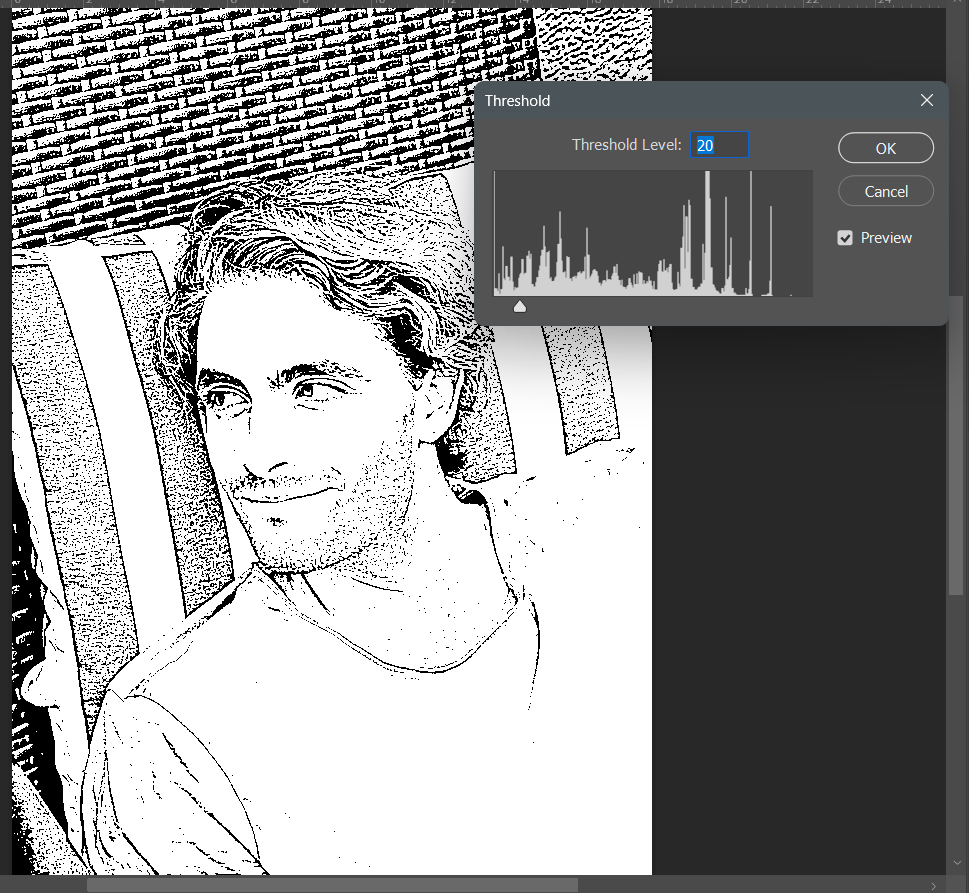
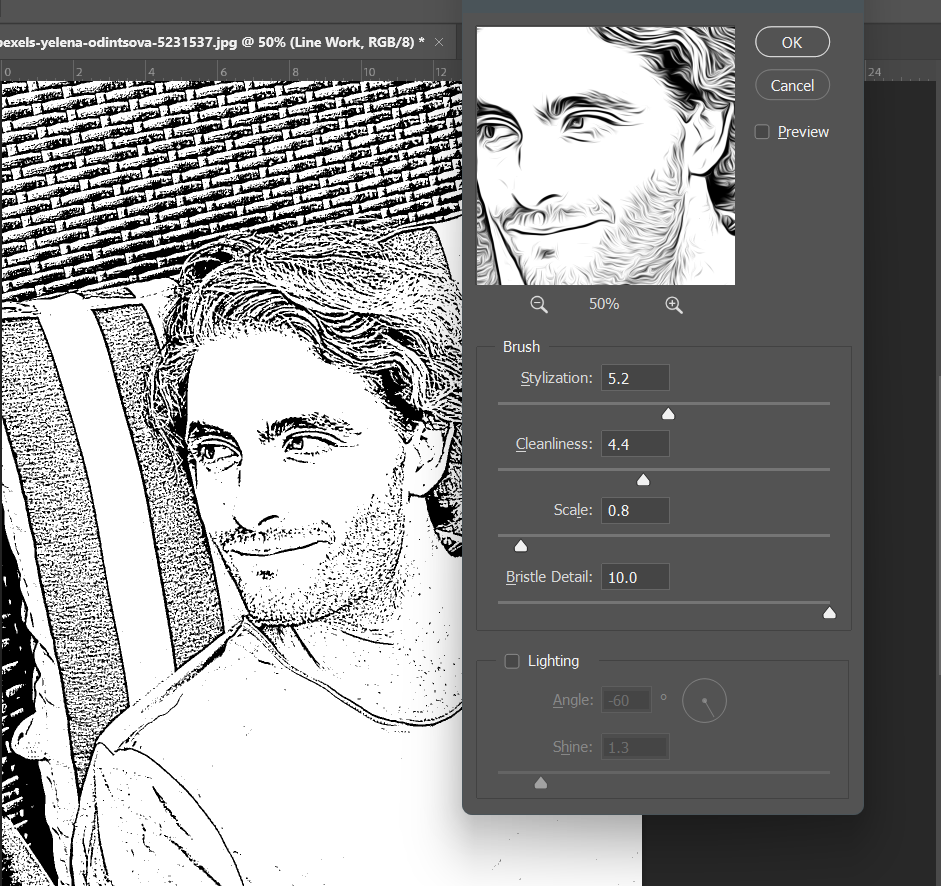
Next still on the line work layer, go to Image>Adjustment>Threshold.
One final touch on the line work is to add the oil paint filter. Go to Filter>Stylize> Oil Paint. Disable the lighting option and adjust the settings according to your preference.
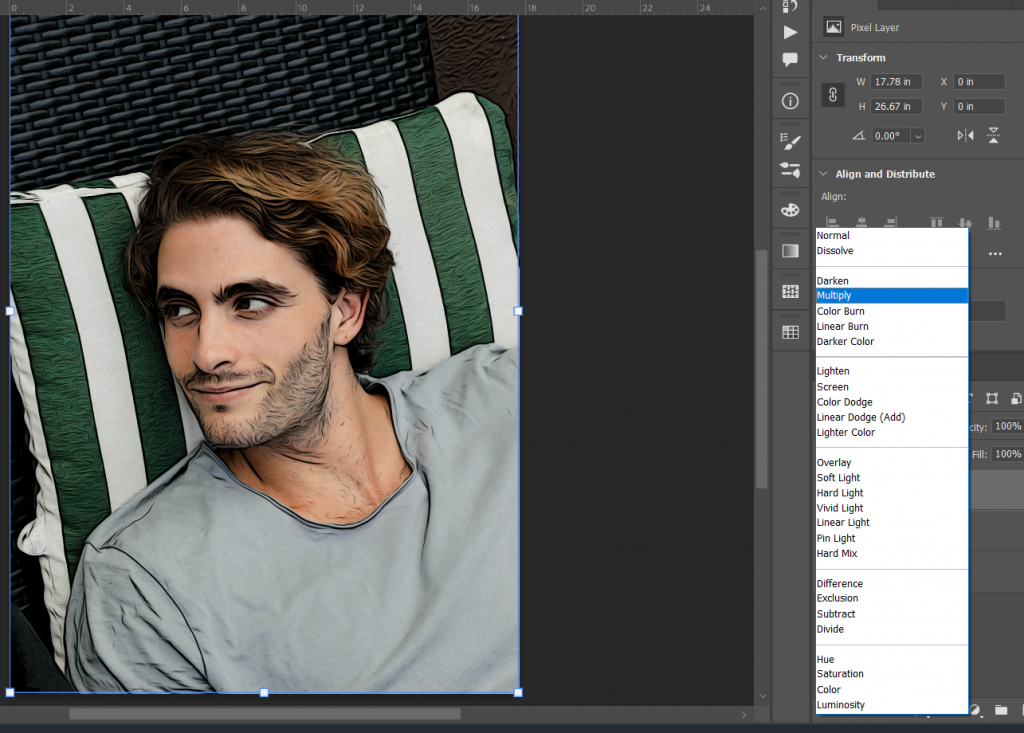
Once done with the line work, the next step is to add color. Enable the color layer and change its blend mode to Multiply.
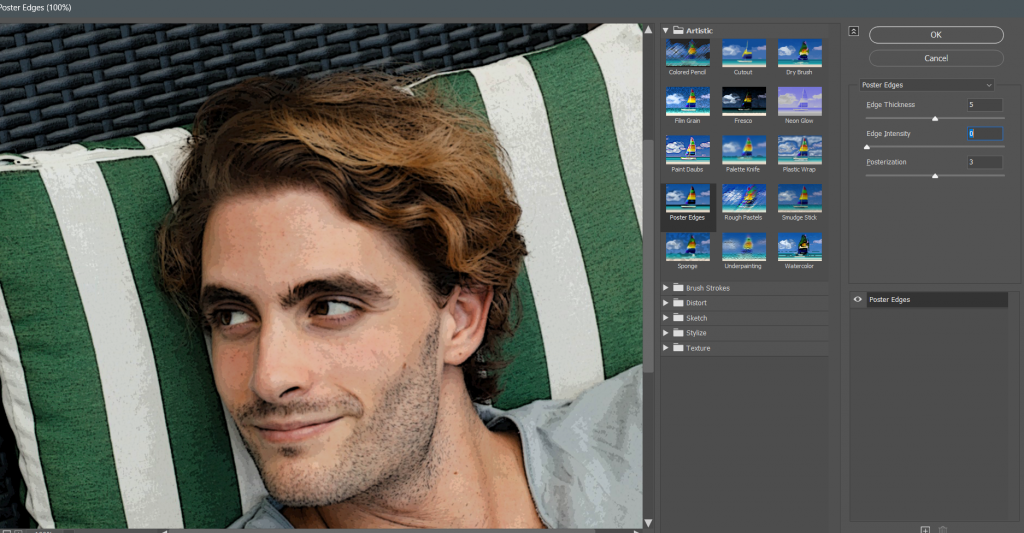
Now add the Poster Edges effect again but this time turn down the Edge intensity to 0 to remove the lines in the image. You can adjust the Posterization according to your liking.
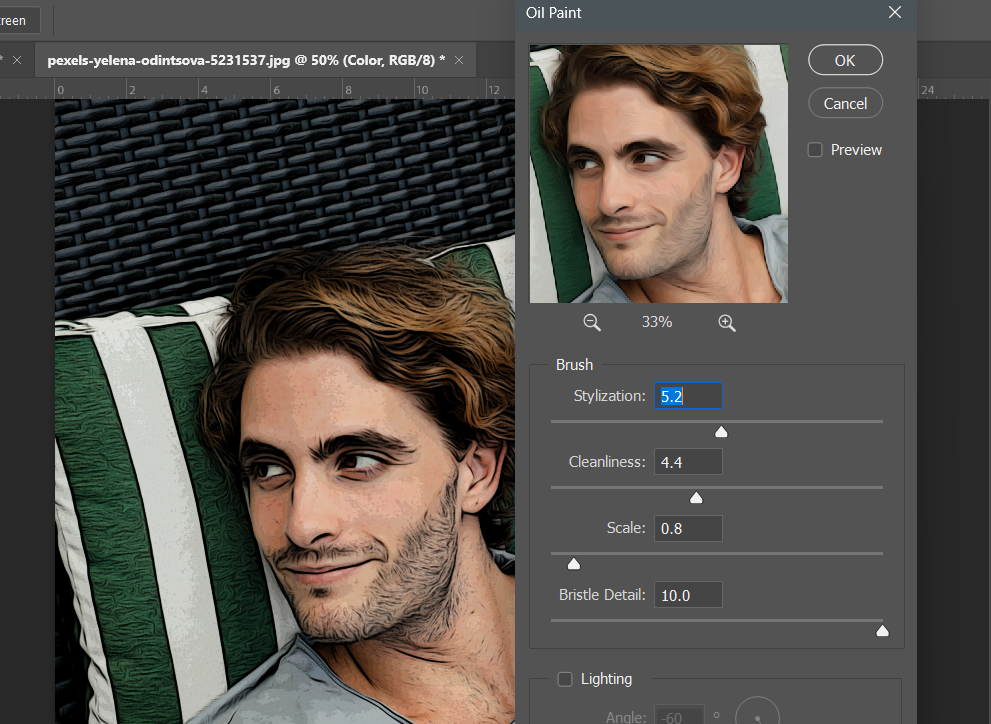
Finally add the same Oil Paint filter on the color layer to make a hand painted effect on the image.
The Result: