

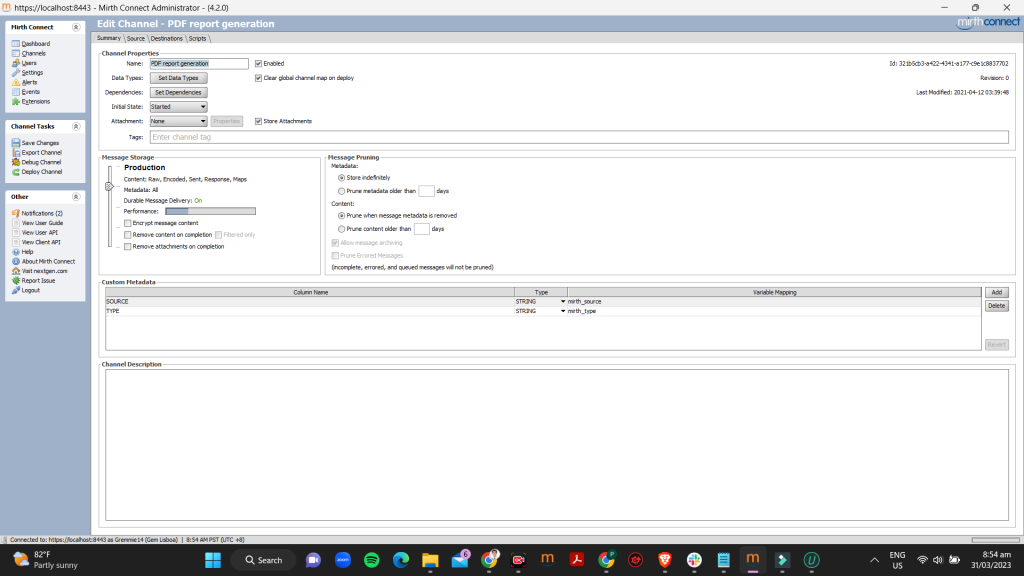
PDF reports are a crucial aspect of many business processes. They provide an efficient way to present data to stakeholders and help decision-makers make informed choices. Mirth Connect is a powerful integration engine that can also be used for generating PDF reports. Here, we will discuss the steps involved in generating PDF reports using Mirth Connect.
Procedures
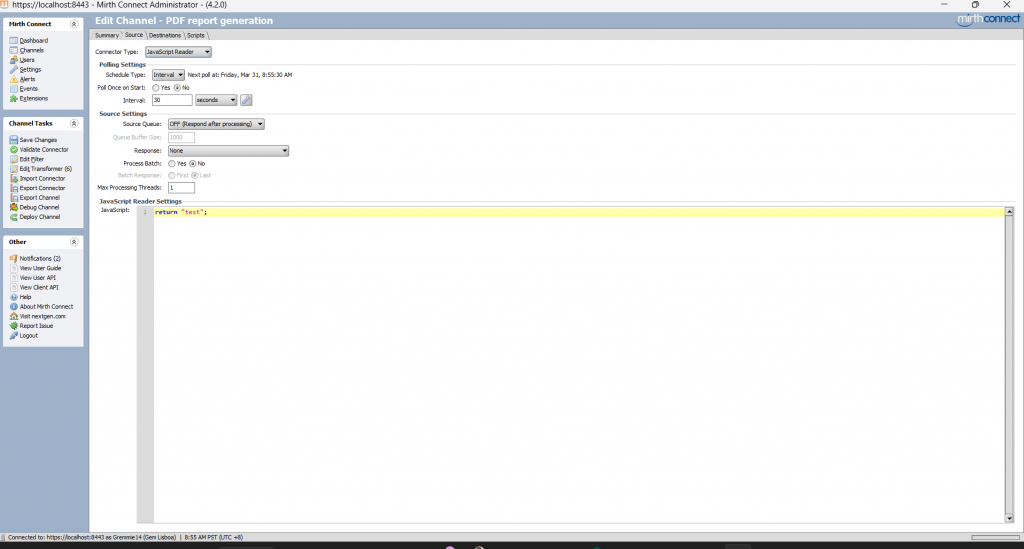
Define the Data Source
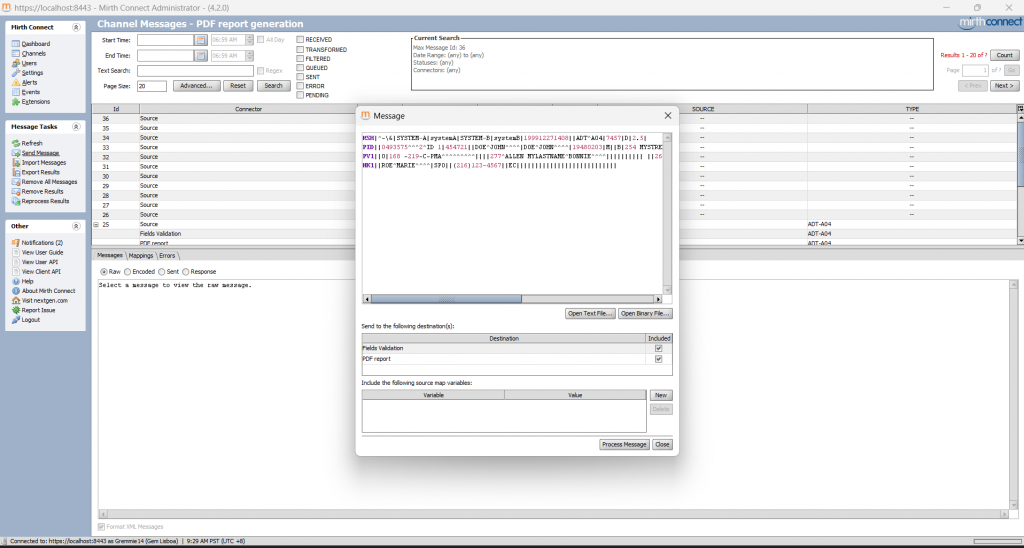
The first step in generating a PDF report in Mirth Connect is to determine the source(s) from which you will be gathering data to populate your report. This can include databases, files, web services, and other systems. Once you have identified the data source(s), you can begin to build the necessary connections in Mirth Connect.
Design the Report Layout
The next step is to design the layout of your report. You can use a reporting tool such as JasperReports, BIRT, or custom-built HTML templates to create your report’s layout. This will specify how the data will be presented in the final PDF report. It is essential to ensure that your report is both easy to read and visually appealing.
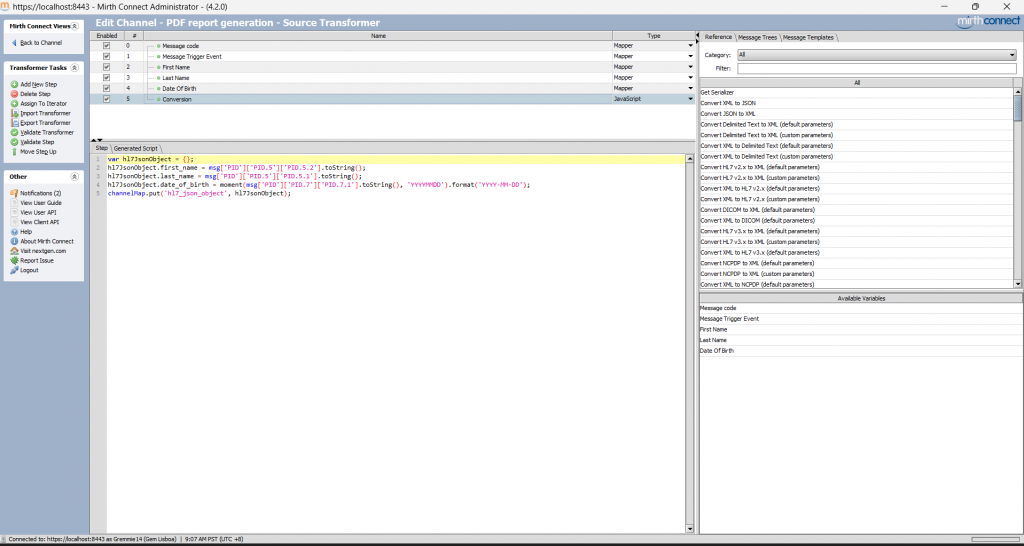
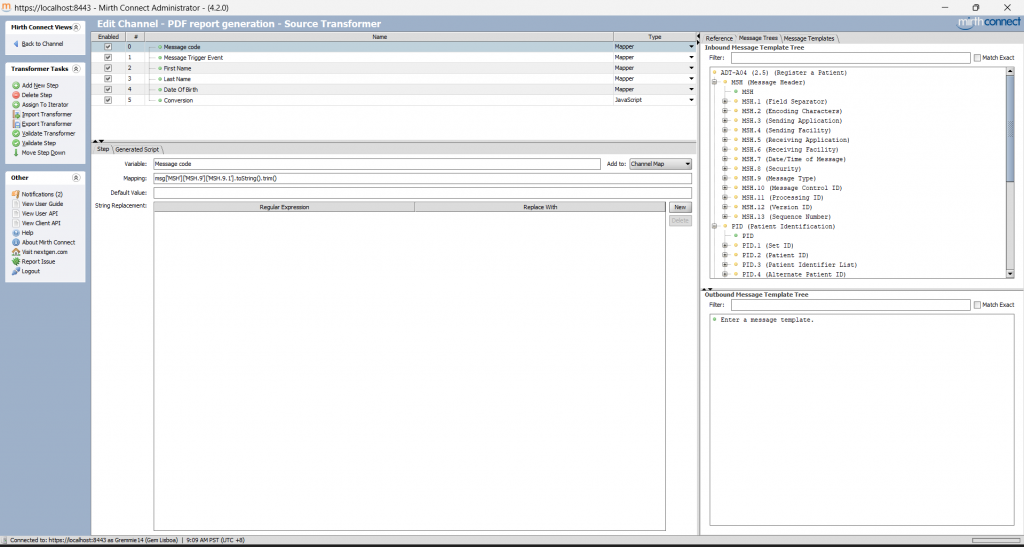
Map the Data
Once you have designed the layout of your report, you will need to map the data to ensure that it appears correctly in the report. You can use JavaScript, XSLT, or other scripting languages to transform the data into the required format for the report. This step is crucial to ensure that the data displayed in the report is accurate and up-to-date.
Configure the PDF Generator
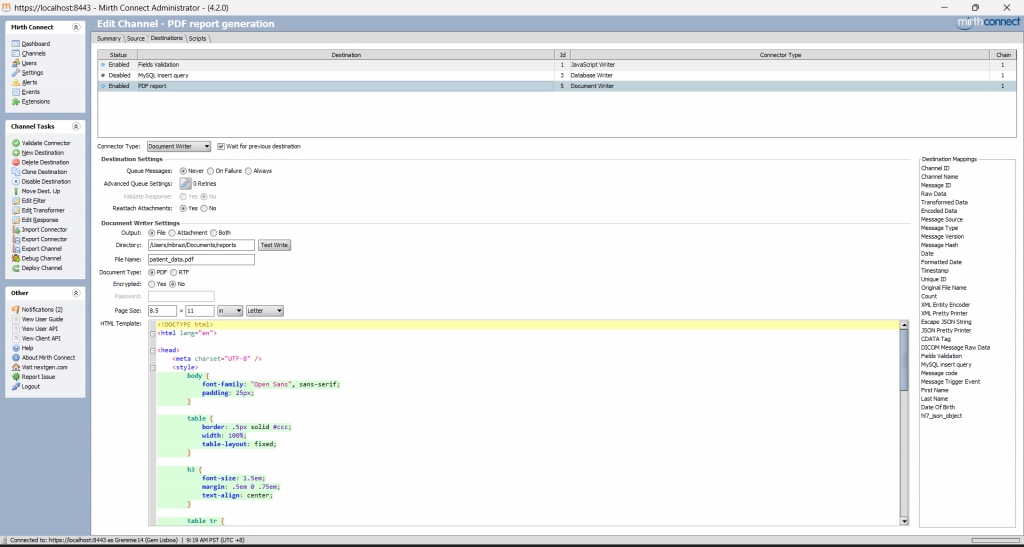
After mapping the data, you will need to configure the PDF generator. Mirth Connect provides various PDF generators such as iText and Apache FOP that you can use to generate your PDF report. Configuring the PDF generator is a critical step to ensure that your report looks and functions correctly.
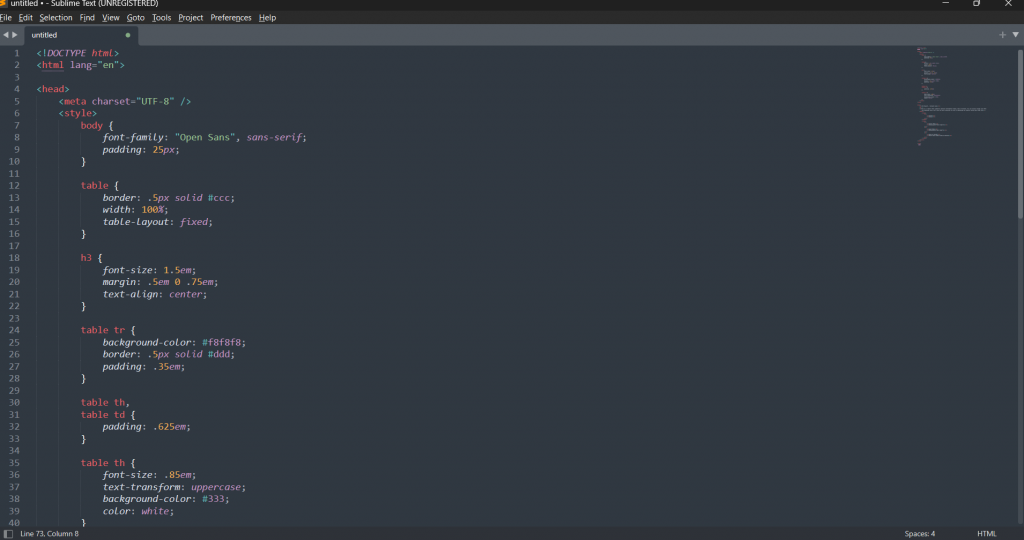
Code:
<!DOCTYPE html>
<html lang="en">
<head>
<meta charset="UTF-8" />
<style>
body {
font-family: "Open Sans", sans-serif;
padding: 25px;
}
table {
border: .5px solid #ccc;
width: 100%;
table-layout: fixed;
}
h3 {
font-size: 1.5em;
margin: .5em 0 .75em;
text-align: center;
}
table tr {
background-color: #f8f8f8;
border: .5px solid #ddd;
padding: .35em;
}
table th,
table td {
padding: .625em;
}
table th {
font-size: .85em;
text-transform: uppercase;
background-color: #333;
color: white;
}
</style>
</head>
<body>
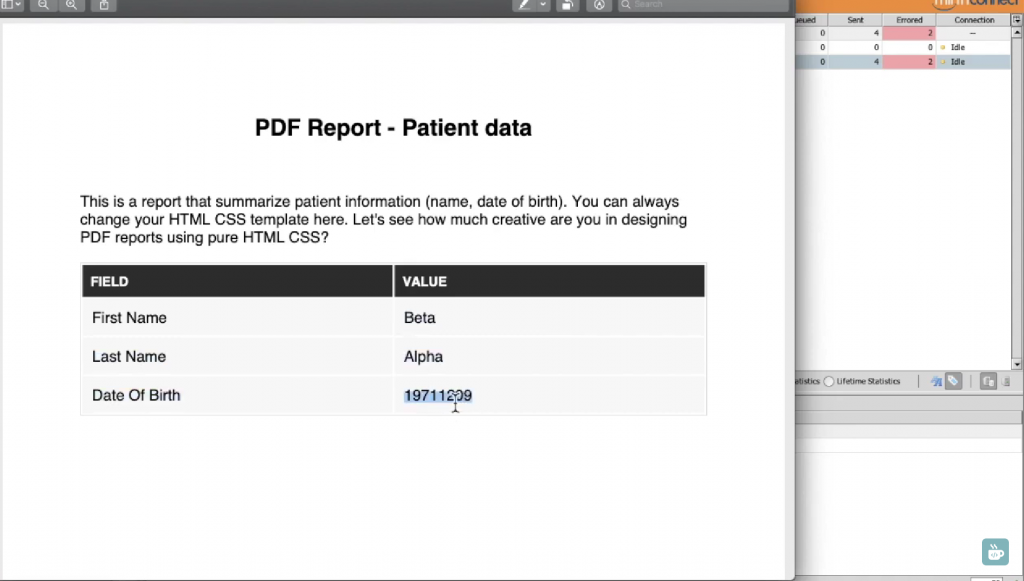
<h3>PDF Report - Patient data</h3>
<br />
<p>This is a report that summarize patient information (name, date of birth). You can always change your HTML
CSS template here. Let's see how much creative are you in designing PDF reports using pure HTML CSS?</p>
<table>
<thead>
<tr>
<th>Field</th>
<th>Value</th>
</tr>
</thead>
<tbody>
<tr>
<td>First Name</td>
<td>${maps.get('First Name')}</td>
</tr>
<tr>
<td>Last Name</td>
<td>${maps.get('Last Name')}</td>
</tr>
<tr>
<td>Date Of Birth</td>
<td>${hl7_json_object.date_of_birth}</td>
</tr>
</tbody>
</table>
</body>
</html>Define the Output Destination
You will need to determine where the final PDF report will be saved. This could be to a file, sent as an email attachment, or uploaded to a remote server. Defining the output destination is essential to ensure that your report reaches the right stakeholders and is easily accessible.
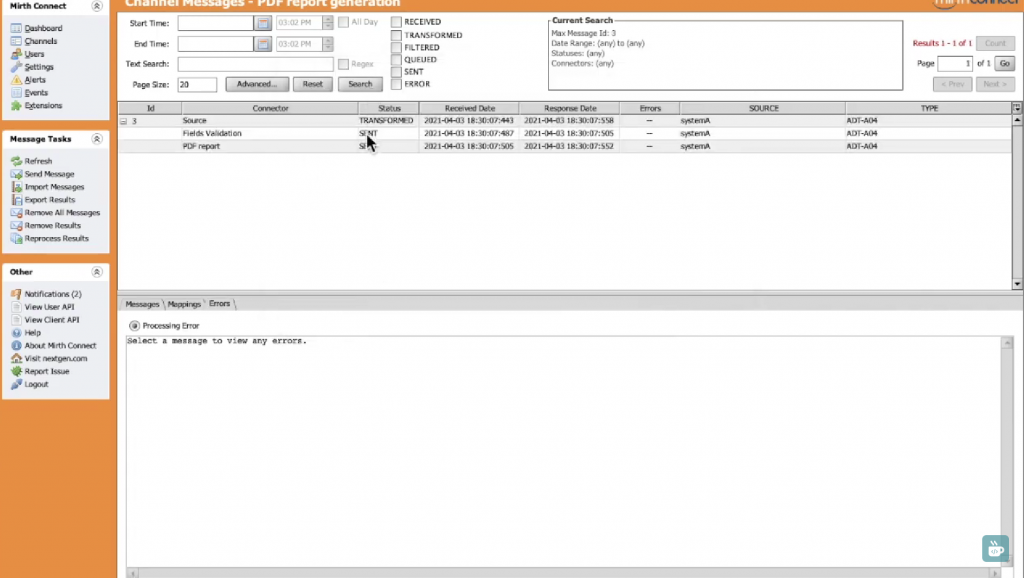
Test and Deploy
The final step in generating a PDF report in Mirth Connect is to test the process to ensure that it is functioning correctly. Once testing is complete, you can deploy the PDF report generation process to the production environment. It is crucial to ensure that the report generation process is stable and reliable before deploying it in the production environment.
Conclusion
In conclusion, generating PDF reports using Mirth Connect involves defining the data source, designing the report layout, mapping the data, configuring the PDF generator, defining the output destination, and testing and deploying the process. By following these steps, you can generate accurate and visually appealing PDF reports using Mirth Connect, which can help stakeholders make informed decisions.