

Backblaze is a powerful cloud backup solution that protects your data. With Backblaze, you can easily store, access, and restore your data from anywhere, at any time. Whether if it is personal files, or business data. With Backblaze B2 CLI for windows, you can store, access, download your data via Command prompt by Windows.
In installing Backblaze B2 CLI, you need to;
1. Go to their website or click this “Backblaze“, register an account and sign in.
2. Download Backblaze B2 CLI.
3. Create a folder and place the downloaded file in that folder.
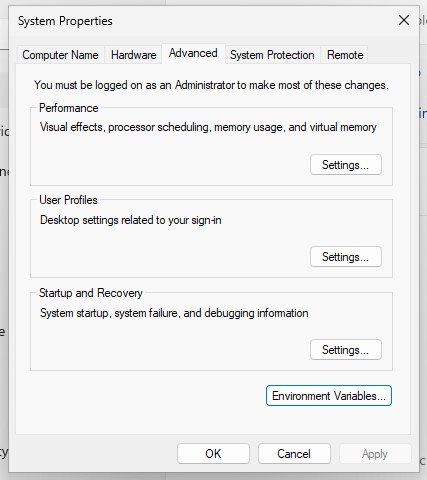
4. Go to Settings > System > About > Advanced System Settings > Environment Variables…
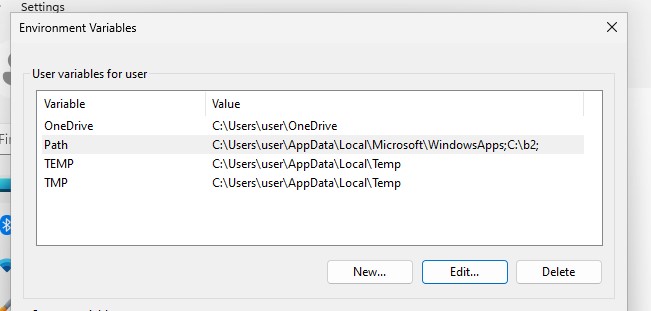
5. Under the User variables for (User), look for Path, Select it and click Edit.
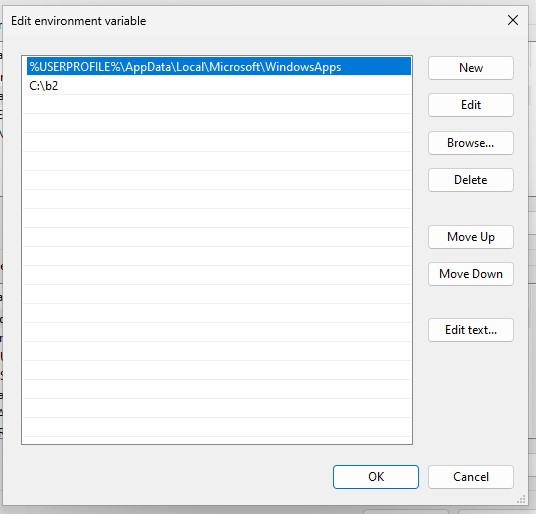
6. Click New, and then Browse. Go to the path file of where you put your downloaded b2-windows.exe and hit Ok.
7. Go to Terminal and type “b2-windows” and enter.
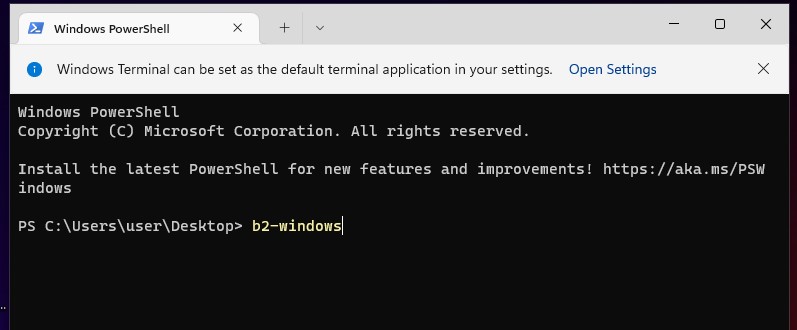
All of the commands and the details that are available will show. Installing Backblaze in Windows is a quick and easy process. With a few clicks, you can have a secure backup system where it continuously protects your data. It is a great choice for anyone looking for a cost-effective and reliable cloud backup solution. Whether if the use is for personal use or business purposes.