
You might have already used ListView and GridView for your Flutter apps, but you probably never used the Sliver widget. That is why in this blog we’ll tackle how to use Sliver in Flutter. Thus, basically what Sliver does is to do some fancy scrolling, fancier than the ListView and GridView, to say specifically. Let’s get into it!
Accordingly, there are three types of Sliver widget which we will tackle later on, but first, to an extent, I have to inform you that Slivers are a lower-level interface that allows for more fine-grained control when designing scrollable areas. Thus, Slivers are very good for efficiently scrolling through large numbers of children since they can build each item as it scrolls into view.
Additionally, all of the three sliver components are contained within a CustomScrollView. The rest is up to you in terms of how you mix your list of slivers to create your own scrollable region.
Sliver List in Flutter
Accordingly, SliverList accepts a delegate parameter that supplies the list items when they scroll into view. Additionally, A SliverChildListDelegate can be used to specify the actual list of children, or a SliverChildBuilderDelegate can be used to build them lazily.
SliverList(
    delegate: SliverChildListDelegate(
      [
        Container(color: Colors.red, height: 150.0),
        Container(color: Colors.purple, height: 150.0),
        Container(color: Colors.green, height: 150.0),
      ],
    ),
);

SliverList(
    delegate: SliverChildBuilderDelegate((BuildContext context, int index) {
      // To convert this infinite list to a list with three items,
      // uncomment the following line:
      // if (index > 3) return null;
      return Container(color: getRandomColor(), height: 150.0);
    },
    // Or, uncomment the following line:
    // childCount: 3,
  ),
);
Sliver Grid In Flutter
Adjacent to SliverList, SliverGrids can specify children with a delegate or an explicit list. However, there is some additional formatting for the grid’s cross-axis dimension.
SliverGrid(
  gridDelegate: SliverGridDelegateWithFixedCrossAxisCount(
    crossAxisCount: 4,
  ),
  delegate: SliverChildBuilderDelegate(
    (BuildContext context, int index) {
      return new Container(
        color: randomColor(),
        height: 150.0);
    }
);
Sliver AppBar
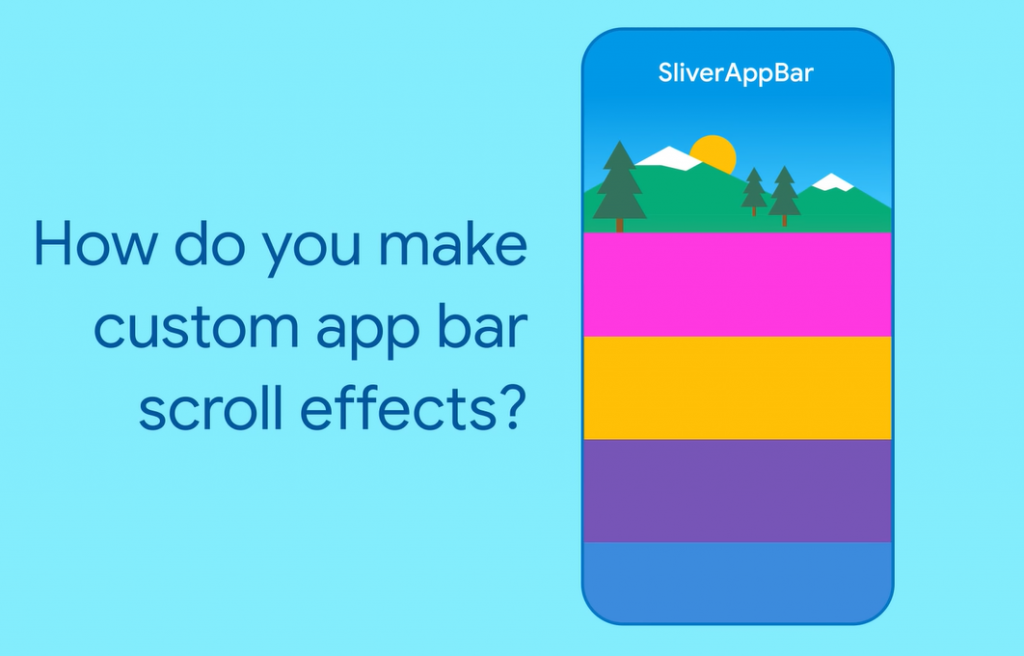
You might ask, How can I create a beautiful expanding and contracting app-bars with Sliver? The trick is to set both the flexibleSpace and expandedHeight parameters. You can configure your app bar to have a different height and appearance when it is enlarged to its full size versus the “compressed” version. SliverAppBar allows for some further customisation. Set the floating parameter to true to reappear the app bar when you scroll down, even if you haven’t reached the top of the list.
CustomScrollView(
    slivers: <Widget>[
      SliverAppBar(
        title: Text('SliverAppBar'),
        backgroundColor: Colors.green,
        expandedHeight: 200.0,
        flexibleSpace: FlexibleSpaceBar(
          background: Image.asset('assets/forest.jpg', fit: BoxFit.cover),
        ),
      ),
      SliverFixedExtentList(
        itemExtent: 150.0,
        delegate: SliverChildListDelegate(
          [
            Container(color: Colors.red),
            Container(color: Colors.purple),
            Container(color: Colors.green),
            Container(color: Colors.orange),
            Container(color: Colors.yellow),
            Container(color: Colors.pink),
          ],
        ),
      ),
    ],
);
Sliver Conclusion
In this blog we’ve tackled how to use Sliver in Flutter. We understand that Slivers are a lower-level interface that allows us more fine-grained control when designing scrollable areas. We have already tackled three types of Sliver widget. Adjacent to SliverList, SliverGrids can specify children with a delegate or an explicit list. SliverAppBar, on the other hand, allows for further customisation in contrast to the default Appbar. Thank you for reading. You can follow me on my flutter blogs here. Good bye.