By following the tutorial on How to Install Backblaze B2 CLI for Windows, To use Backblaze you need to;
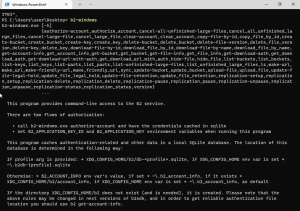
Go to terminal and to make sure that the Backblaze is installed by simply running this command “b2-windows“.
Authorizing your Account
You need to authorize your account. You can type “b2-windows authorize-account *Your keyID* *Your Applicationkey*”
For example: “b2-windows authorize-account examplekeyid exampleapplicationkey“
Creating a bucket
By creating a bucket you need to input this command “b2-windows create-bucket *Name of your bucket* allPrivate”
To see all of your buckets you can type “b2-windows list-buckets“

Uploading Files in Your Bucket
You can upload files by following this command “b2-windows uploadfile *your bucket name* *Path file of what you want to upload* *Name of that file once you upload it*“

Viewing Files in your Selected Bucket
To view the files in your Bucket, type “b2-windows ls *Name of your bucket*“

Downloading Files from your Bucket
To download the files from your bucket, type “b2-windows download-file-by-name *Name of your bucket* *Name of the file from your bucket* *Name of the file after downloading*“


Copying Files from your Bucket
To know the id of your file you can type “b2-windows ls –long *name of your bucket*“

You can copy files from one bucket to another by simply typing “b2-windows copy-file-by-id *id of your file* *name of the bucket of where you want to copy* *name of that copy file*“

Delete Files from your Bucket
Deleting files can be done by doing this command “b2-windows delete-file-version *Id of the file that you want to delete*“

The Backblaze B2 Command Line Interface (CLI) for Windows, is a powerful tool for working with your data in the cloud. Whether if it is for Uploading/Downloading, Managing Buckets and Files. Backblaze is for you and see just how easy and convenient it is to work with your data in the cloud.
