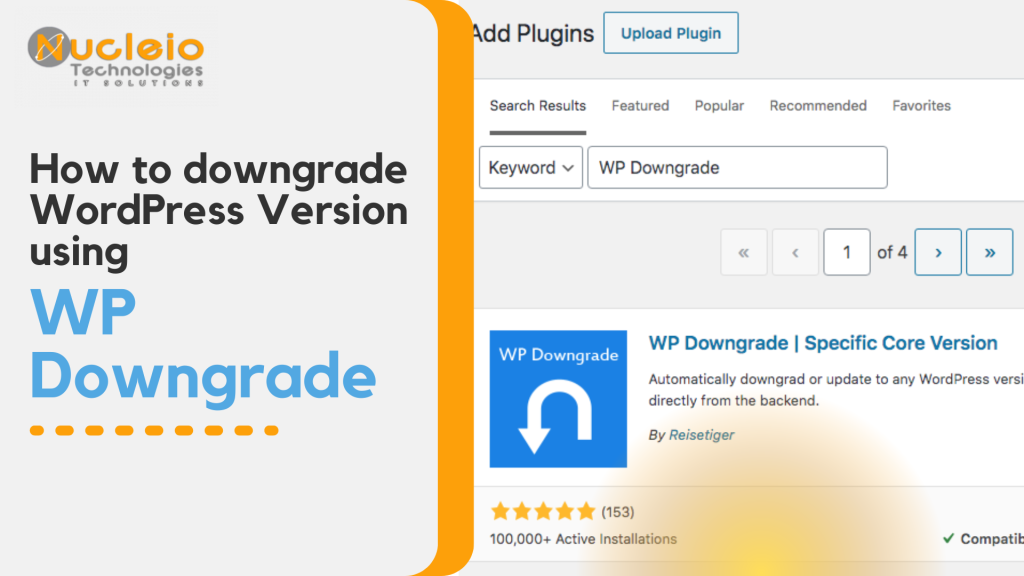
WordPress is known for its frequent updates, offering enhanced features, security patches, and bug fixes. However, sometimes these updates can inadvertently disrupt website functionality due to plugin or theme incompatibility or other issues. In such cases, reverting to a previous version of WordPress becomes necessary. WP Downgrade is a valuable tool that simplifies this process by allowing users to regress WordPress to a specific version directly from the WordPress dashboard. This plugin provides a user-friendly solution for website owners and developers seeking to resolve compatibility issues or revert to a previous WordPress version for any reason. In this guide, we’ll explore how to use this plugin effectively to downgrade WordPress and ensure a seamless transition to the desired version.
1: Install and Activate WP Downgrade Plugin
- Log in to your WordPress dashboard.
- Navigate to the Plugins section and click on Add New.
- In the search bar, type WP Downgrade and press Enter.

- Locate the WP Downgrade plugin and click on Install Now.

- After installation, click on “Activate” to activate the plugin.


2: Find the Previous Version of WordPress
- Visit the WordPress Release Archive page on wordpress.org.
- Scroll down to find the version of WordPress you want to switch to. Note the version number.

3: Configure WP Downgrade Plugin
- Go to Settings in your WordPress dashboard and click on WP Downgrade.

- In the WP Downgrade settings, enter the version number you want to downgrade to in the Target Version field.
- Click on “Save Changes” to update the settings.

4: Downgrade WordPress
- Before proceeding, it’s essential to back up your WordPress site to prevent any data loss.
- Once you’ve backed up your site, navigate again to the WP Downgrade settings and go to Update Core.

- Click on the Reinstall Now button.

- WP Downgrade will now download and reinstall the specified version of WordPress.

- After the process completes, you should see a message confirming the downgrade or you can check the version yourself by clicking on the WordPress logo on the top left corner. There you will see what version is currently installed in your WordPress.

5: Check Your Site
- Visit your website to ensure that everything is working correctly.
- Test your site’s functionality, including themes, plugins, and customizations, to verify compatibility with the downgraded version.
6: Prevent Automatic Updates
- To avoid automatic updates reverting your WordPress version, it’s crucial to prevent WordPress from updating automatically.
- You can do this by adding the following line to your site’s wp-config.php file: define( ‘WP_AUTO_UPDATE_CORE’, false );. This line disables automatic updates for WordPress core.
All set! WP Downgrade offers a straightforward solution for WordPress users facing compatibility challenges or seeking to revert to a previous version for any reason. By following the steps outlined in this guide, users can confidently navigate the process of downgrading WordPress directly from their dashboard, ensuring minimal disruption to their website’s functionality. Whether addressing plugin conflicts, theme issues, or simply preferring an earlier version of WordPress, WP Downgrade empowers users to take control of their website’s version management with ease. With this tool at hand, WordPress users can maintain the stability and performance of their websites while embracing the flexibility to explore different versions according to their needs.

