
This tutorial will help you to deploy, setup, and install WordPress on Docker, and it is ONLY for the Linux environment. First, let’s define Docker and WordPress.
What is a docker?
It is an open platform for creating, distributing, and running applications. You can separate your applications from your infrastructure using Docker, which helps you quickly deliver software. You can also manage your infrastructure with Docker in the same way that you manage your applications. The time between writing code and running it in production can be greatly decreased by utilizing Docker’s methodologies for shipping, testing, and deploying code quickly.
What is WordPress?
WordPress is a free, open-source website platform that works well for a wide range of websites. It is a flexible CMS that can be used for everything from blogging to e-commerce to business and portfolio websites. It is a great solution for both large and small websites because it was designed with usability and flexibility in mind.
Guide for deploying a WordPress website on Docker
For coding, we will use Visual Studio Code, and since you’re here, you have probably installed the following. If not, then you should install them first.
- Docker
- Docker Compose
To begin, open a folder in your VS Code and create a file, then save the code as docker-compose.yaml.

Copy the already configured code for deploying a WordPress website below then save your file.
version: '3.9'

services:

  db:
    image: mysql:5.7
    volumes:
      - database:/var/lib/mysql
    environment:
       MYSQL_ROOT_PASSWORD: password
       MYSQL_DATABASE: wordpress
       MYSQL_USER: wp-username
       MYSQL_PASSWORD: wp-password
    ports:
      - 8001:3306
    networks:
      - wp-network

  phpmyadmin:
    depends_on:
      - db
    image: phpmyadmin/phpmyadmin
    environment:
      PMA_HOST: db
      MYSQL_USER: wp-username
      MYSQL_PASSWORD: wp-password
      MYSQL_ROOT_PASSWORD: password
    ports:
      - 7001:80
    networks:
      - wp-network

  wordpress:
    depends_on:
      - db
    image: wordpress:latest
    ports:
      - 8000:80
      - 443:443
    environment:
       WORDPRESS_DB_HOST: db
       WORDPRESS_DB_USER: wp-username
       WORDPRESS_DB_PASSWORD: wp-password
    volumes:
      - ./wp-files:/var/www/html
    container_name: wordpress-site
    networks:
      - wp-network

volumes:
  database:
networks:
  wp-network:
Then open the terminal of your VS Code and type the following commands.
docker-compose up -d
This command will run the docker-compose.yml file.
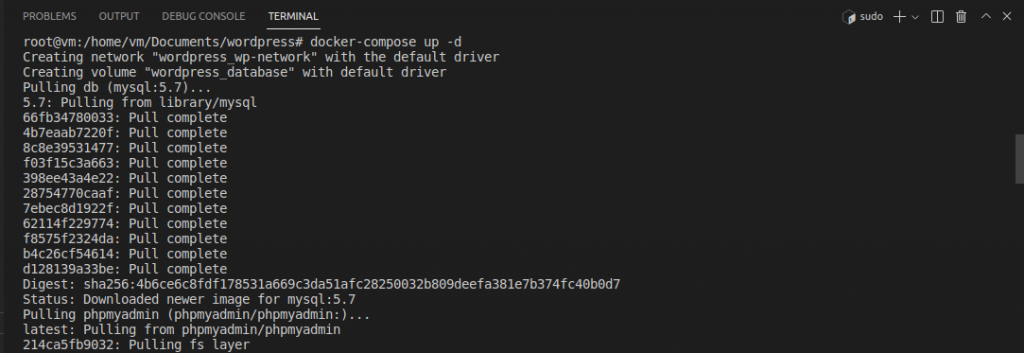
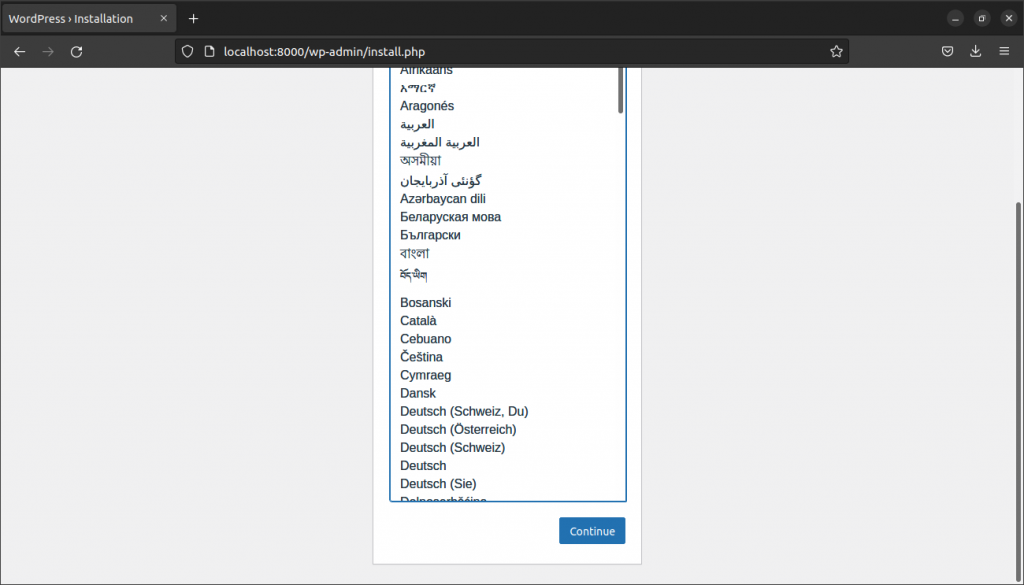
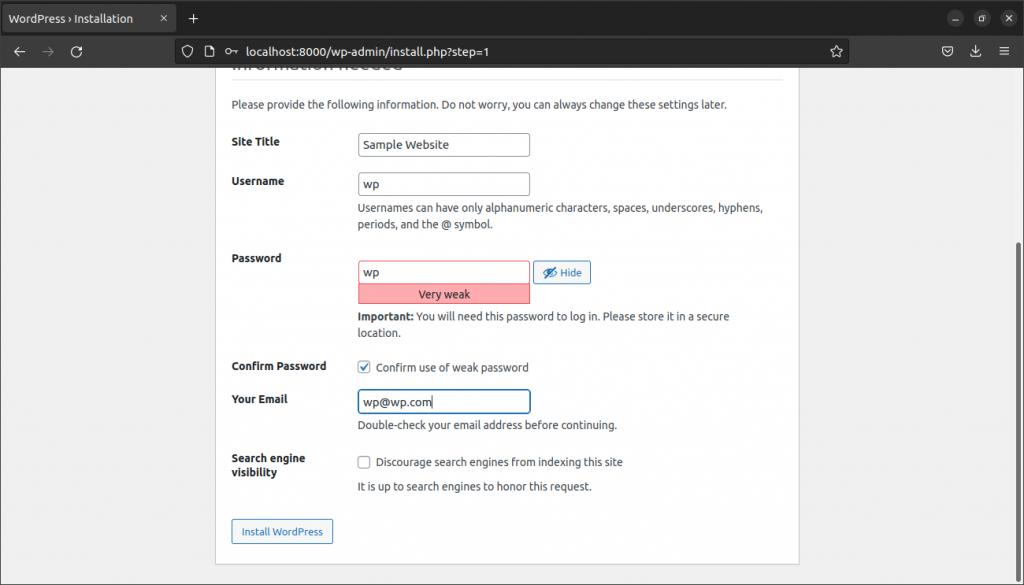
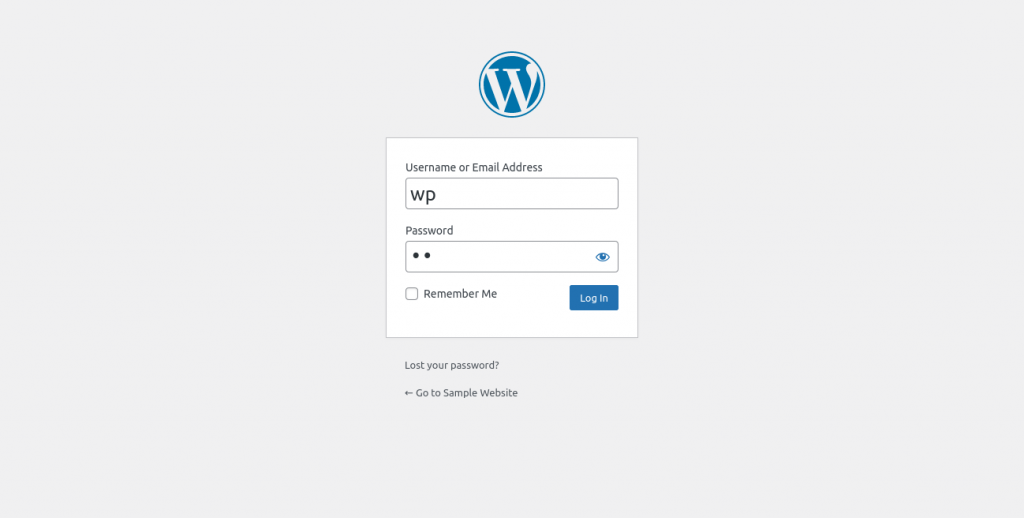
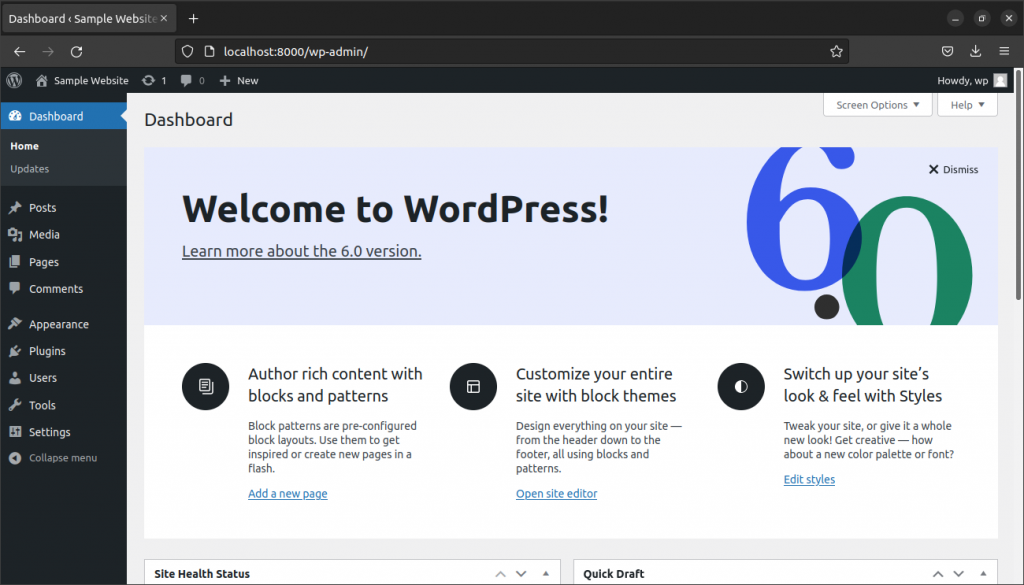
After that, open a browser in your environment and type localhost: followed by the port you exposed for your WordPress website (localhost:8000). You will see a WordPress installation, and all you have to do is finish the installation process to be directed to the login page, from which you can now edit your WordPress website.
Now, if you want to stop the container you just deployed, go to the terminal in VS Code and type docker-compose down or docker-compose down --volumes.
I hope this was helpful. Thank you very much!