
In today’s blog, I will guide you through creating an HTML form using Bootstrap. First, let us define what HTML form means.
The HTML Form is used to collect user input. The user’s input is frequently sent to a server for processing. The <form> element is a container for <input> elements, which can be displayed in a variety of ways depending on the type attribute, such as text fields, checkboxes, radio buttons, submit buttons, and so on.
A Guide to Creating an HTML Form Using Bootstrap
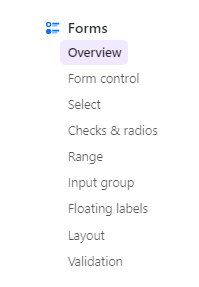
To begin, open your HTML file and go to the Bootstrap page, then go to the Forms section.
https://getbootstrap.com/docs/5.2/forms/overview/
There, you will see different sections under Forms.
Go to the Overview section, copy some codes, and paste them into your HTML file. Make some modifications. If you’re lazy and don’t want to make some modifications, then just copy the codes below and after that run them.
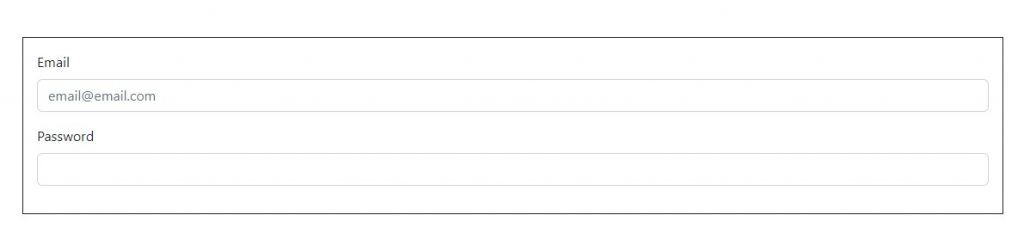
<div class="container my-5 p-3 border border-dark">
  <form>
    <div class="mb-3">
      <label for="exampleInputEmail1" class="form-label">Email Address</label>
      <input type="email" class="form-control" id="exampleInputEmail1" placeholder="[email protected]" aria-describedby="emailHelp">
    </div>
    <div class="mb-3">
      <label for="exampleInputPassword1" class="form-label">Password</label>
      <input type="password" class="form-control" id="exampleInputPassword1">
    </div>
    <input type="submit" class="btn btn-primary">
  </form>
</div>
The form that you created using Bootstrap is also responsive whenever you resize your window, and as I have said earlier, we can change the <input> elements in various ways depending on the type attribute. Here are some examples:
text
<input type="text" class="form-control" id="exampleInputEmail1" >password
<input type="password" class="form-control" id="exampleInputPassword1">checkboxes and radio buttons
<input type="checkbox" class="form-check-input" id="exampleCheck1">
<input class="form-check-input" type="radio" name="flexRadioDefault" id="flexRadioDefault1">
submit button or button
<input type="submit" class="btn btn-primary">
<input type="button" value="Button" class="btn btn-primary">
That’s it for todays blog. I hope this was helpful. Thank you very much!
If you want to know more about the HTML Form, check the links below:
https://www.w3schools.com/html/html_forms.asp
https://getbootstrap.com/docs/5.2/forms/overview/