
Today I will teach you how to create a dropdown with the help of Bootstrap. But before that, let me explain what a dropdown is.
What is a dropdown?
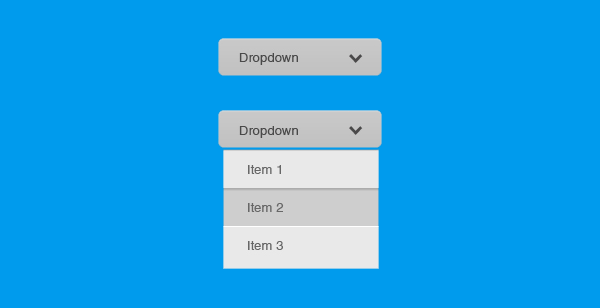
A drop-down list is a graphical control element, similar to a list box, that allows the user to choose one value from a list. When a drop-down list is inactive, it displays a single value. When activated, it displays a list of values from which the user may select one. Wikipedia
tutorial in creating a dropdown with the help of bootstrap
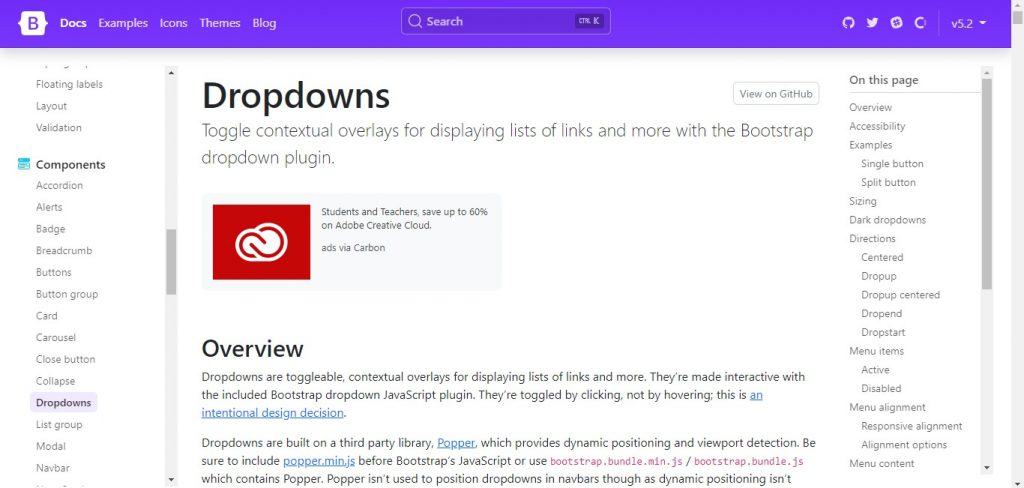
1. Open your HTML then go to the Bootstraps’ website. Go to the website’s documentation labeled as “Docs”, then scroll down the sidebar. Under “Components”, you’ll see the “Dropdown”. Click it and you’ll see its documentation.
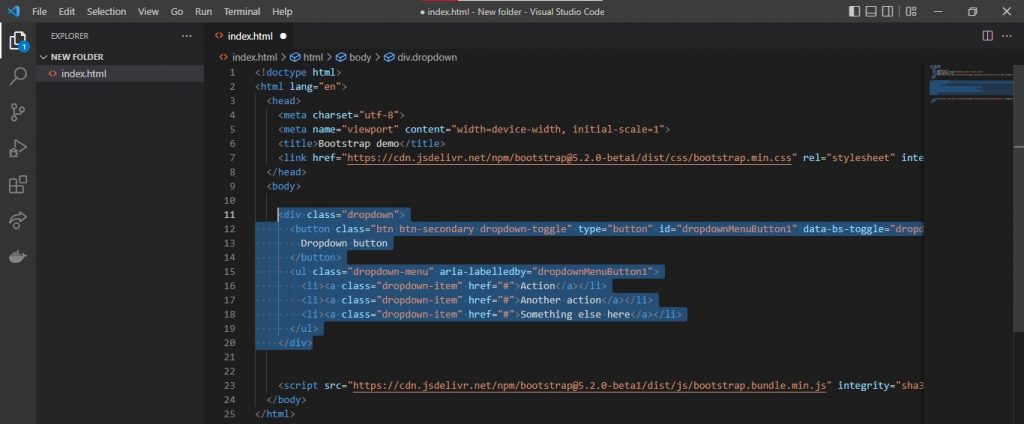
2. Scroll down in the Dropdown contents until you see the “Single Button”. Below that, copy all the codes, then paste them into your HTML file, then run it.
<div class="dropdown">
  <button class="btn btn-secondary dropdown-toggle" type="button" id="dropdownMenuButton1" data-bs-toggle="dropdown" aria-expanded="false">
    Dropdown button
  </button>
  <ul class="dropdown-menu" aria-labelledby="dropdownMenuButton1">
    <li><a class="dropdown-item" href="#">Action</a></li>
    <li><a class="dropdown-item" href="#">Another action</a></li>
    <li><a class="dropdown-item" href="#">Something else here</a></li>
  </ul>
</div>
Here’s the link of the code above: Dropdowns · Bootstrap v5.2 (getbootstrap.com)
If you click the button, you’ll see several values listed.
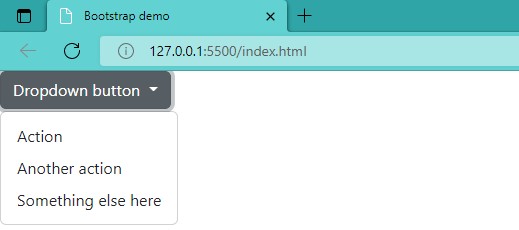
You can also modify the dropdown by changing its color and size. You can also change its listed values. A divider can be added too.
<div class="dropdown">
  <button class="btn btn-secondary dropdown-toggle" type="button" id="dropdownMenuButton1" data-bs-toggle="dropdown" aria-expanded="false">
    Car Brands
  </button>
  <ul class="dropdown-menu" aria-labelledby="dropdownMenuButton1">
    <li><a class="dropdown-item" href="#">Ferrari</a></li>
    <li><a class="dropdown-item" href="#">Bently</a></li>
    <li><a class="dropdown-item" href="#">BMW</a></li>
    <li><hr class="dropdown-divider"></li>
    <li><a class="dropdown-item" href="#">Cadillac</a></li>
  </ul>
</div>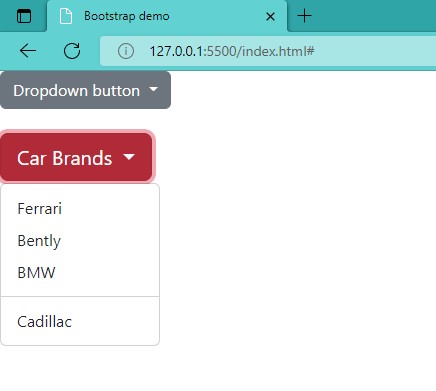
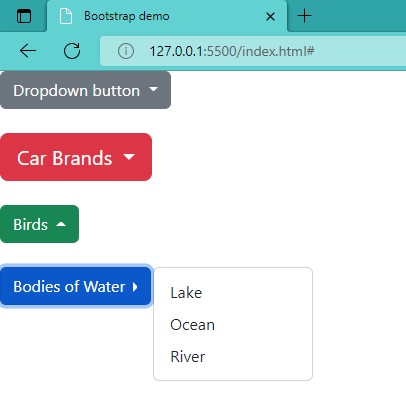
3. You can change the direction of the Dropdown. You can make the listed values appear above, to the right, or to the left.
<!-- Default dropup button -->
<div class="btn-group dropup">
  <button type="button" class="btn btn-secondary dropdown-toggle" data-bs-toggle="dropdown" aria-expanded="false">
    Birds
  </button>
  <ul class="dropdown-menu">
    <li><a class="dropdown-item" href="#">Eagle</a></li>
    <li><a class="dropdown-item" href="#">Pelican</a></li>
    <li><a class="dropdown-item" href="#">Vulture</a></li>
  </ul>
</div>

<!-- Default dropend button -->
<div class="btn-group dropend">
  <button type="button" class="btn btn-secondary dropdown-toggle" data-bs-toggle="dropdown" aria-expanded="false">
    Bodies of Water
  </button>
  <ul class="dropdown-menu">
    <li><a class="dropdown-item" href="#">Lake</a></li>
    <li><a class="dropdown-item" href="#">Ocean</a></li>
    <li><a class="dropdown-item" href="#">River</a></li>
  </ul>
</div>
I hope this was helpful. Thank you very much!