
CPU Fans
- Internal fans that do not operate at the required speeds are one of the primary causes of a PC overheating. This is frequently caused by the automatic fan controller failing to function properly. Fortunately, you can manually adjust your fan speeds using a few different methods. Manually adjusting your fan speed is also an important step in CPU overclocking. This guide will show you how to manually adjust your CPU fan and any other case fans.
- Adjust CPU Fan Speed
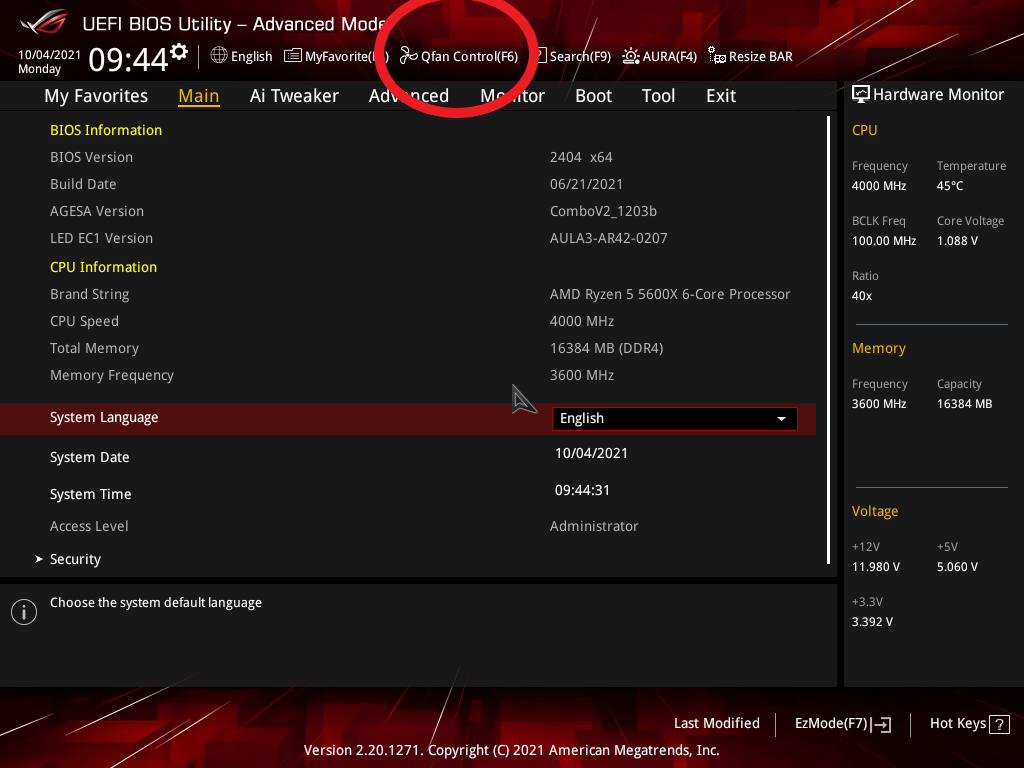
- Restart your computer and boot into the UEFI mode.
- Look for instructions on your boot screen that detail which key to press to access the UEFI after restarting to enter the UEFI. Most of the time, the F2 or Del key will suffice.
- Locate the setting in the main menu called Smart Fan Mode, Manual Mode, Qfan Control, or something similar in the UEFI.
- When you see a list of fans and a curve graph, you’ll know you’re in the right place.
- Once you’ve found the fan curve graph, select the fan you want to control and switch to Manual mode.
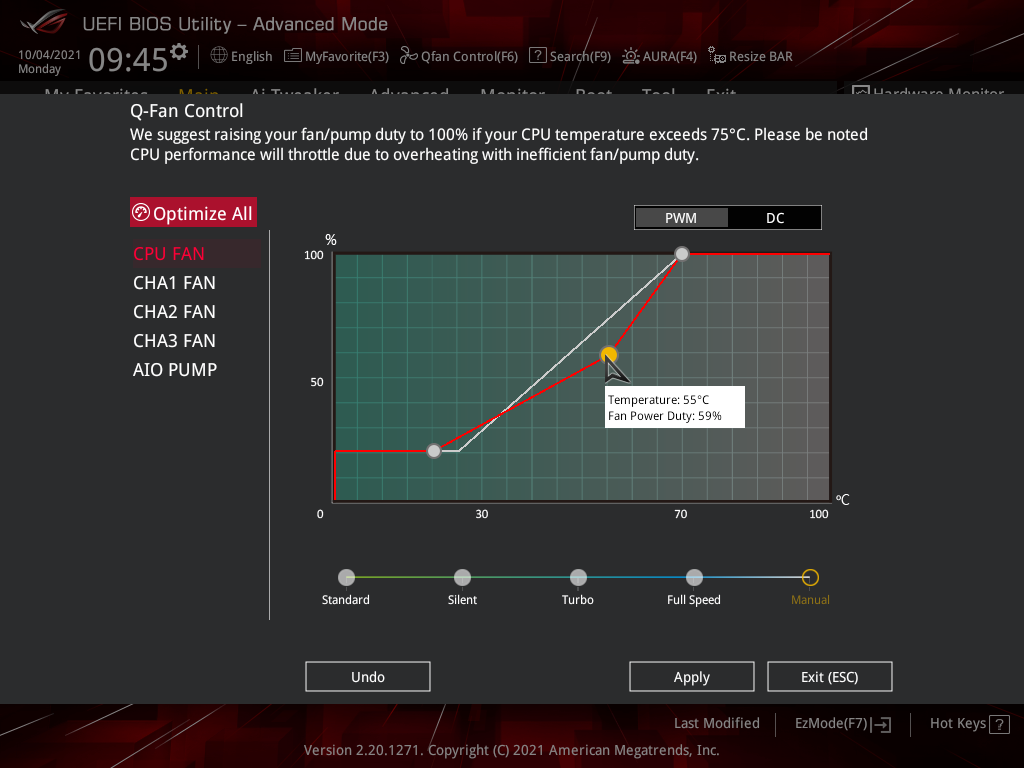
- The fan curve may appear complicated at first, but it’s actually quite simple once you get the hang of it. The fan speed is indicated on the left side of the graph, and the temperature in Celsius is indicated below the graph. When the temperature inside the case reaches the preset level, the fan speed will increase.
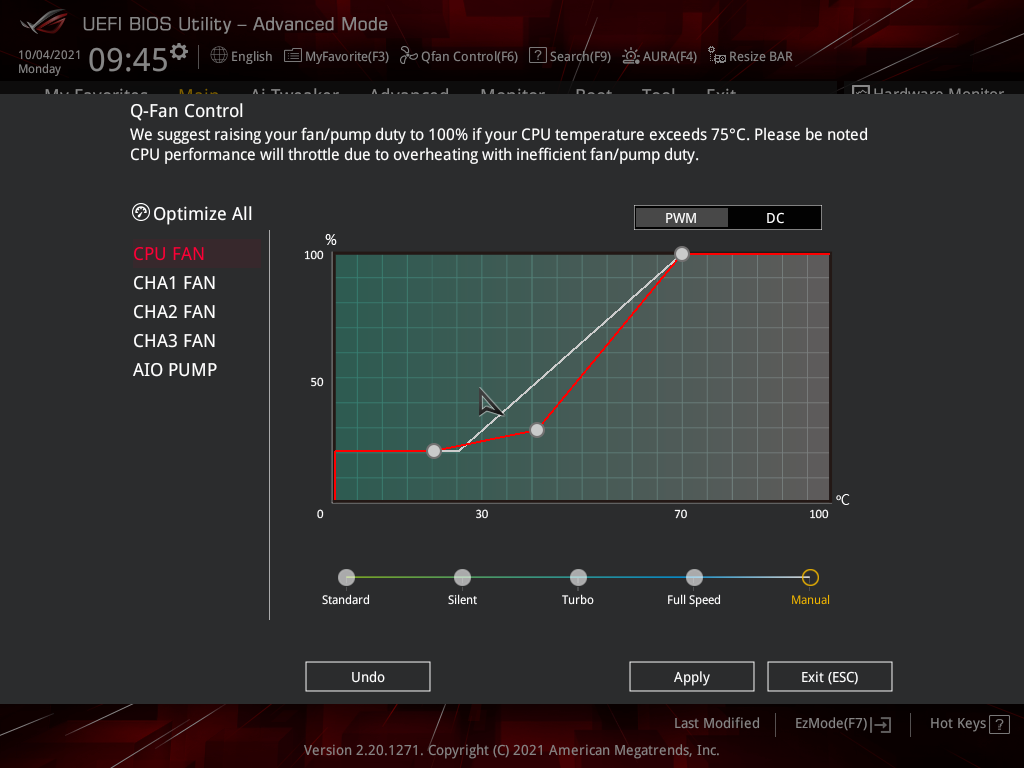
- Now, edit the dots on the fan curve to get the fan curve you want.
- Save your changes and restart your computer.
References:
https://rog.asus.com/forum/attachment.php?attachmentid=71359&stc=1&thumb=1&d=1517928134