
Introduction
The original method of creating your own website is to design it with html and CSS code. This slows you down while creating a website, and your intended design will not be the final result. Evanto components is a fantastic WordPress plug-in, especially if you want to easily create your own designs. This plug-in already includes sample templates for the basic components of a website, such as the header, footer, body, price list, and so on. I’ll show you how to use it and create a simple website in this blog.
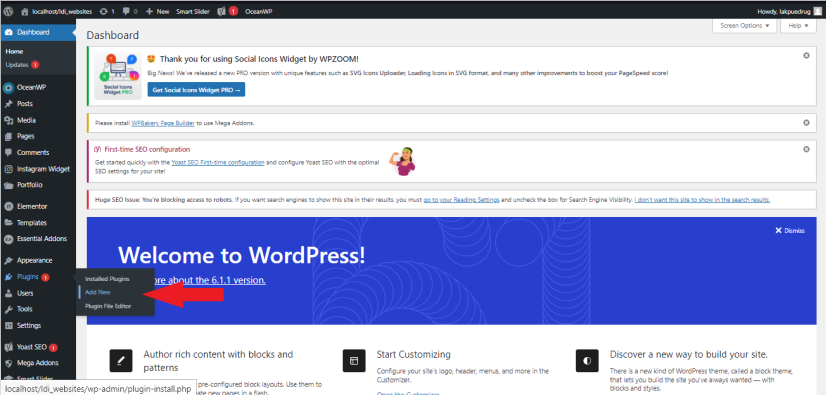
Step 1: On the dashboard of your WordPress, hover on Plug-in and click Add New.
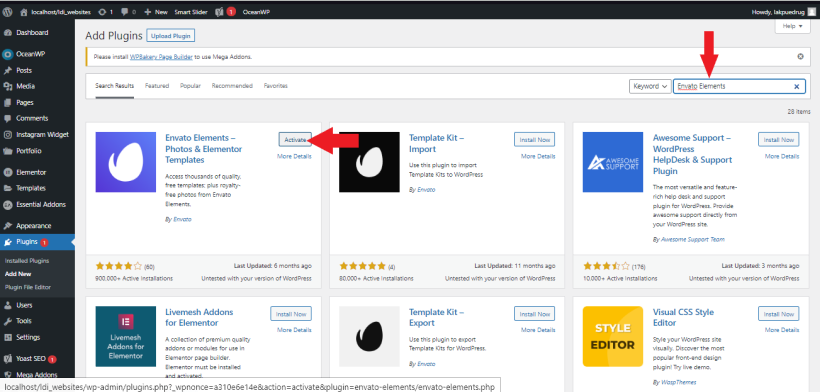
Step 2: Search for Envato Elements and Click install on the Envato Elemetns- Photos & Elementor Templates. After installing, click Activate.
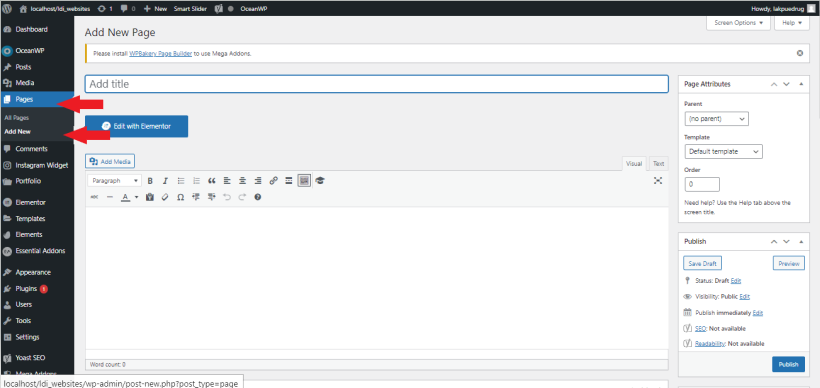
Step 3: In order to use it, let us first make a new page to begin a simple website. Hover on Page, Click Add New.
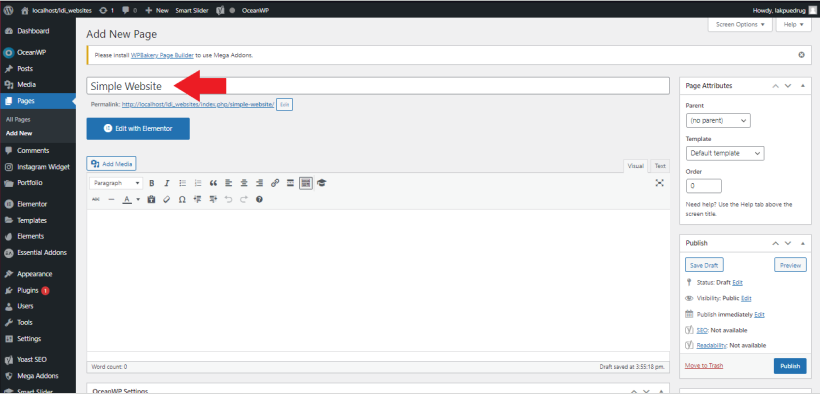
Step 4: Let us make a new website. We will name it as Simple Website.
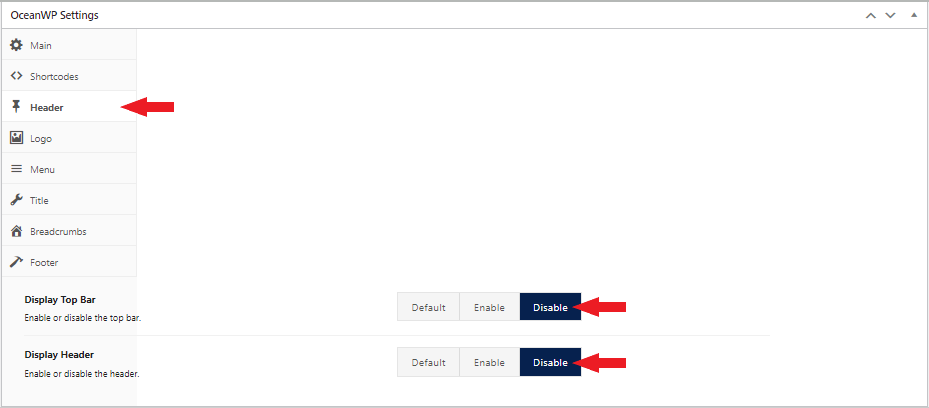
Step 5. Before we click Edit with Elementor, let us first configure the following so it will be a blank page if we open our page. On Header, Disable the Display Top Bar and Display Header.
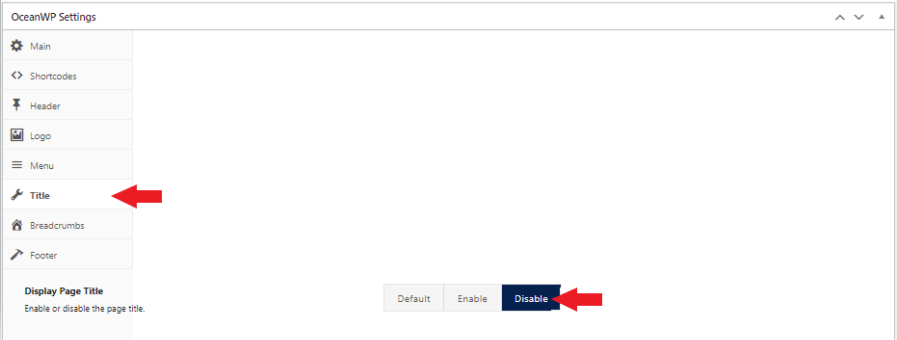
Step 6: On Title, Disable the Display Page Title.
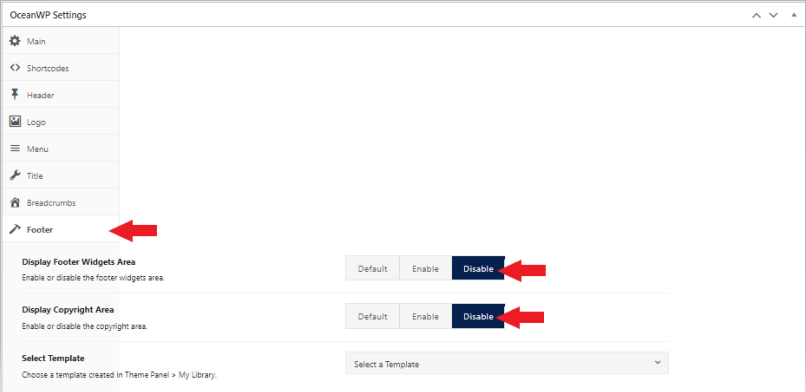
Step 7: On Footer, Disable Footer Widgets Area and Copyright Area.
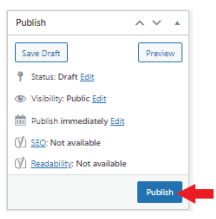
Step 8: Scroll up and you will see on right side the Publish Area, simply click the Publish.
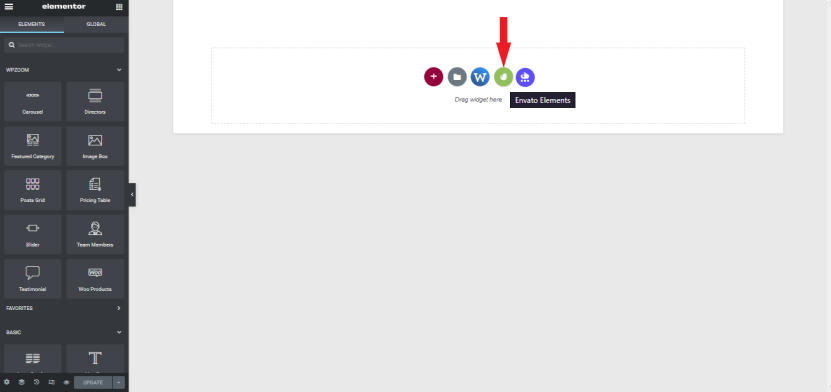
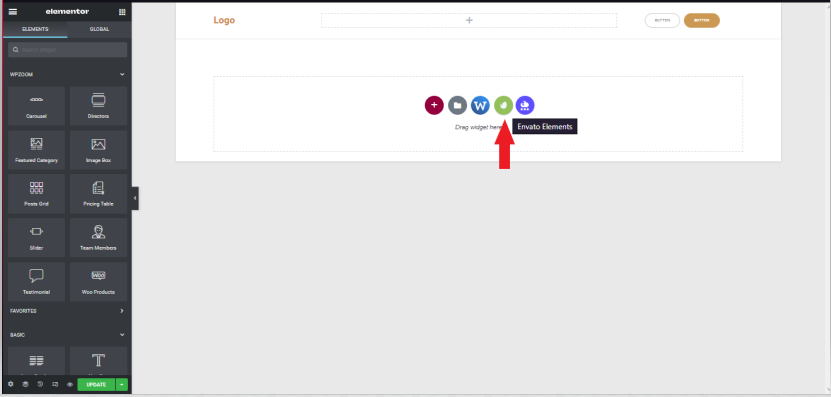
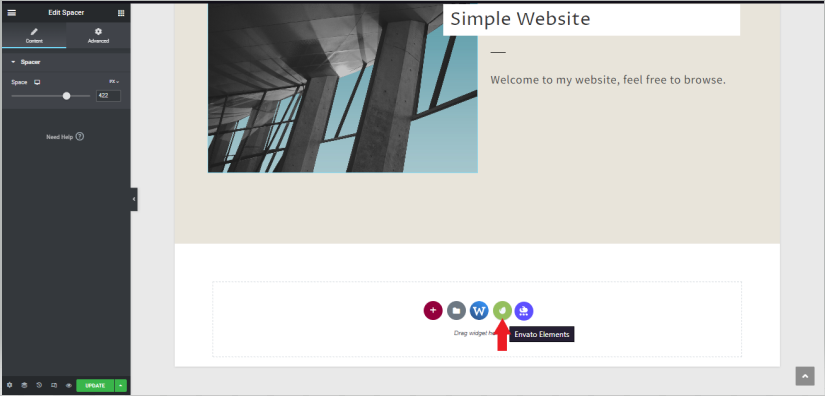
Step 9: On the Elementor, Click the Envato Elements.
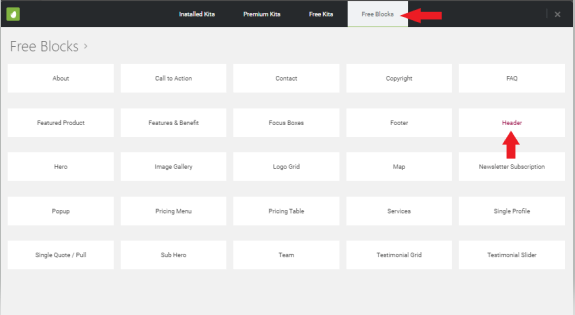
Step 10: Click Free blocks and Select Header.
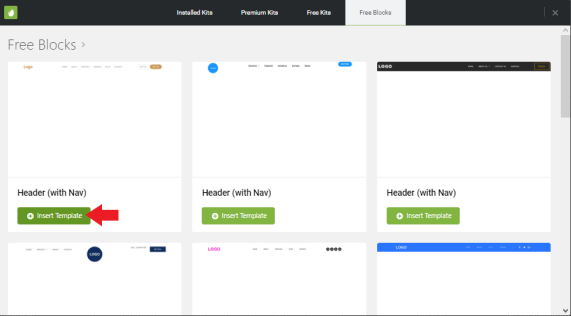
Step 11: Choose any header you want, and select Insert Template. Wait until importing is done.
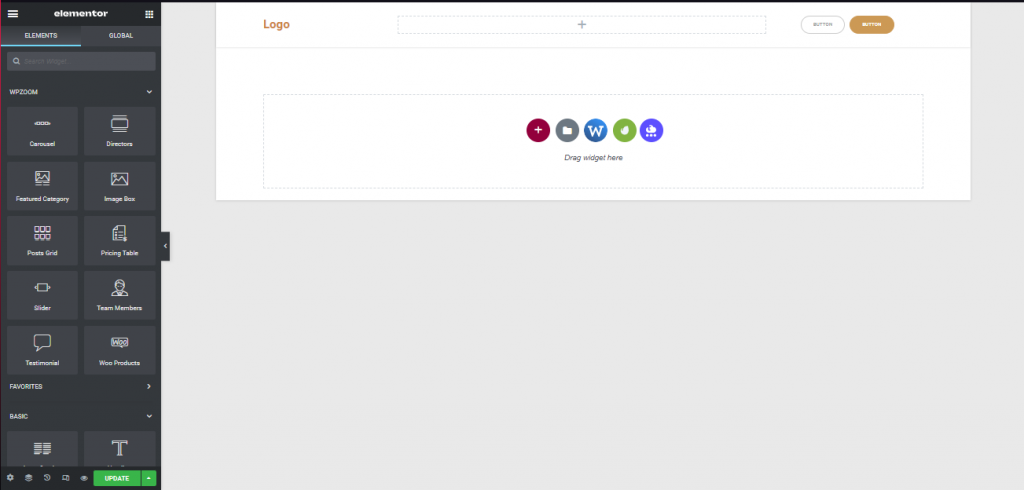
Step 12: To add a new Widget, Simply click the Envato Elements, Click Free Blocks and select Hero.
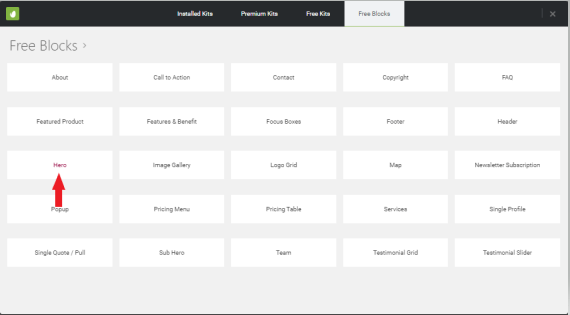
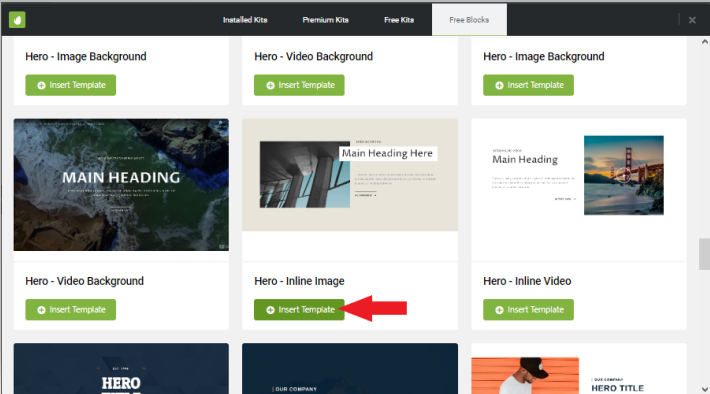
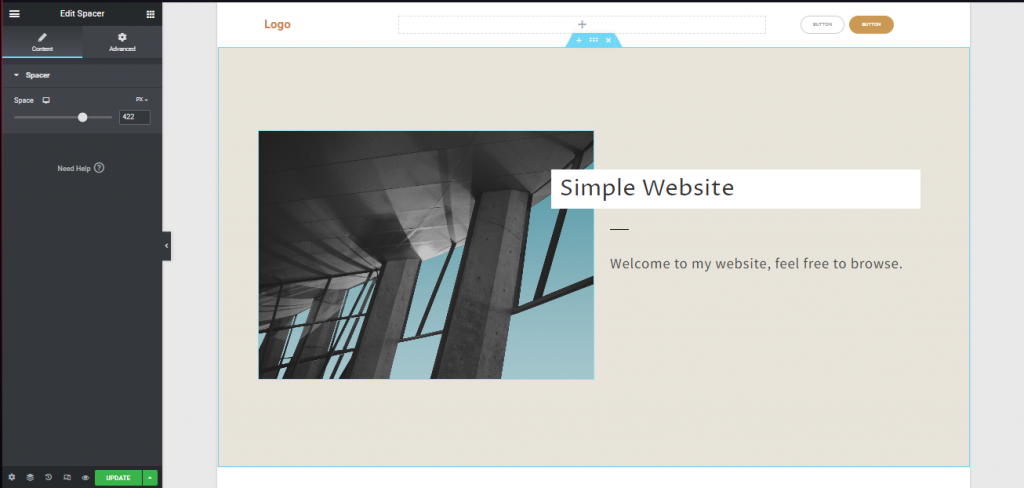
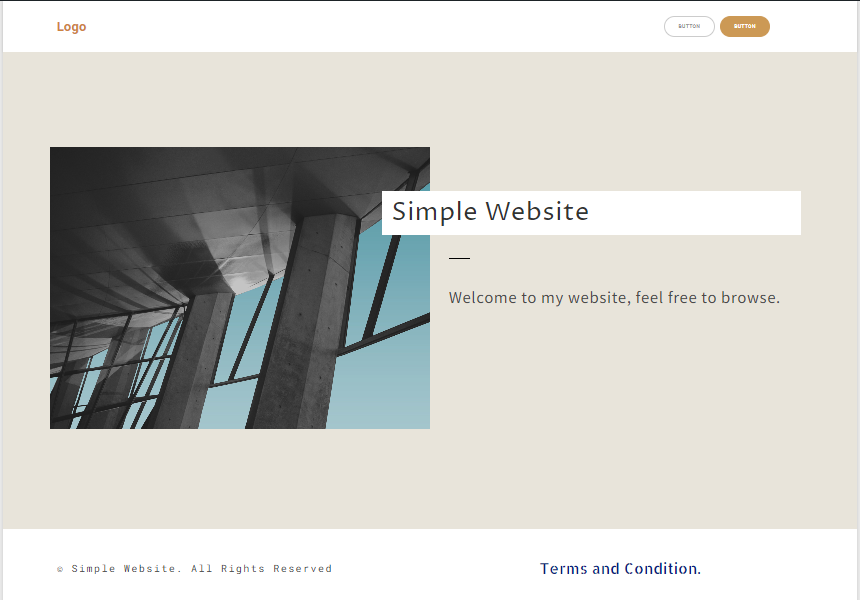
Step 13: Choose any Hero or the main Heading of the website, and select Insert Template.
Step 14: You can change any heading you want.
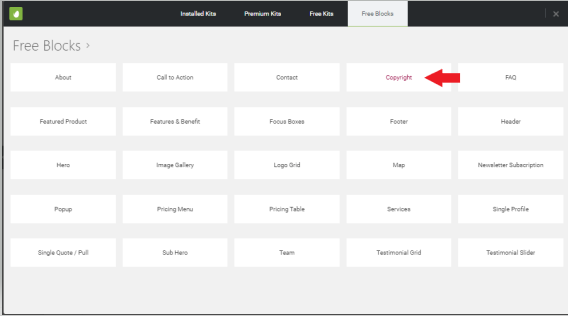
Step 15: Let’s Add another widget such as the Copyright section. Click the Envato Elements, Click Free blocks and select Copyright.
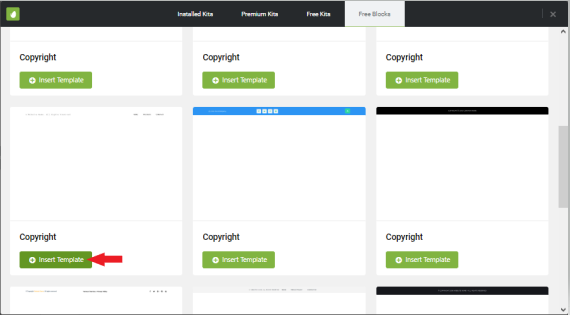
Step 16: Choose any Copyright you want, this will serve as the footer of our website. Click insert template and wait until imported.
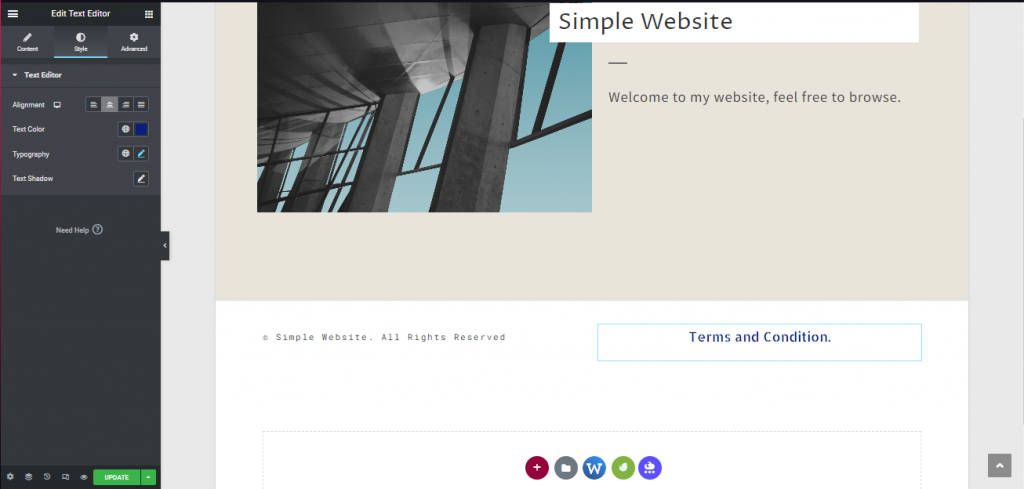
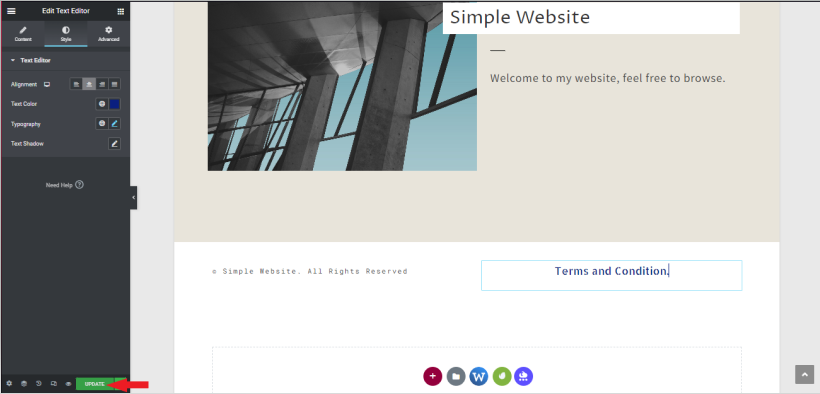
Step 17: Edit your copyright section and Click update. And there you have it.
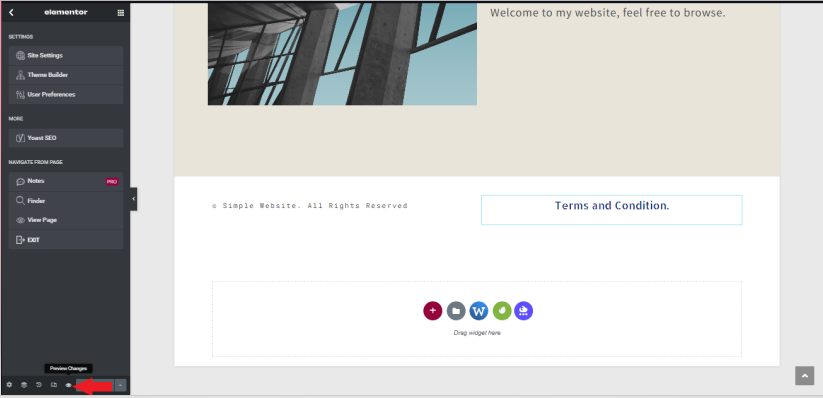
Step 18: To view our website simply click the eye icon on beside of update, This allows us to preview the page.
Conclusion
Following these steps allows you to create your own. With the given templates provided by the Envato Elements, you can be creative on making your own website. This plug-in will surely help you especially when your client needed a rush website. Hope this blog will help you on your web designing tasks.