

In today’s blog post I’m focusing in BottomNavigationBar widget on Flutter. I’m going share some codes and how to’s in Flutter with BottomNavigationBar. Let’s get right into it!
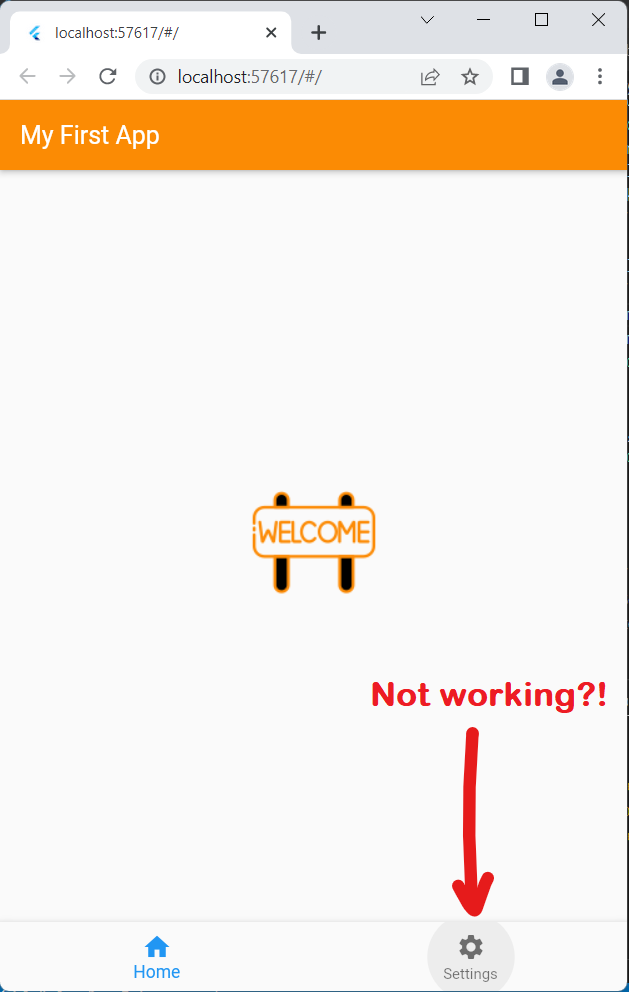
In my last blog post I made this simple app. But if we try to tap the settings in the BottomNavigationBar widget it doesn’t do anything nor select it but don’t worry I am going to teach you how to fix that.
Before I start adding codes in my app, this is my current source codes in my main.dart for info:
import 'package:flutter/material.dart';

void main() {
  runApp(const MyApp());
}

class MyApp extends StatelessWidget {
  const MyApp({Key? key}) : super(key: key);

  @override
  Widget build(BuildContext context) {
    return MaterialApp(
      debugShowCheckedModeBanner: false,
      home: Scaffold(
        appBar: AppBar(
          title: const Text("My First App"),
          backgroundColor: const Color(0xFFfb8b04),
        ),
        body: Center(
          child: Image.asset("images/WelcomeImage.png"),
        ),
        bottomNavigationBar: BottomNavigationBar(
          items: const [
            BottomNavigationBarItem(
              label: "Home",
              icon: Icon(Icons.home),
            ),
            BottomNavigationBarItem(
              label: "Settings",
              icon: Icon(Icons.settings),
            )
          ],
        ),
      ),
    );
  }
}
Now that you know my current project source code, we can begin and follow me on adding codes in it to fix the problem.
BottomNavigationBar arguments
If we check the Flutter docs here: https://api.flutter.dev/flutter/material/BottomNavigationBar-class.html
It states that in order for us to select the current active bar item, we need to set the argument called “currentIndex”, but I’m also going to use the argument called “onTap” to send an event in the widget when tapped or clicked.
In my case, I’m going to refactor the source code into a StatefulWidget because I’m going to need to use a state to change the current index of my BottomNavigationBarItem and I’ll add an int data type variable inside the widget class just above the override notation and add an event handler in my widget’s “onTap” argument to update the state of the current index.
Check the source code below with comments to see the changes I’ve made:
class MyApp extends StatefulWidget { // changed our widget from Stateless to Stateful
const MyApp({ Key? key }) : super(key: key);
@override
State<MyApp> createState() => _MyAppState();
}
class _MyAppState extends State<MyApp> {
int currentIndex = 0; // Added this variable
@override
Widget build(BuildContext context) {
return MaterialApp(
debugShowCheckedModeBanner: false,
home: Scaffold(
appBar: AppBar(
title: const Text("My First App"),
backgroundColor: const Color(0xFFfb8b04),
),
body: Center(
child: Image.asset("images/WelcomeImage.png"),
),
bottomNavigationBar: BottomNavigationBar(
items: const [
BottomNavigationBarItem(
label: "Home",
icon: Icon(Icons.home),
),
BottomNavigationBarItem(
label: "Settings",
icon: Icon(Icons.settings),
)
],
currentIndex: currentIndex, // added this argument and assign our currentIndex variable
onTap: (int index) { // the index parameter here means the index of the bar item that we'll tap
setState(() { // used setState here to apply update in our Stateful widget.
currentIndex = index; // assigns the currentIndex with the index of the tapped bar item.
});
},
),
),
);
}
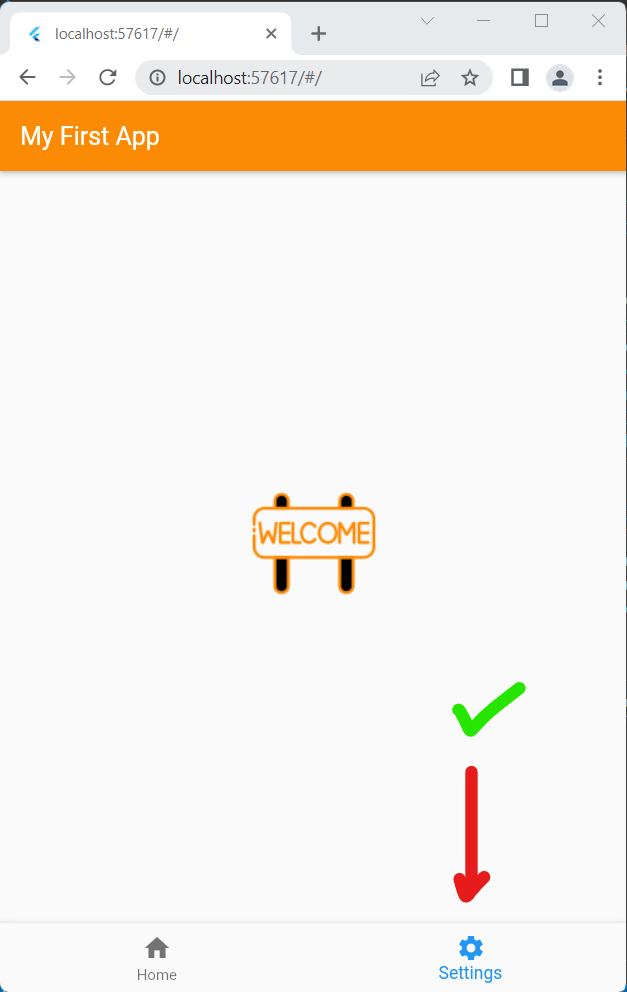
}Now we can finally change the selection in our BottomNavigationBar:
Conclusion
I’ve focused today’s post on BottomNavigationBar arguments to enable us to select between BottomNavigationBarItems by utilizing Dart’s int data type, BottomNavigationBar argument called “currentIndex”, “onTap”, and finally the setState function.
Thanks for reading.
Next time again,