

For this tutorial I will be showing a way to make a gradient color text in Adobe Illustrator. Having a gradient text can be a game changing element to a design. This helps give an eye catching appeal to any design.
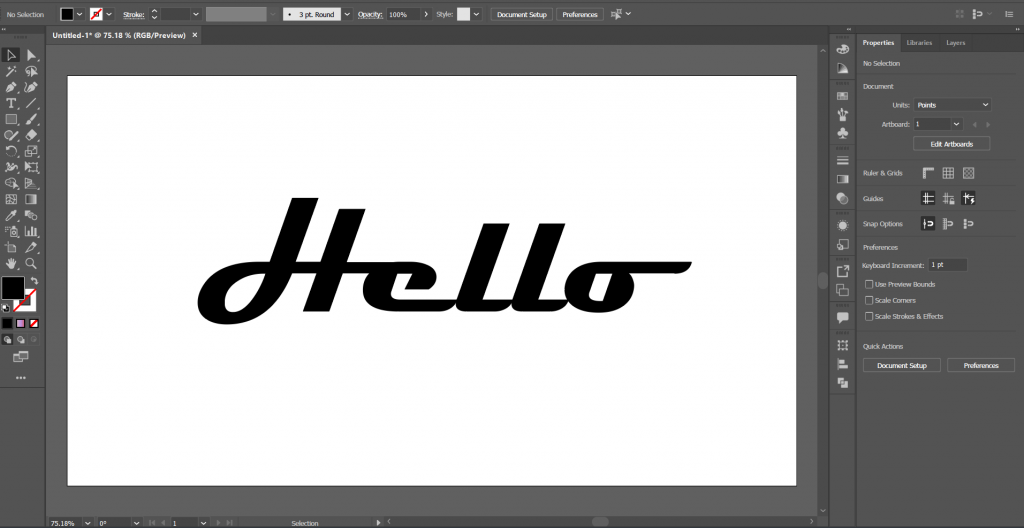
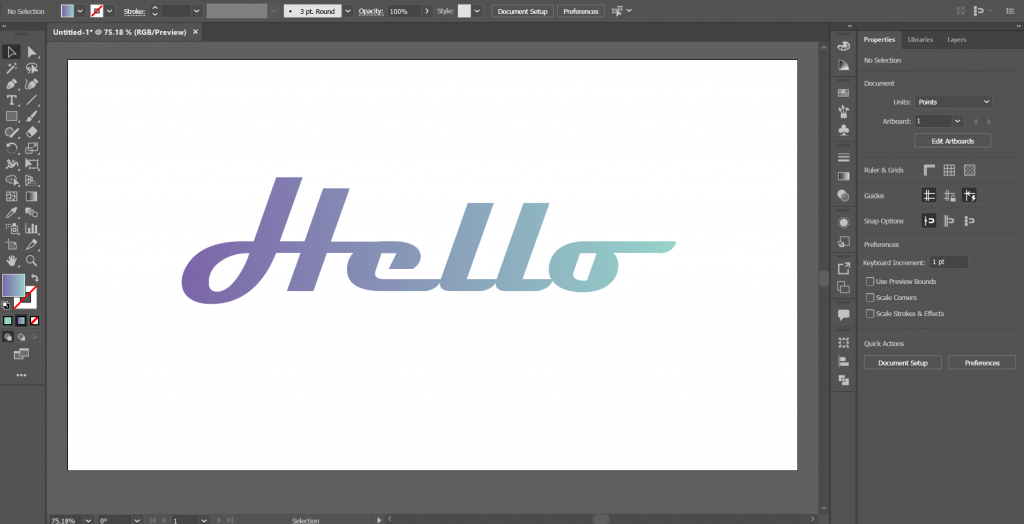
To start creating the gradient you will need to first have the text that you will be using. For this, I will be using the word “hello” as an example text.
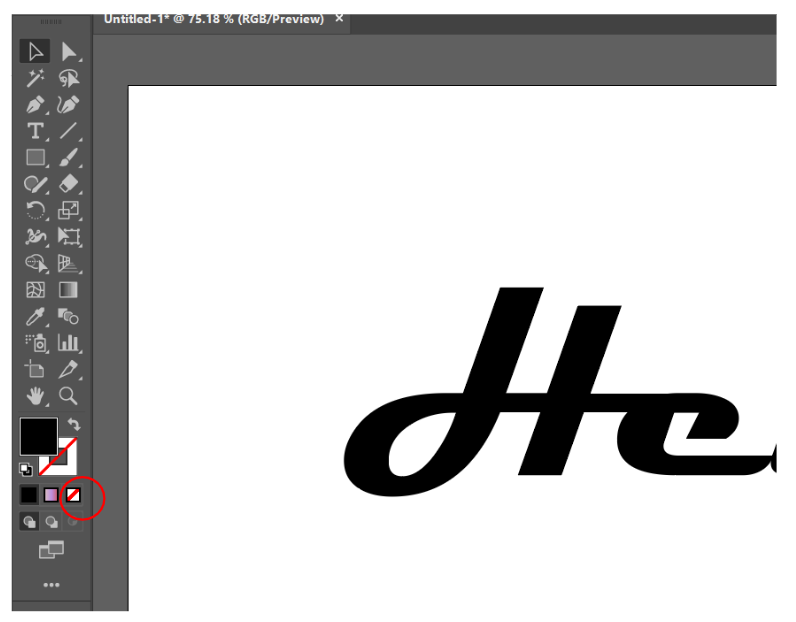
First you step to have a gradient text is to remove the fill of the text to make room for the gradient. To remove the fill grab the section tool by pressing v on the keyboard and selecting the text. click the remove fill on the toolbars tab.
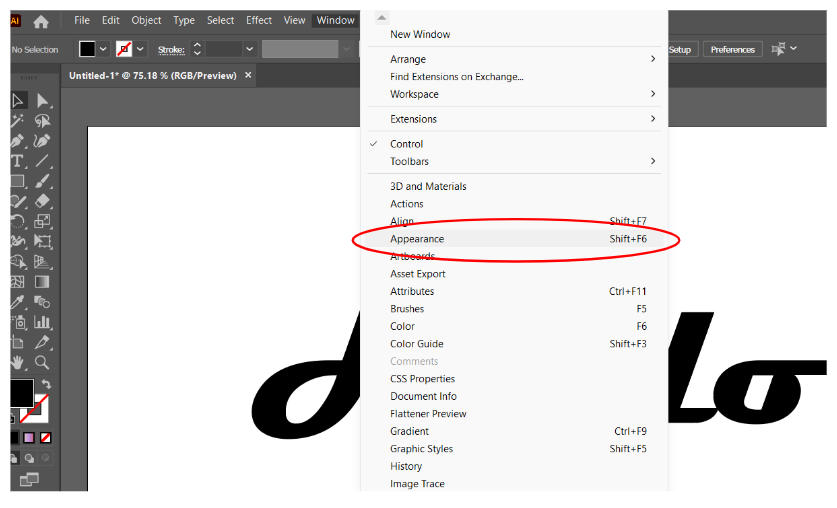
If the text disappear don’t panic it should be doing that because you are removing the color fill of the text. Your next step is to open the appearance panel and add a new fill to the text. Go to Window>Appearance or press shift+f6
On the appearance panel, click the create new fill and select the gradient color fill.
To edit the color for the gradient, go to Window>Gradient or press ctrl+f9 double click the circle ends of the gradient to change the color to what ever color you would like.
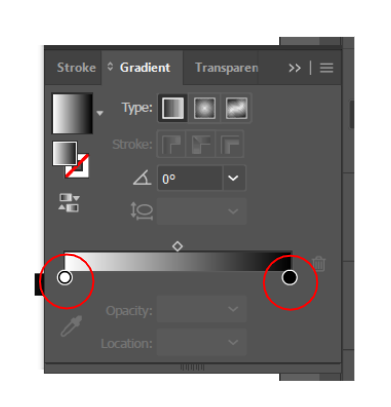
You can also add another color to the gradient by hovering to the gradient slider and you see that the cursor has a plus sign under it just click and another color picker will appear. After that you are pretty much done.

Great job! You just learn how to create a gradient text in Adobe Illustrator. Go ahead and incorporate this to your future projects. Remember to keep learning and continue to be creative.