
If you’re trying to have a certain look for your video that you are editing you might need to use LUTs. You can find preset LUTs all over the internet but you are here because you want to learn how you can create your own LUT. And for that I will be helping you curate your own.
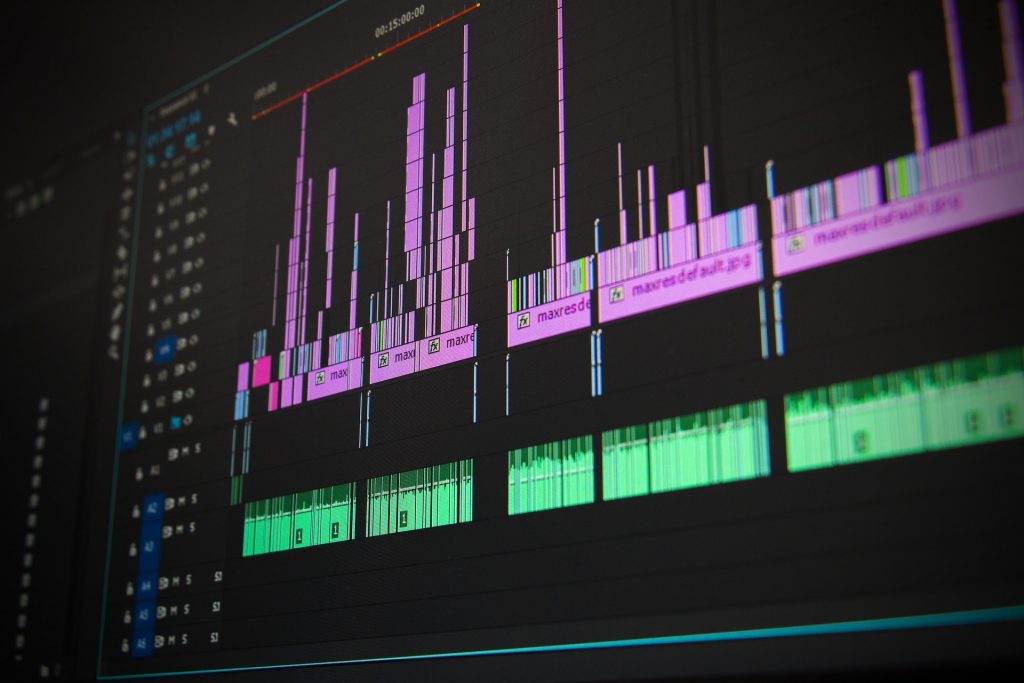
For this tutorial I will be utilizing Shotcut as my video editing software. First you might want to take a snapshot a frame from the video that you want to put a LUT.
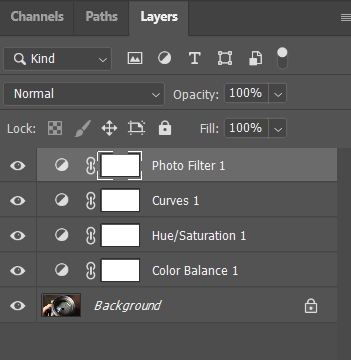
Then open Photoshop and import your snapshot and create your adjustment layers.
Once you are happy with the look you can now save your LUT. Go to Files>Export>Color Look Up Tables
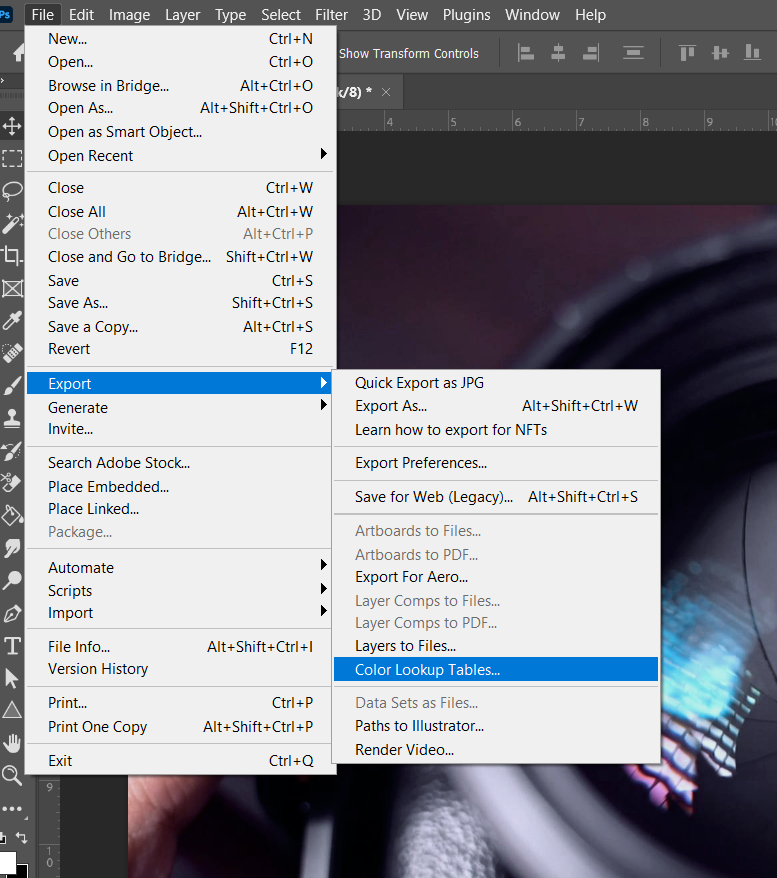
Select the file format CUBE and save your LUT to your desired directory.

You can now go back to your editing software and add your custom LUT that you created. (If you are using Premiere Pro as your editing software check this article for importing LUTs)
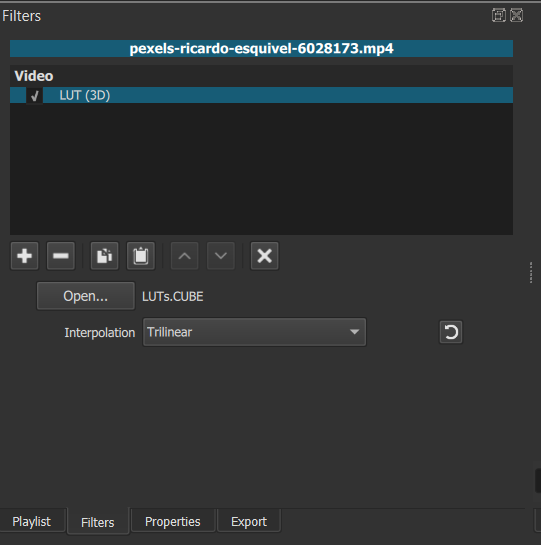
Once added your video will instantly change appearance according to the LUT you created.

And that is how you create your own LUT and use them as a color theme on your video. You can also use the LUT that you created on photos. Have fun editing and continue to be creative.