
The Windows Snipping Tool is a utility app that comes with newer versions of Windows, such as Windows 10 and Windows 7. Many users find Microsoft’s Snipping Tool to be an easy and efficient tool for taking screenshots in Windows due to its familiarity. From the moment you click the Snipping Tool shortcut to saving your image, this guide shows you how to use the Snipping Tool for Windows 10 and Windows 7.
On Windows 10, we don’t need to install a snipping tool. The built-in Windows desktop app for taking screenshots is called Snipping Tool. When you turn on the Windows operating system, it is automatically enabled.
Step-By-Step
To use the Snipping Tool when you have a mouse and a keyboard:
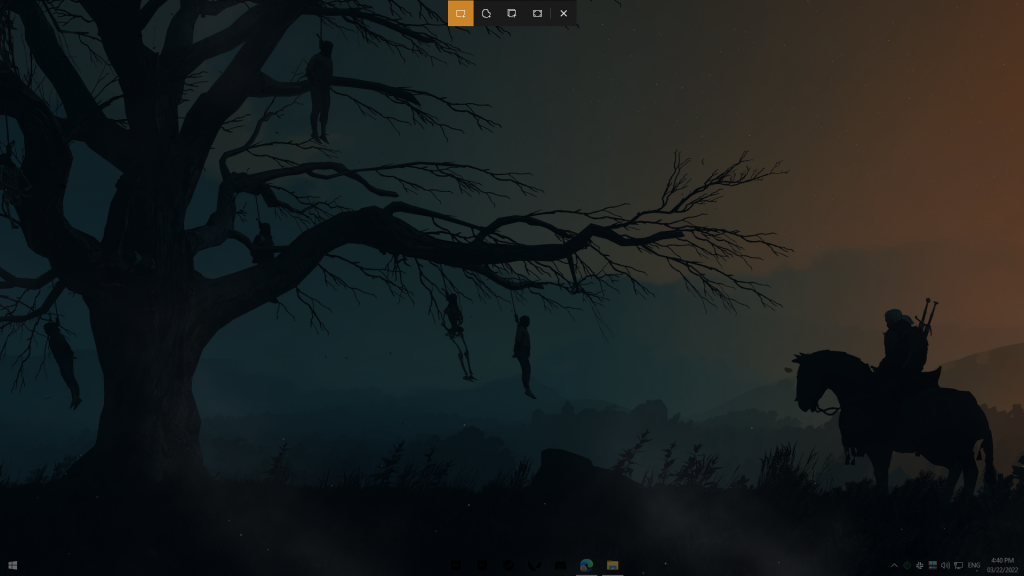
- Press Windows logo key + Shift + S. The desktop will darken while you select an area for your screenshot.
- Rectangular mode is selected by default. You can change the shape of your snip by choosing one of the following options in the toolbar: Rectangular mode, Window mode, Full-screen mode, and Free-form mode.
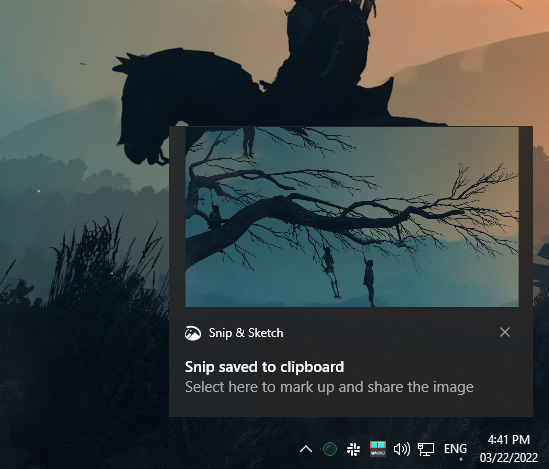
- The screenshot is automatically copied to your clipboard. A notification also appears once you’re finished taking a screenshot, select it for more editing options.
To use the Snipping Tool with only a mouse:
- To open the Snipping Tool, select Start, enter the snipping tool, then select it from the results.
- Select New to take a screenshot.
- Rectangular mode is selected by default. You can change the shape of your snip by choosing one of the following options in the toolbar: Rectangular mode, Window mode, Full-screen mode, and Free-form mode.
- The screenshot is automatically copied to your clipboard. A notification also appears once you’re finished taking a screenshot, select it for more editing options.