
Parental controls are essential for any digital system or service, both to protect innocent children from inappropriate content and to protect your systems from mischievous children. Child accounts and family groups in Windows 10 allow you to set limits on content, screen time, and more.
When you enable parental controls, two features are turned on by default. To begin, internet browsing in the Microsoft Edge browser is restricted, ensuring that no adult content appears in any of the search results. Second, InPrivate browsing is disabled, preventing the child from browsing incognito.
Turning on parental controls in Windows 10 is a collaborative way to keep kids safe on Windows 10 and Xbox One devices, according to Lall, without resorting to a “big brother attitude.” “It’s more of a collaborative effort than just me deciding which sites she should visit,” he says. The father-daughter duo has a constant conversation to help Shreya understand why he chooses one website over another.
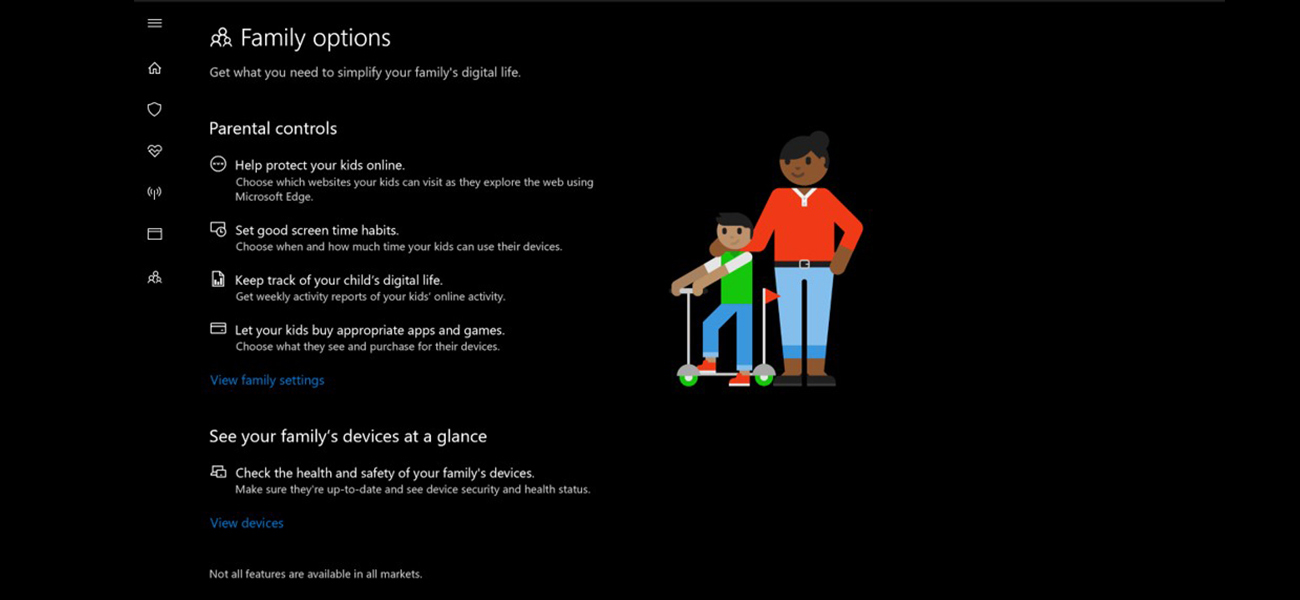
The parental controls give parents four options for ensuring a safe online experience for their children as well as healthy digital habits.
What Parental Controls Do in Windows 10?
You can create a child account that you can monitor and regulate in the same way you log into your account to access any Windows device. The parent account sets all parental controls for the child account, including:
- Creating reports on app and game usage, browser history, web searches, and screen time
- Weekly schedules for Windows 10 or Xbox One to limit screen time
- Limiting the number of apps and games available on each device
- Websites and apps that are inappropriate are blocked.
- Purchasing permissions in the Microsoft Store and managing the child’s wallet
- On an Android device running Microsoft Launcher, you can track the child’s location (or a Windows 10 phone)
Setting Up Microsoft Parental Controls
Setting up Windows 10 parental controls is simple: we’ll create a special ‘family’ user account on your device, indicate that they’re a child under your supervision, and use the Microsoft Family app to set up content and usage restrictions.
You’ll need the following items to finish the setup:
- Internet access is available.
- Microsoft Accounts with at least one ‘parent’ account
- Each child who uses the device has their own Microsoft Account.
- Access to your child’s email account, or one you’ve set up specifically for this purpose
- Administrator privileges on a Windows 10 desktop or tablet
(Setting up parental controls on a Windows 10 phone is possible, but it’s much easier on a larger screen.)
If your child already has a Microsoft account, you will only need access to their existing email account – they will receive an email asking them to confirm they are family. Otherwise, you can send confirmation emails to a custom-created address for the setup process.
Setting Up Your Child’s Account
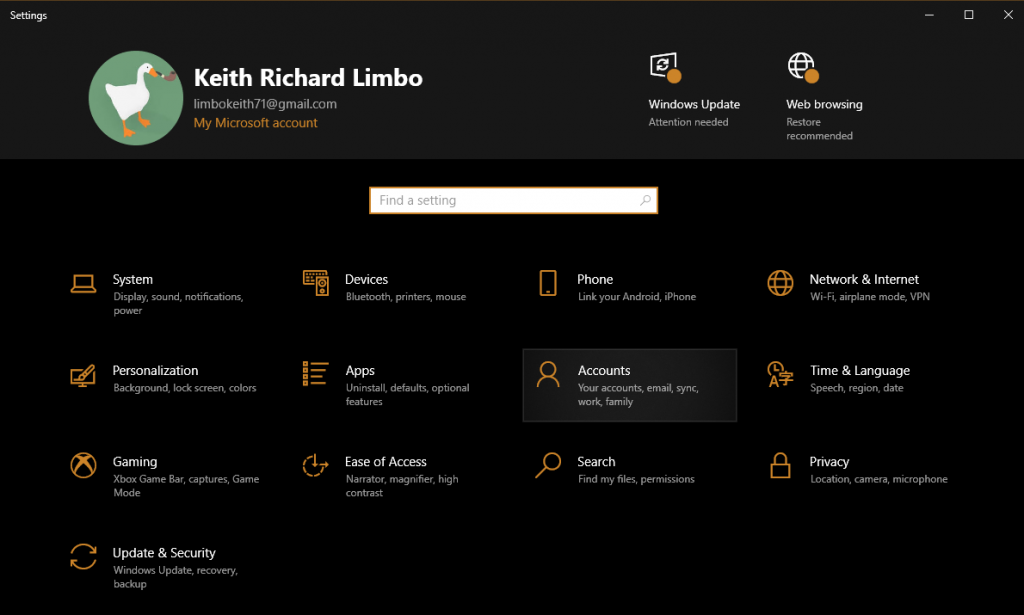
To use Windows 10 parental controls, go to the Windows Settings menu and add a “child account” to your existing account. You’ll be able to set limitations and content controls through your Microsoft account once their account is set up.
Select Accounts from the Windows Settings menu.
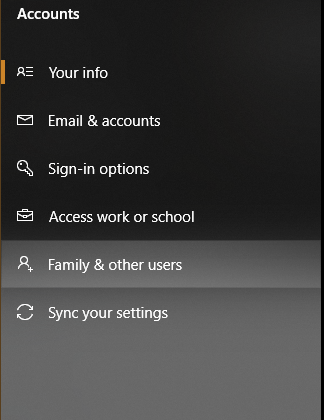
From the left-hand menu, choose Family & Other People.
Select Add a Family Member from the drop-down menu.
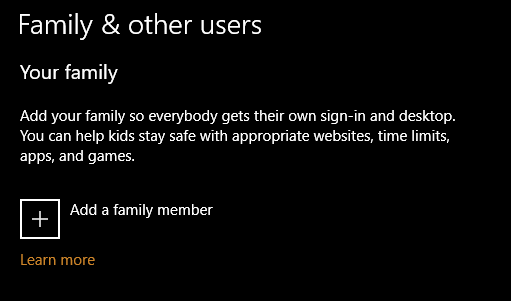
Choose Add a Child.

If you don’t already have one, sign up for a Microsoft account.

To reduce junk mail, uncheck these two boxes before continuing.

After that, Microsoft will ask you to sign in to your own account.

Verify that your child has access to the account and can use it to access online services.
Acceptance of the use of third-party applications
The setup is complete.
Finally, open up your child’s email account. If you’re setting up their Microsoft account for the first time, you’ll find two confirmation requests from Microsoft waiting for their attention – one to verify their email address and one to accept parental supervision of their account.