

What is OBS Studio?
OBS studio is the most popular live streaming software. It is completely free and open-source, and it has lots of useful features to help you produce professional live streams. OBS Studio also allows you to record your video, connect to any live streaming or video conferencing platform, and use any digital camera for live streaming.
Setting Up OBS

Step 1: Download the software from their official site. After you’ve downloaded the installer, just click run it.
Step 2: Right-click the OBS shortcut and select Run As Administrator.
Step 3: Before you connect OBS to your streaming platform of choice, you’ll want to select your stream’s parameters. To do so, click on the Settings button in
the bottom right-hand corner, and access the Video tab on the left-hand menu.
Step 4: Choose the resolution you’ll capture footage and stream at, as well as the frame rate you want to broadcast at. If you’re not sure, YouTube, Twitch,
and Facebook have guides to help. You also need to make sure that your internet’s upload speed can handle it. If you’re not sure, find out your upload
rate using an internet speed test.
Step 5: Access the Video tab using the left-hand menu and select your desired video BitRate.
If you’re unsure about any of this, the OBS configuration wizard may make the process a little bit more streamlined. You can access it from the main OBS window, under the Tools tab. Alternatively, leave everything as it is to start with and then make adjustments to learn more about using the software and streaming in general.
If your streams end up laggy, you’ll want to lower the bitrate, resolution, or FPS. If your video footage is low and you have the bandwidth to spare, you can afford to raise the bitrate and resolution to improve your stream’s quality.
Linking OBS Software to your Streaming Service

The next step is to link OBS with your chosen streaming platform. In this guide, our example will be in Facebook Live platform.
Step 1: Go to the Facebook Live creation page and log in if needed.
Step 2: Click the “Create Live Stream” button. Don’t worry about starting a stream just yet. That’s just the term for setting up your ability to stream on
Facebook Live.
Step 3: If you want to do a one-off stream, copy the Stream Key. If you want to stream regularly on Facebook Live, tick the box that says Use A Persistent Stream
Key, and copy the resulting key.
Step 4: Go back to OBS and paste it into the Stream Key field. Click Apply, followed by OK.
Setting Up Your Game, Video and Audio
The two main components of a live stream are video and audio. Whether you stream a game, yourself, or both, you need audio and video to proceed. Here’s how to set up each component individually.
Game Capture
If you’re planning on streaming games to your viewers, you need OBS to capture footage of that game in action. Here’s how to do it.
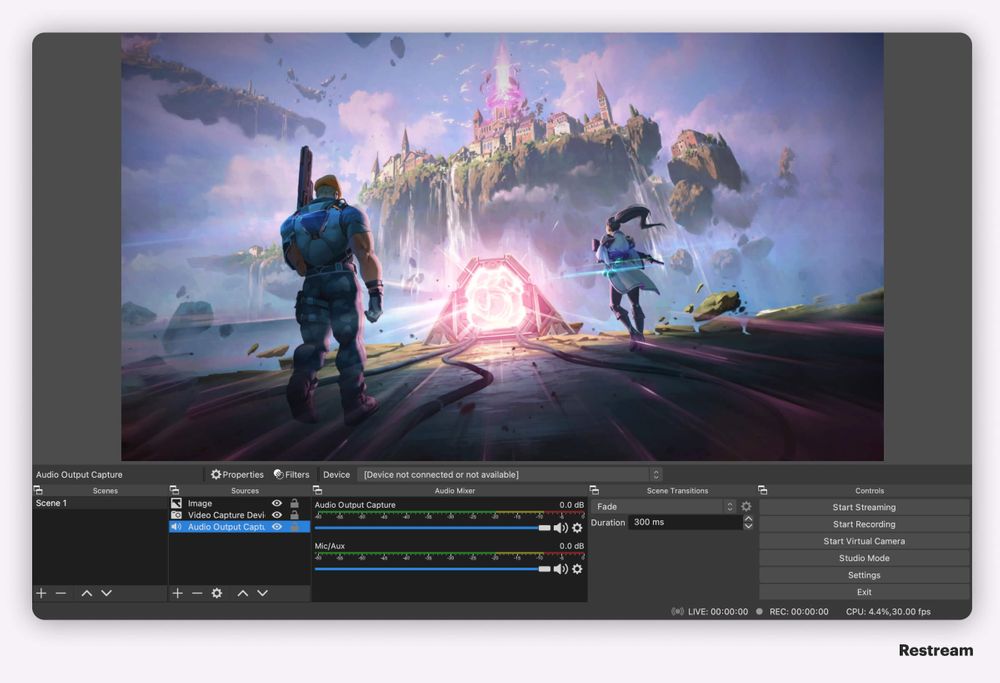
Step 1: Open OBS if you haven’t already. In the Sources window at the bottom, click the “+” icon and select Game Capture from the list. Name it something
according to your preference.
Step 2: Select the mode you want to use, whether it’s capturing any application that runs full screen, a specific window, or any application in the foreground
that you designate with a hotkey. Which one you pick will be up to your personal preferences and the game. Most games can be captured with ease,
but sometimes a game will not be captured if you choose it as a specific window. In that case, capturing any full screen application can work.
Step 3: Decide if you want to limit frame rates or change resolutions based on your desired stream quality and connection speed and if you want to capture
your cursor or not. Just tick the respective boxes.
When you’re done, click OK. Your game is now ready for capturing.
Webcam Video
Whether you’re capturing your face for those sweet jumpscare reactions, or you’re the main attraction in a vlog-style video, a webcam can go a long way to personalizing your stream. Here’s how to set it up.
Step 1: Make sure your webcam is connected to your PC.
Step 2: In the Sources window, click the “+” icon and select Video Capture Device. Name it whatever suits you best.
Step 3: Use the Device drop-down to select your camera from the list of options.
Step 4: Use the configuration buttons and drop downs to configure your video quality and FPS.
When ready, click the OK button.
Audio Capture
It doesn’t matter if you’re recording just your voice, your in-game audio, or both. Your viewers need to hear from you. Here’s how to set up your stream’s audio.
Step 1: Click the Settings button in the bottom right-hand corner.
Step 2: Select the Audio tab from the left-hand menu.
Step 3: OBS has several audio inputs you can utilize. Configure each one that you require separately so that you have your PC’s audio transmitting through the
stream on one and your microphone on another — if you want your voice heard as well.
There are also options for push-to-mute and push-to-talk if you want specific audio sources to be utilized only when required.
When you’ve set everything up as desired, hit the Apply button, followed by OK.
Start streaming and you’re good to go!
Sources:
https://www.digitaltrends.com/computing/how-to-use-obs/
https://www.theverge.com/2020/4/15/21213548/live-stream-obs-how-to-streamlabsobs-windows-mac-hardware
https://restream.io/blog/how-to-use-obs-studio/