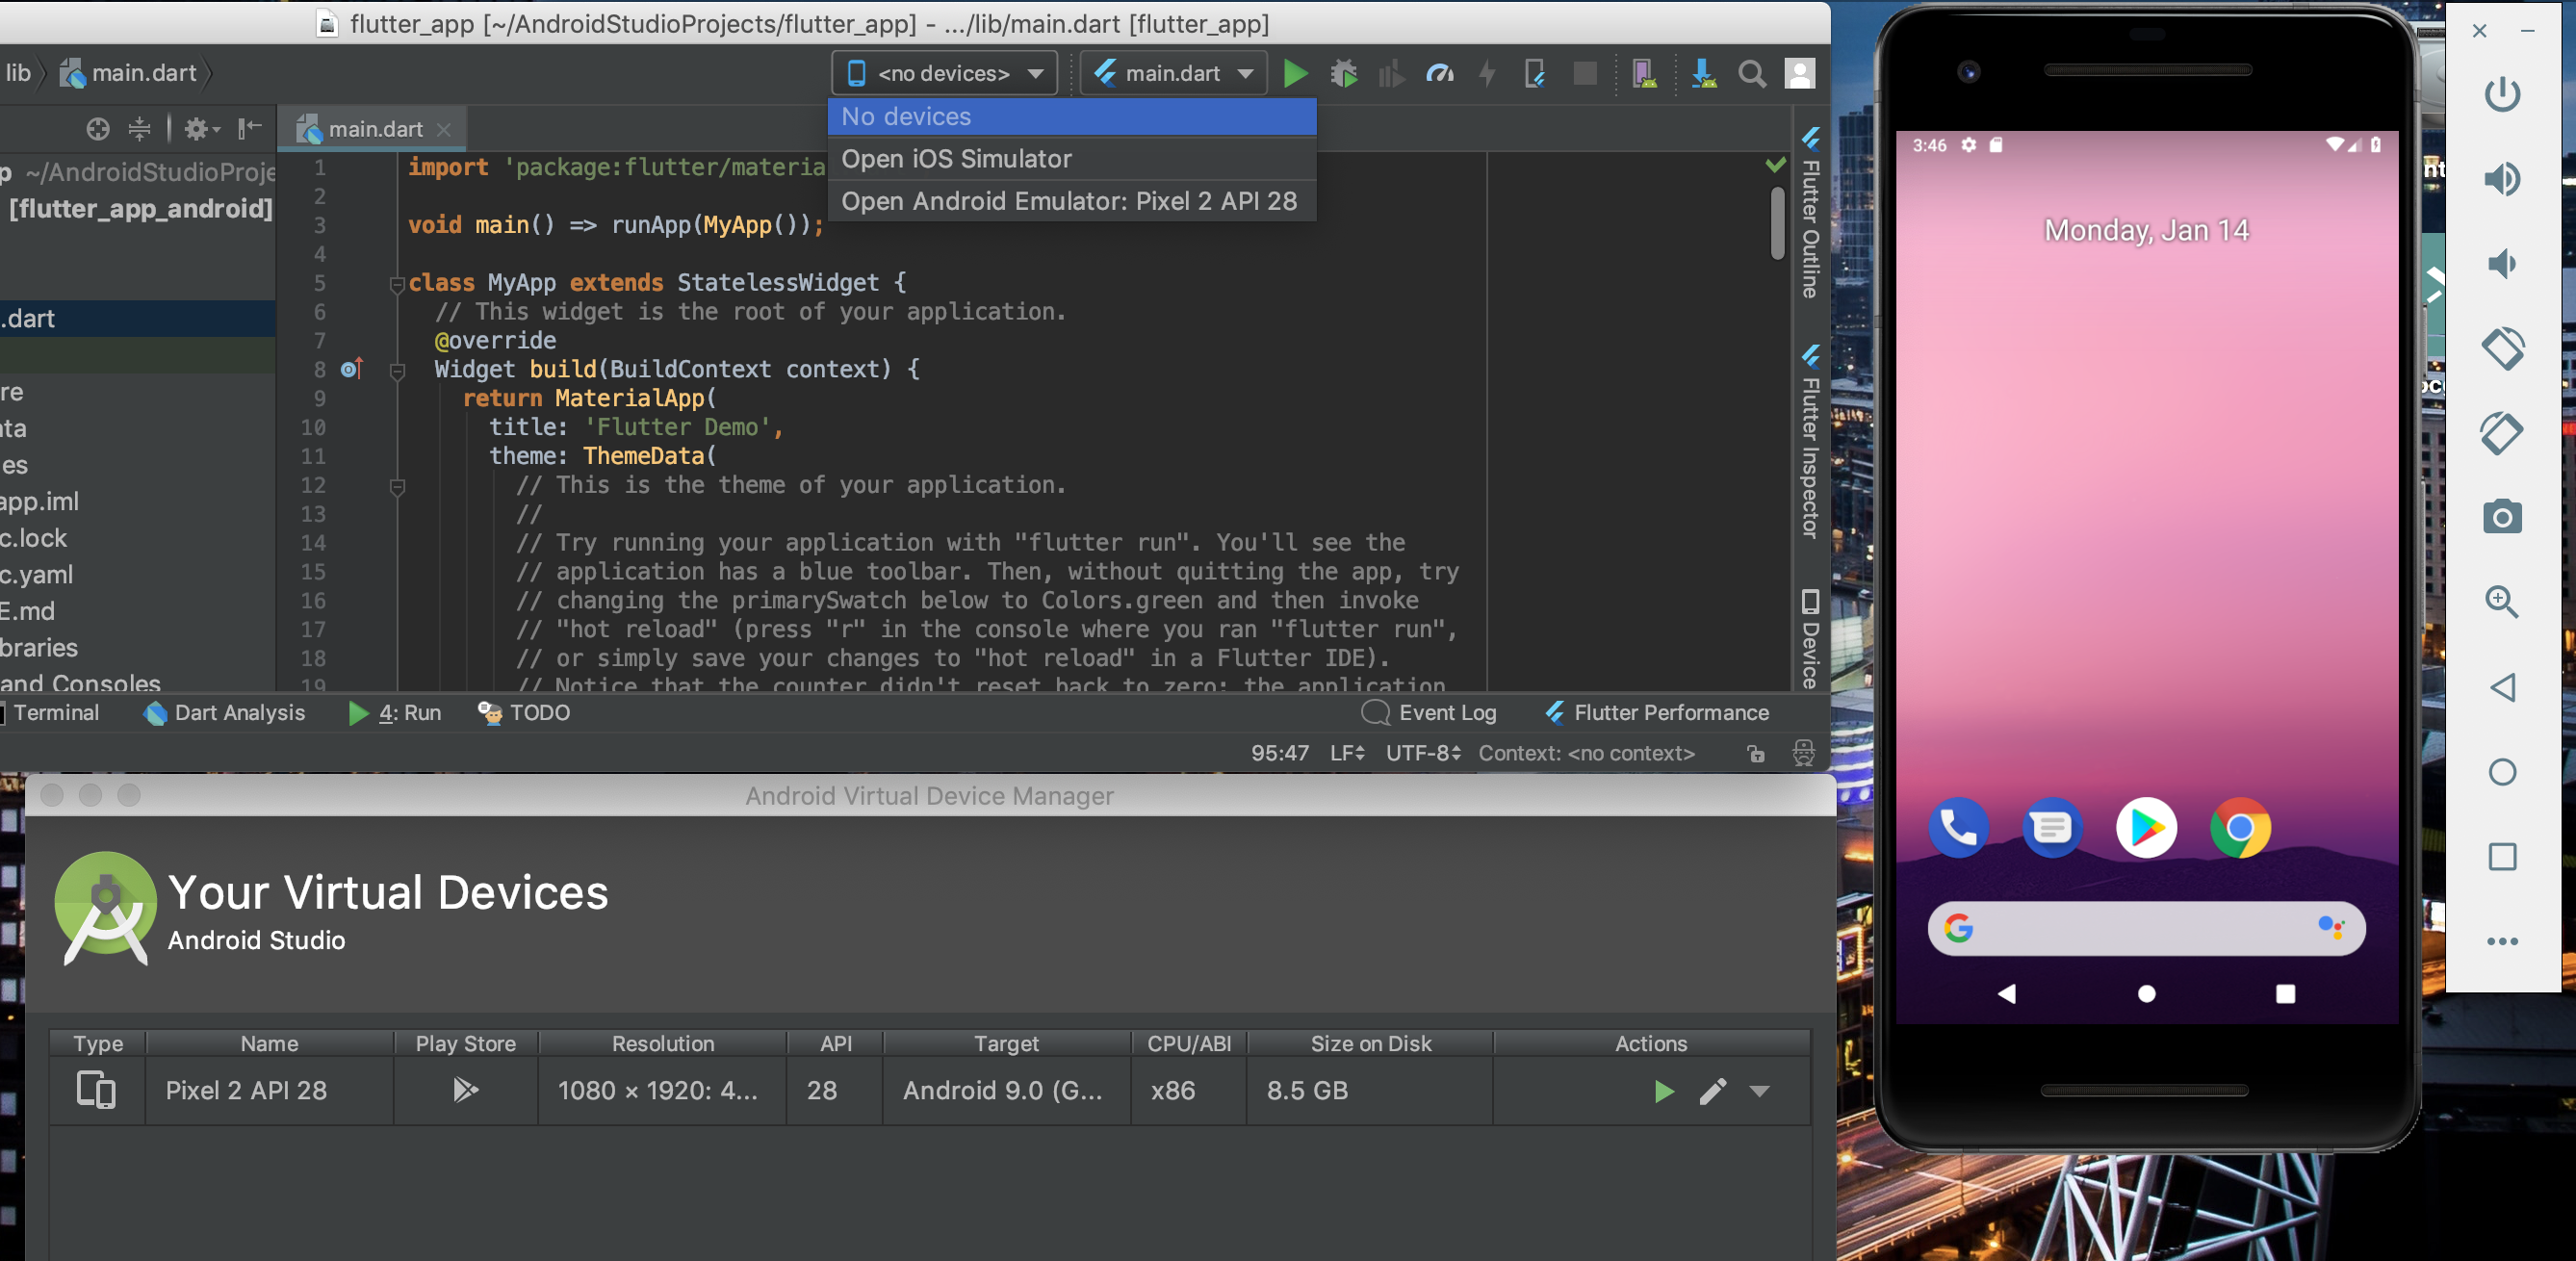
An Android device emulator is a virtual device that runs on your computer — is included in the Android SDK. You can use the Android Emulator to develop and test Android apps without having to use a real device.

Step-by-step procedure
- To set up an Android emulator AKA Android Virtual Device (AVD):
- Download and install the Android SDK which comes bundled with Android Studio.
- The Android SDK is usually located at C:\Users\Use\rApp\Data\Local\AndroidSdk after it has been downloaded and installed. You’ll need to add several subfolders to your PATH variable in the environment.
- Start Command Prompt and type the following commands to add these directories to your environment PATH variable:
> PATH = %PATH%;C:\Users\User\AppData\Local\Android\Sdk\platform-tools
> PATH= %PATH%;C:\Users\User\AppData\Local\Android\Sdk\emulator
> PATH= %PATH%;C:\Users\User\AppData\Local\Android\Sdk\tools\bin- Install the latest SDK tools and system image for API level 28:
>sdkmanager "platform-tools" "platforms;android-28"
>sdkmanager "system-images;android-28;google_apis;x86"
>sdkmanager --licenses- Using the following command, create an Android Virtual Device (AVD):
> avdmanager create avd -n Android28 -k "system-images;android-28;google_apis;x86"- To run your emulator, you will need to install Intel’s Hardware Accelerator software, HAXM, available here. If you have Hyper-V installed, you must disable it before running HAXM. Follow the instructions here to accomplish this. This may necessitate the use of a higher-level user (e.g. Administrator).
- Run the following commands in Command Prompt to start your emulator.
>emulator -avd Android28- To see a list of active android devices, run
>adb devices