Getting Started With the OneSignal
Step 1: App Registration with OneSignal.
- Register an account at OneSignal.
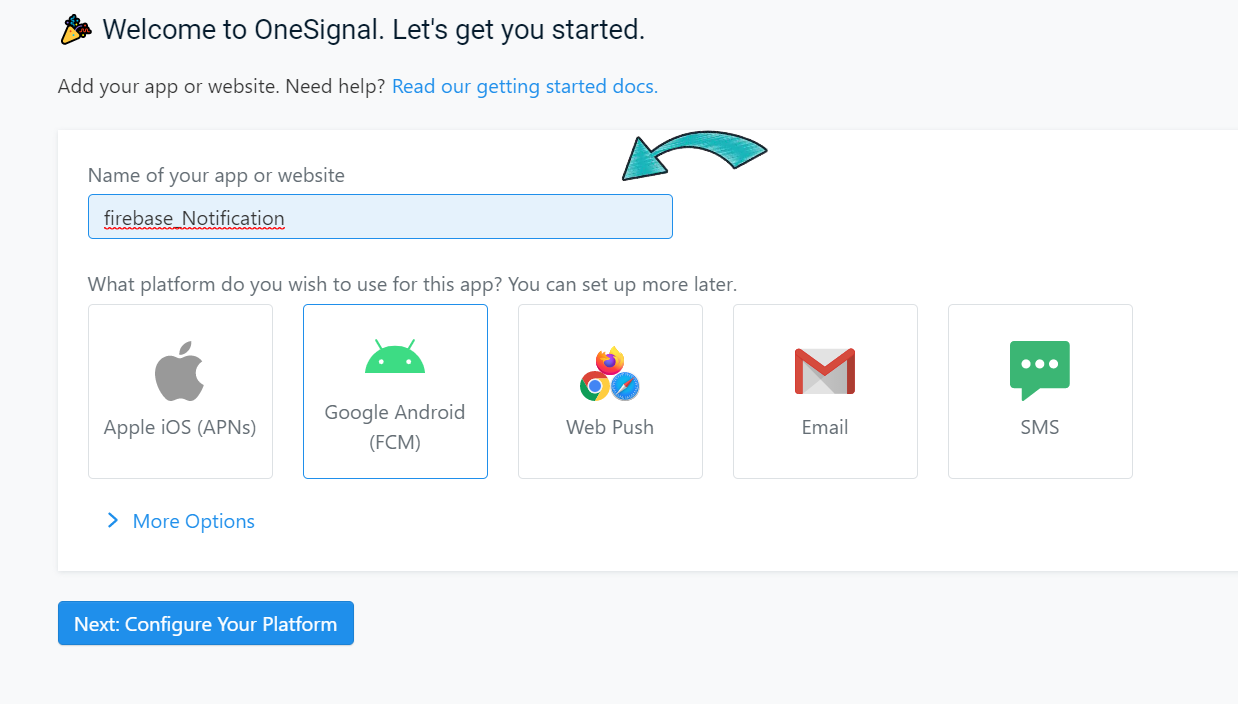
- Click on Add a new app. Select the android and Fill in the name of the app and click configure your platform.

- Click On Configure your Platform.
Step 2: Add the firebase server Key and sender id.
- To find the firebase server key and the sender id go to your firebase console.
- open the project->project setting and select the Cloud Messaging. Then you find the server key and sender Id.

- Now fill in the server key and the sender id and click on the Save & Continue.

- Then Select the platform as Flutter and continue. then Click on Done.
- Now in the OneSignal website navigate to the Settings->Keys & IDs to find your App Id and Rest API Key

Step 3: Integrate the one signal to your Flutter App.
- Add the one signal Plugin to the pubspec.yaml file and run Pub get.
- Navigate to android->app->build. gradle and add the following lines of code.
buildscript {
    repositories {
        // ...
        maven { url 'https://plugins.gradle.org/m2/' } // Gradle Plugin Portal
    }
    dependencies {
        // ...
        // OneSignal-Gradle-Plugin
        classpath 'gradle.plugin.com.onesignal:onesignal-gradle-plugin:[0.12.6, 0.99.99]'
    }
}

apply plugin: 'com.onesignal.androidsdk.onesignal-gradle-plugin'- Initialize the one signal by adding the following line of code in the init state of the main. dart file of your project.
@override
  void initState() {
    super.initState();
    configOneSignel();
  }

  void configOneSignel()
  {
    OneSignal.shared.init('7d108336-42a4-4e9f-9a23-6105dd125a74');
}- Build your App Now, This would register a user on the one signal.
- After building the flutter application check the dashBoard on the OneSignal website to view the subscribed users.

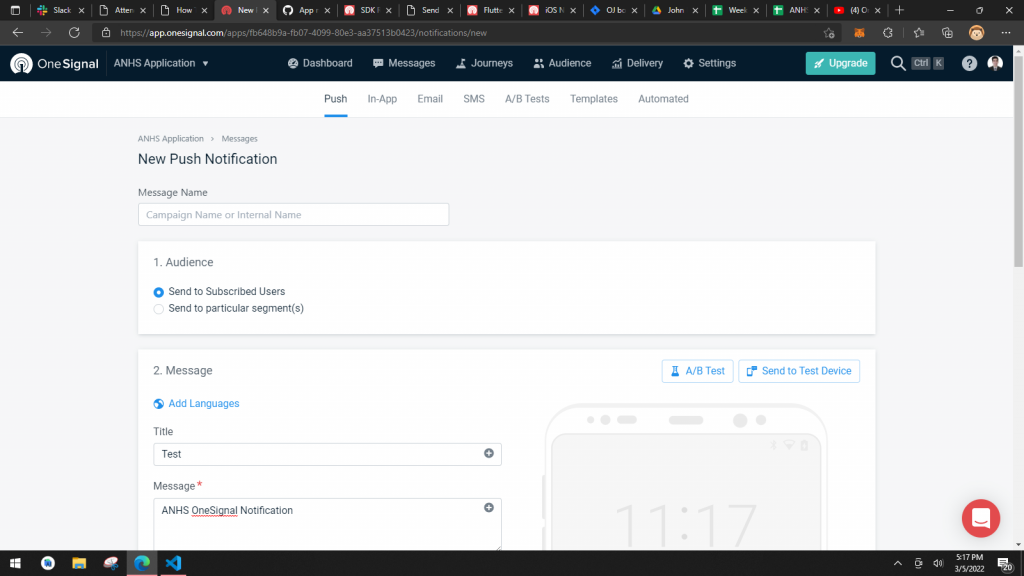
Step 4: Go to the Message in the OneSignal page and make a notification.

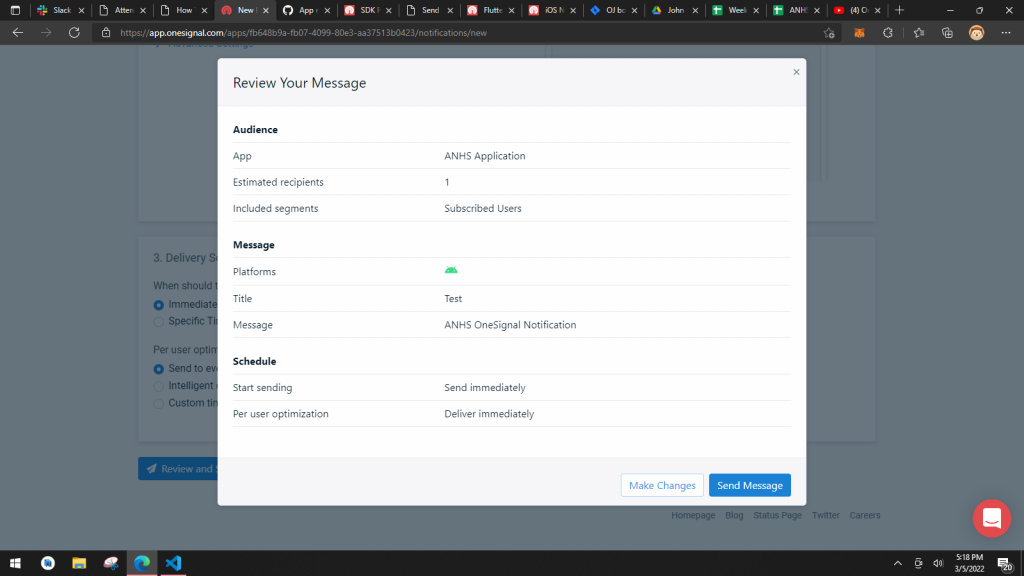
- Click the Send Message button.

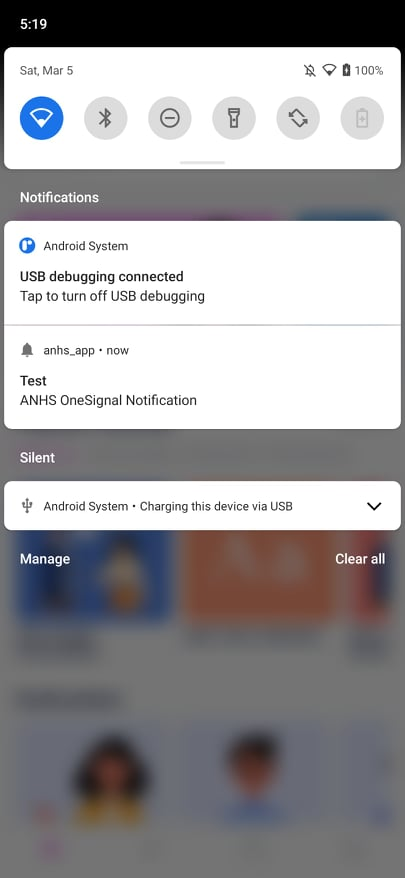
Output:

Reference:
https://sanjay144.medium.com/how-to-send-notification-from-device-to-device-in-flutter-7a47c911d66
