
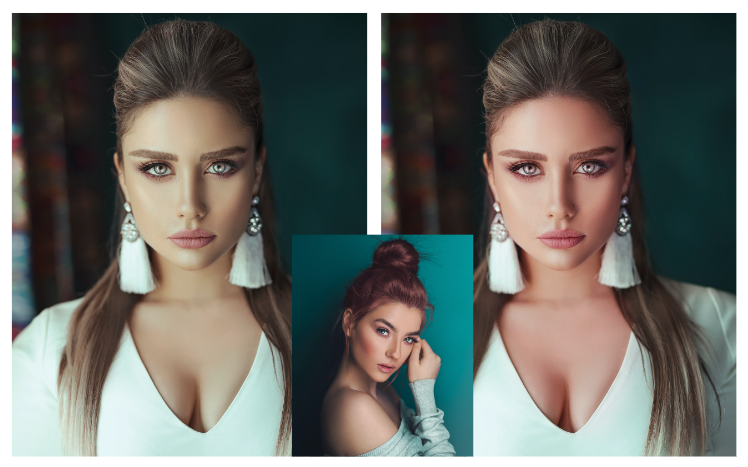
In this Photoshop walk through I will be showing you how to match skin tone. To prepare for this you must have a reference photo to get the skin tone and the photo to edit.
I will be using photos from Pexels by Ali Pazani. Photo 1 will be the photo that will match the skin tone and Photo 2 will be the reference for the skin tone.
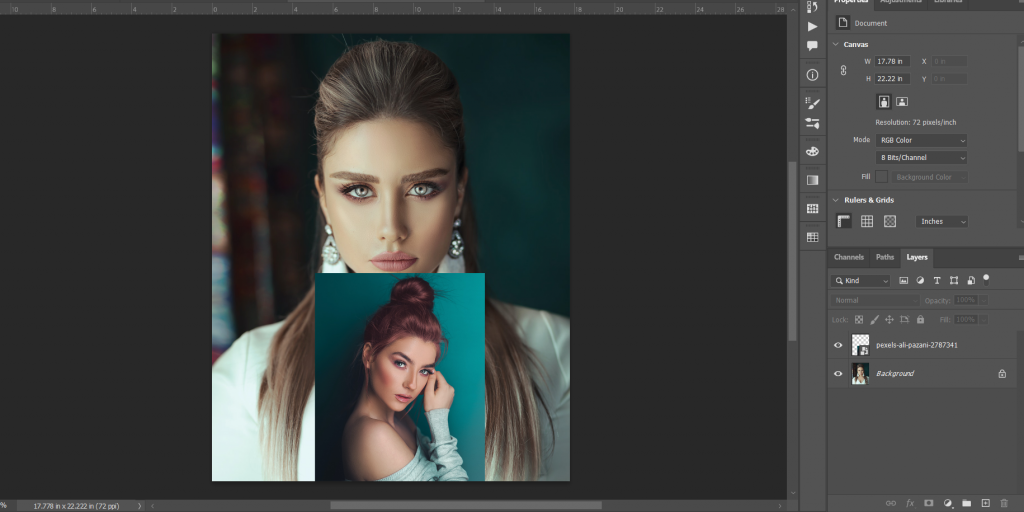
The first thing to do is to import the photo that you will be editing in photoshop. Next import also the reference photo and scale it down as you are just sampling the skin tone for that.
Sampling the Skin Tone Colors
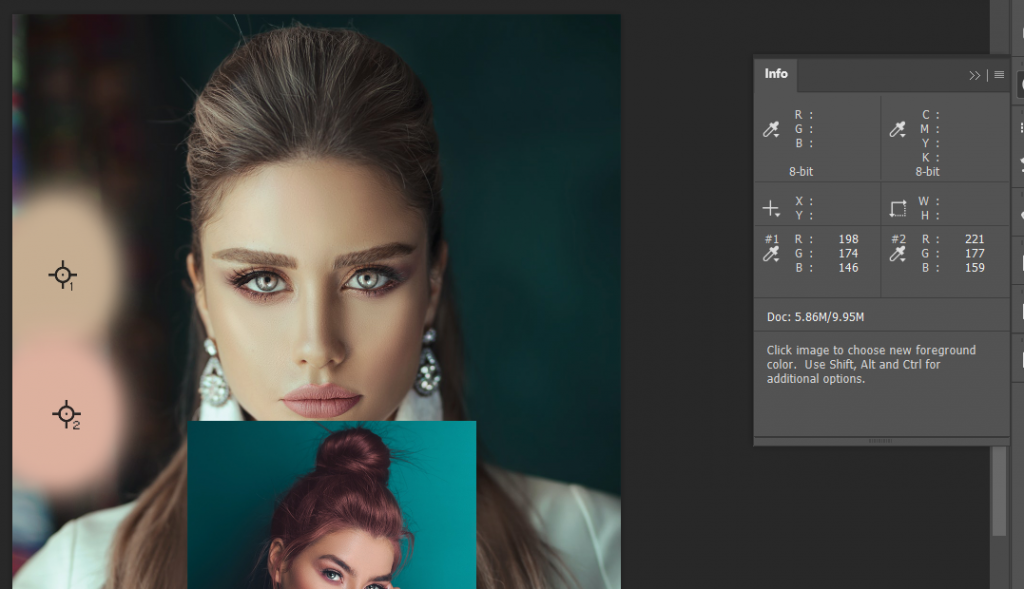
Next, grab the eyedropper tool and sample the skin tone of the first photo by left click on the face of the subject and then press x on the keyboard to sample the reference photo. Left click the around the face of the reference photo to create a sample of the skin tone. You will notice the foreground and background color will pick up the two sample.
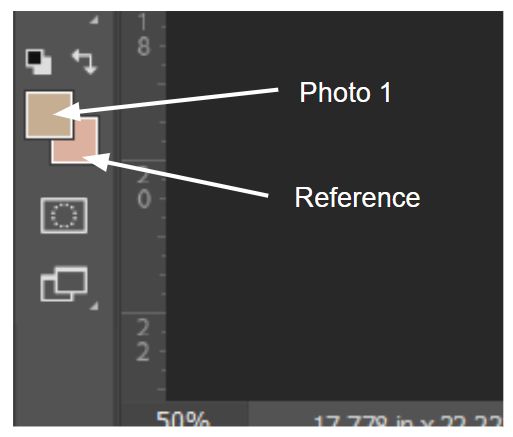
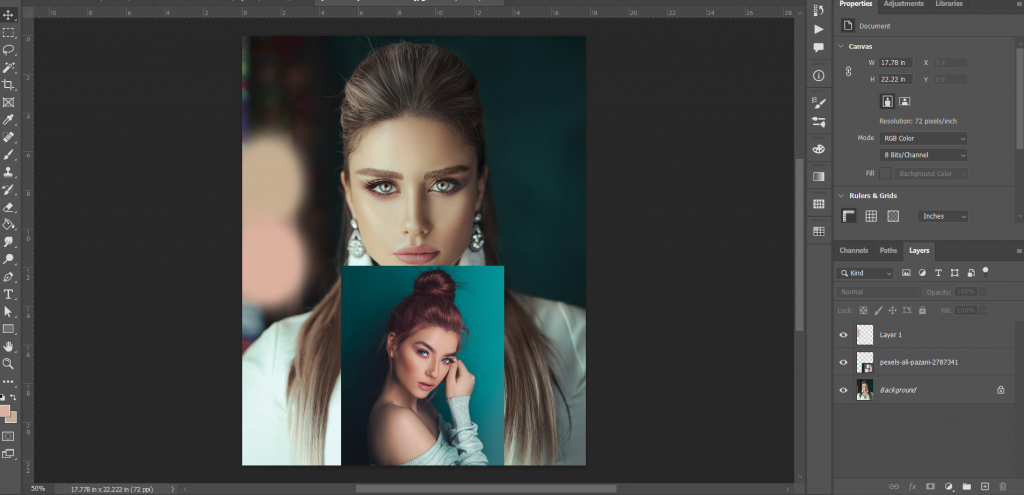
After sampling you should have the colors shown in the photo above on your foreground and background color. Next thing to do is to create a new layer and grab the brush tool and draw the two color on that layer.
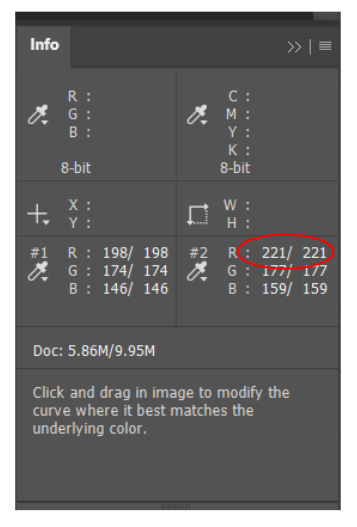
Once again grab the eyedropper tool to sample the colors that you have drawn. But this time hold shift and then left click the first color to have a marker and do the same thing to the second color. You should have these markers shown in the image below. An Info panel should also happen one you done this step.
Do not close the info panel as you’ll be needing that in matching the colors. Right now the next step is to create a curves adjustment layer.
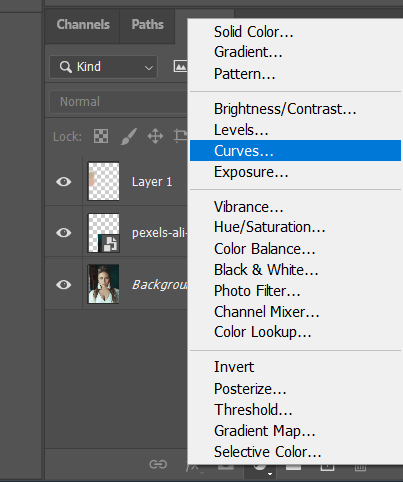
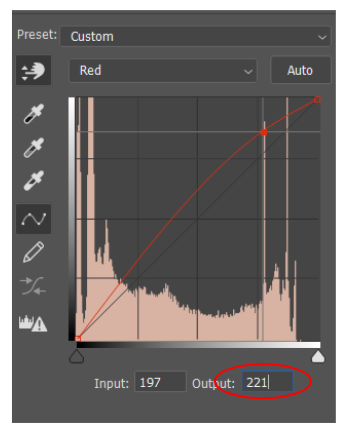
From here you will be sampling from the photo that you are editing not on the reference color. In the properties panel of the curves adjustment change the channel from RGB to Red.
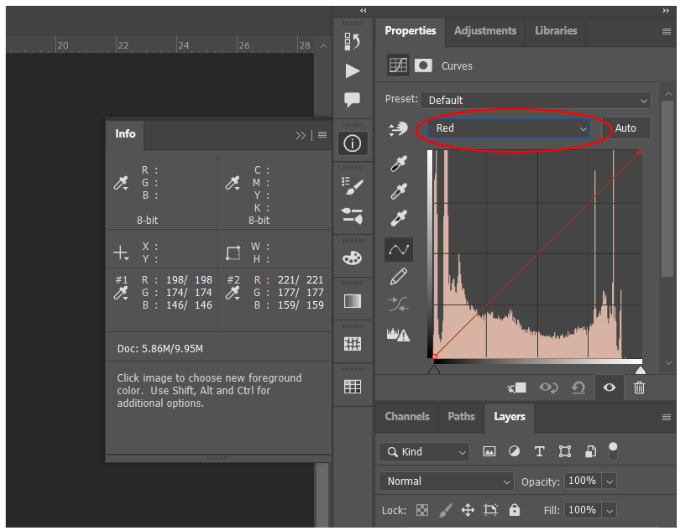
Then select the button next to the dropdown and sample on the first color or the original skin tone of the photo. Do the same steps the Green and Blue channel the histogram should have a point as you sample in every channel.
Matching the RGB values
We are almost done now the next step is to match the RGB colors from the reference to the current photo that we are editing. To do this go back to the Red channel and refer to the info panel that open earlier. Notice the Red values of the second color sample you will using that value on the output value of the red channel.
Do the same steps above to the green and Blue values. With this we are almost done you can now delete the layer where you draw the colors and the reference photo. The layers that will remain are the curves adjustment layer and the original photo.
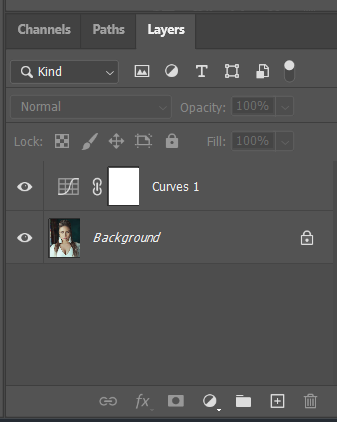
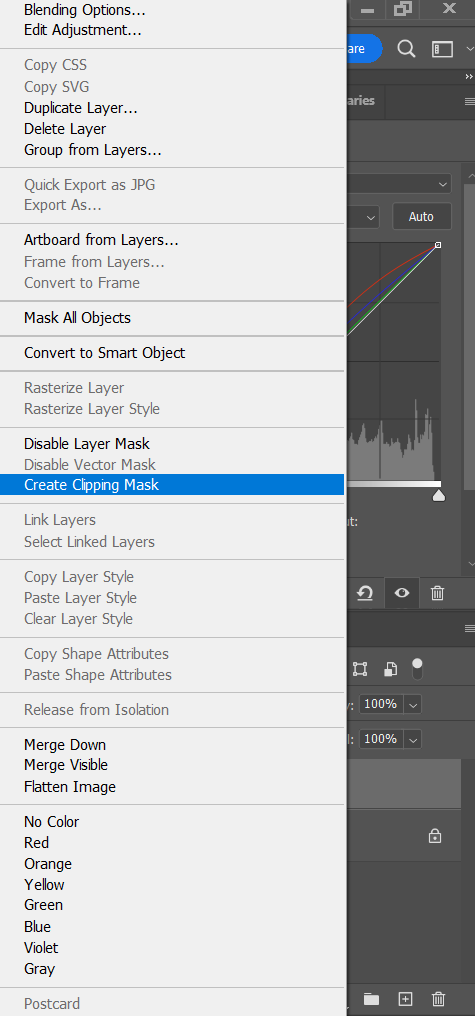
Create a clipping mask on the curves adjustment layer. Right click on the curves adjustment layer and select Create Clipping Mask.
Lastly Grab the Brush tool and change the foreground color to black to remove the curve adjustment layer and then change to white and paint only the skin of the subject. This will help preserve the color of the environment and change the skin tone only.

Good Job! You successfully match the skin tone from one photo to another. You can now incorporate this to your future projects. Skin tone matching is very helpful if you want to have a uniform look for your photos. Until then, continue to learn and be creative.