
GIMP is an acronym for GNU Image Manipulation Program. It is a freely distributed program for such tasks as photo retouching, image composition, and image authoring. GIMP is expandable and extensible. It is designed to be augmented with plug-ins and extensions to do just about anything. The advanced scripting interface allows everything from the simplest task to the most complex image manipulation procedures to be easily scripted.
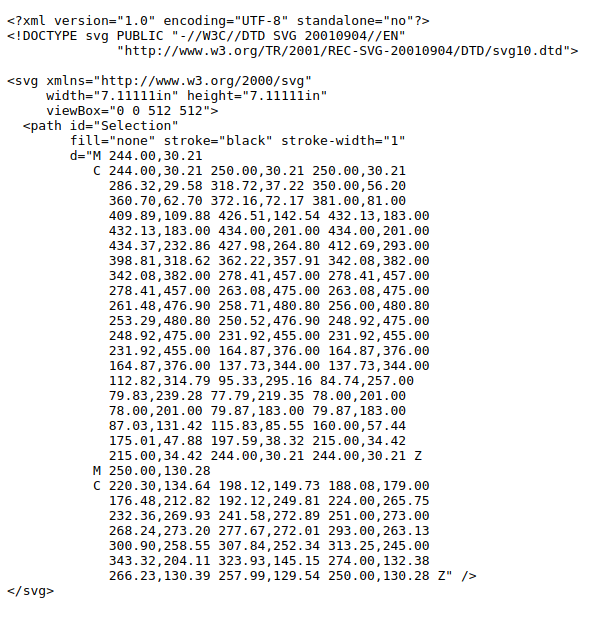
GIMP can generate paths from SVG files stored in other programs like Inkscape or Sodipodi, two famous open-source vector graphics programs. Paths are roughly identically expressed in SVG files in GIMP. This compatibility makes it possible to store GIMP paths as SVG files without losing any information. You can access this capability in the Paths dialog.
Getting started
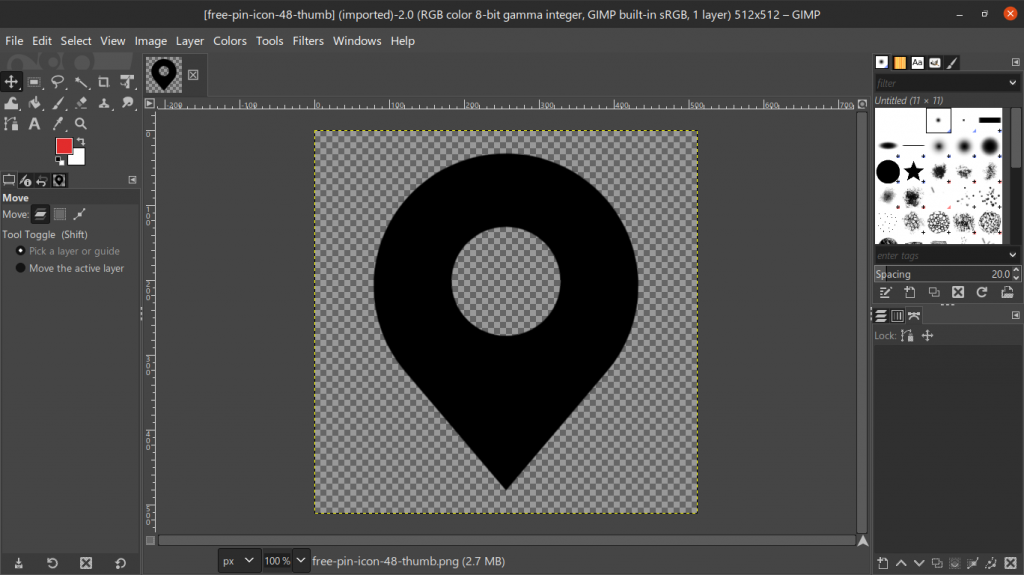
Open the image you want to use in GIMP
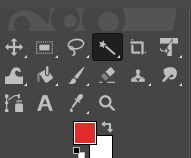
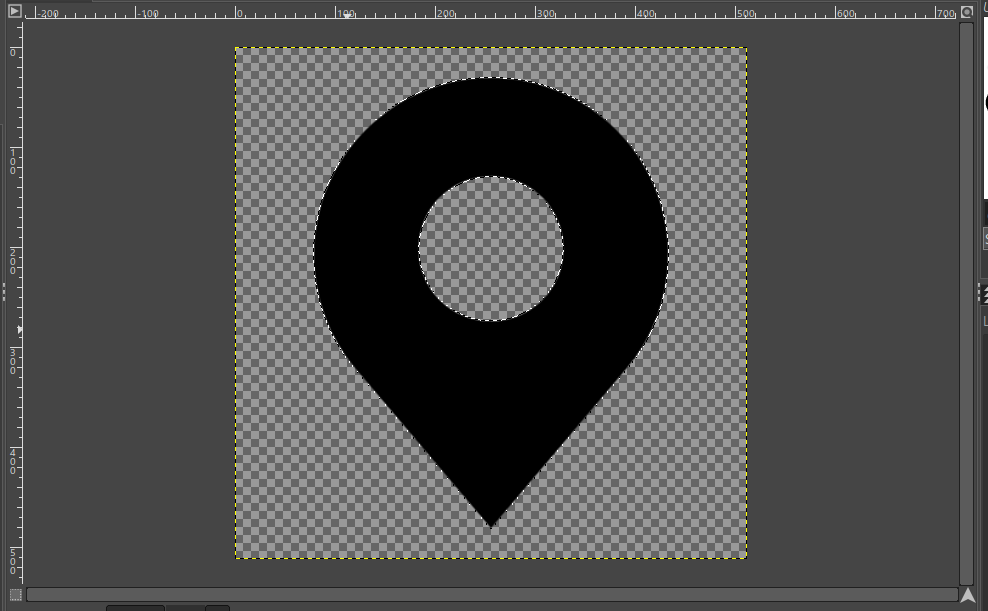
Next, use the Fuzzy Select Tool or the “magic wand” to select all the areas that you just cut out.
The next step is to click the Select tab located in the tab section. Locate and click the To Path to add the path to the Layer section
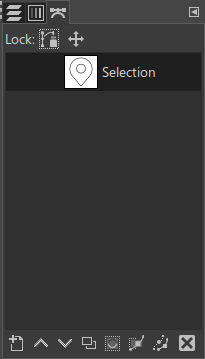
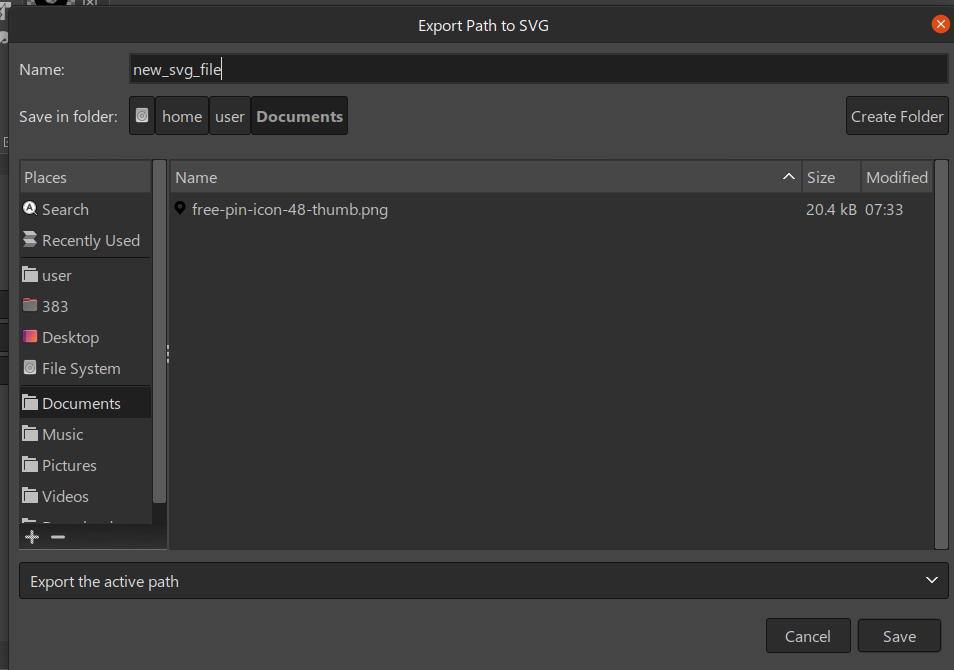
Now you can Export the path as an SVG file. To do this, merged all the paths you created to have a single path Selection and export it by right clicking the Selection and find Export Path and save the file.
You successfully created an SVG path from an image
Best Practices For creating paths of SVG
- Keep the paths simple and clean
- Use solid colors and avoid gradients. It makes your paths easy to manage if the colors are in straight lines
- Do not overlap vertices
Reference
https://1000logos.net/gimp-logo/
https://www.gimp.org/about/introduction.html