

With Tiny 11, you can enjoy all the benefits of Windows 11, without having to worry about compatibility issues or slow performance. This lightweight and efficient operating system is optimized for systems with 2GB of RAM and a normal processor, so it’s the perfect solution for anyone who wants to get the most out of their hardware.
How to Install Tiny 11 in your PC?
Step 1. Download the Tiny 11 ISO
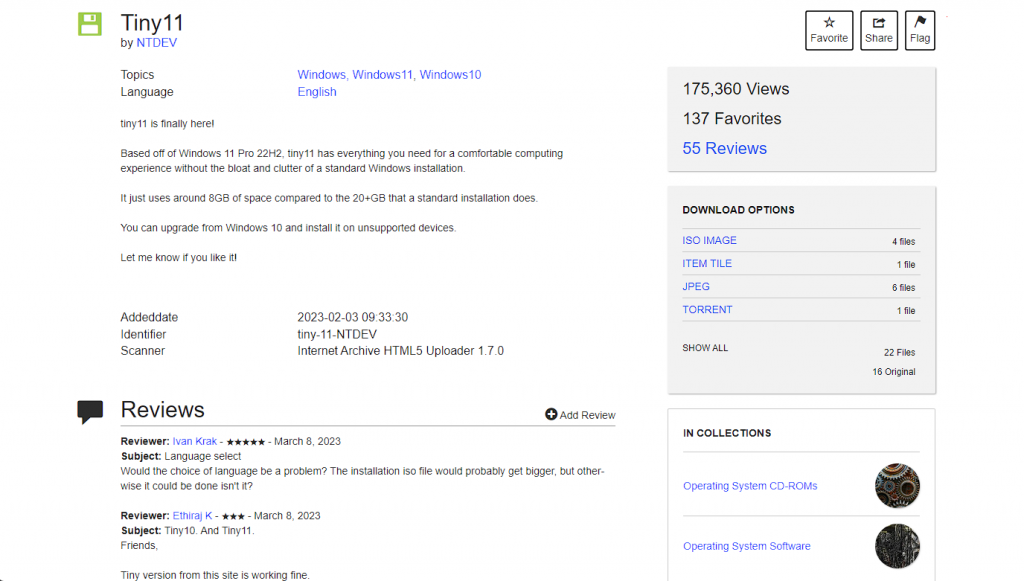
The first step in installing Tiny 11 is to download the ISO image from the archive.org . You can download the ISO file from https://archive.org/details/tiny-11-NTDEV/
Step 2. Create a bootable USB Drive
Once you have downloaded the ISO image, you will need to create a bootable USB drive.
Step 3. Boot from the USB Drive
Now that you have a bootable USB drive with Tiny 11 on it, you need to boot your computer from the USB drive.
- Insert the USB drive into your computer.
- Restart your computer and enter the BIOS setup by pressing a key like F2 or Del (depending on your motherboard) during boot.
- In the BIOS setup, look for the Boot Options menu and select it.
- Set the USB drive as the first boot device in the boot order.
- Save your changes and exit the BIOS setup.
Step 4. Install Tiny 11 OS
Your computer should now boot from the USB drive and load Tiny 11. When it loads, it follow the normal steps to install the Windows 11 operating system. After finishing up the installation, Enjoy the lightweight version of Windows 11 that can run on low-end specifications of hardware or PC.
You have successfully installed Tiny 11 on your PC. The operating system is now ready to use. Keep in mind that Tiny 11 is an operating system that have less features and does not come with many pre-installed applications. You will need to install the applications you need manually. However, this also means that Tiny 11 is lightweight and fast, making it an excellent choice for older hardware.