This tutorial will show you how to use Flutter’s Align widget to set the widget alignment.
Placing the widget within its parent is fairly common. You may already be familiar with the central widget used to center the widget in the parent. If you need to use a different deployment, you can use the deployment widget. Basically, you need to wrap the widget to align as a child of the alignment widget. An example is shown below.
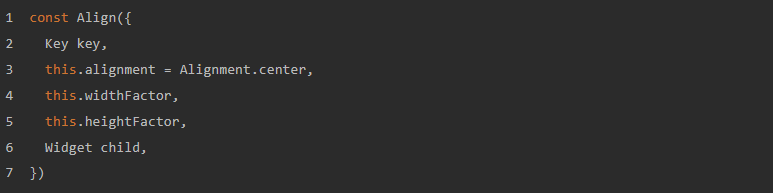
Here is the constructor of the Align widget.
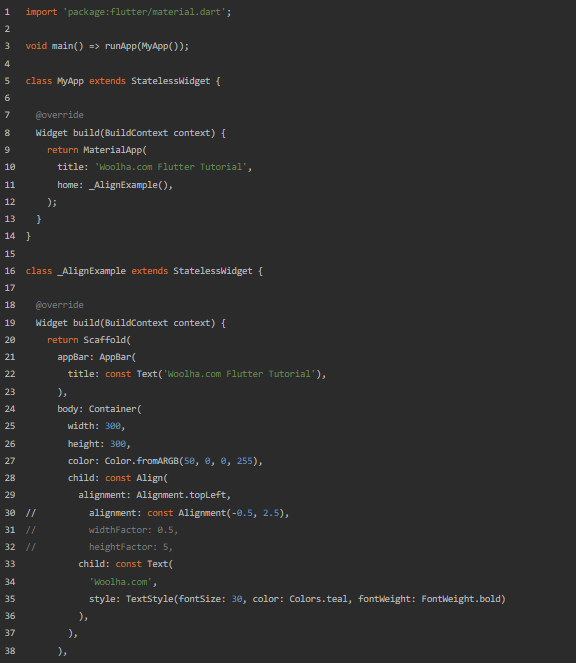
There are no required parameters. However, you usually need to pass the target widget as a child argument. In this tutorial, we have a text widget inside a container. To show how to use the placement widget, the text is wrapped in the placement widget, even if the container itself has placement properties.
Output:

Adjust the placement
As you can see in the output above, if you don’t pass the justification argument, the child elements will be centered by default. To change the placement of the child, you need to pass a placement argument.
Output:

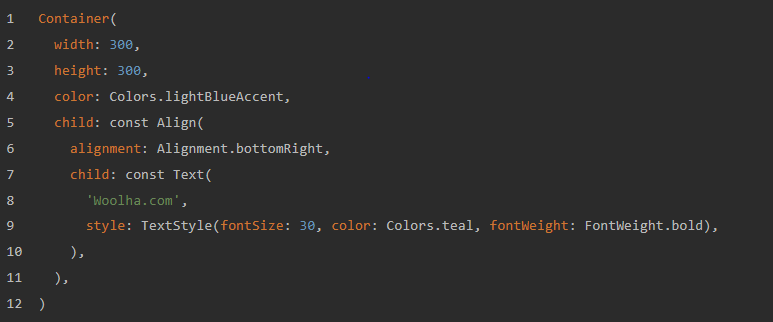
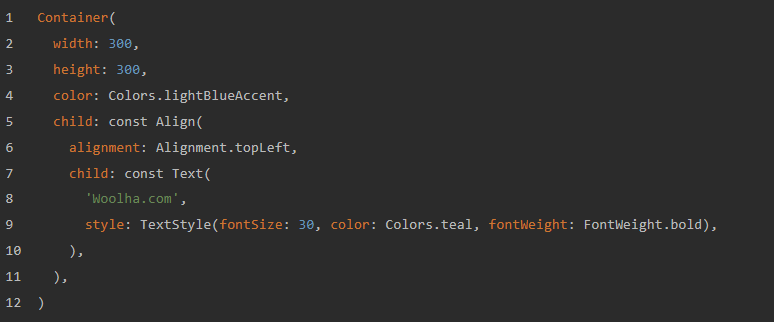
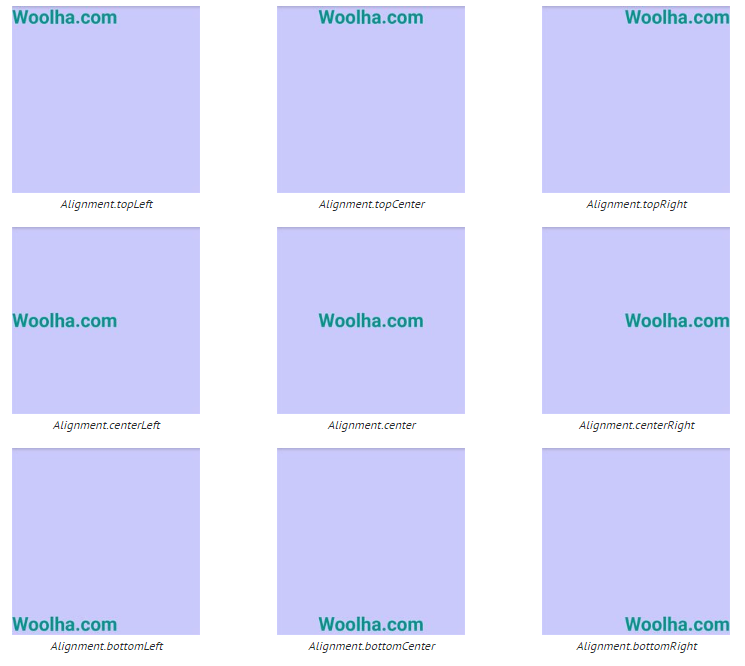
The above example aligns the child to the top left of its parent. Besides topLeft, there are some defined constants that allow you to easily align the child at certain positions.
If you need to use another deployment that is not defined as a constant, you can create a custom deployment instance. The Alignment constructor has two required arguments. x and y represent the x-axis and y-axis alignments, respectively.
const Alignment(this.x, this.y)
On both axes, the distance from 1.0 to +1.0 is the left-right distance. For the x-axis, a value of 1.0 means that the child is on the far left, and a value of 1.0 means that the child is on the far right. For Y-axis, a value of 1.0 means that the widget is at the top, and a value of 1.0 means that the widget is at the bottom. If the value is less than 1.0 or greater than 1.0, the child can be placed outside the parent.
The following example sets the x-axis and y-axis directions to 0.5 and 0.5, respectively. This means that the child is in the horizontal middle between the left edge and the center, and in the vertical middle between the center and the bottom edge.
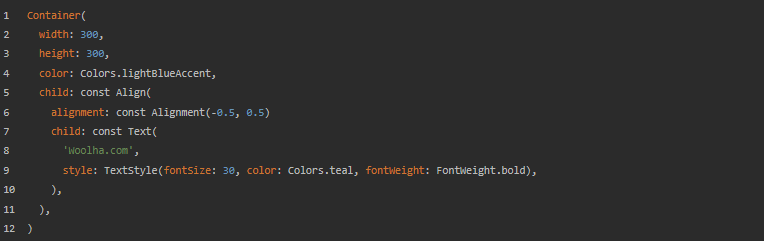
Output:

Setting Width Factor and Height Factor
If a dimension (width or height) is not restricted, you can control the size of this widget for that dimension. You can pass the widthFactor argument. It is used to set the width based on the width of the child multiplied by a factor. Similarly, you can pass a heightFactor to set the height. If passed, the widthFactor and heightFactor values must be positive and can be greater than 1.0. In the example below, there are no width and height restrictions. The widthFactor and heightFactor values are set to 1.5 and 5.0, respectively.
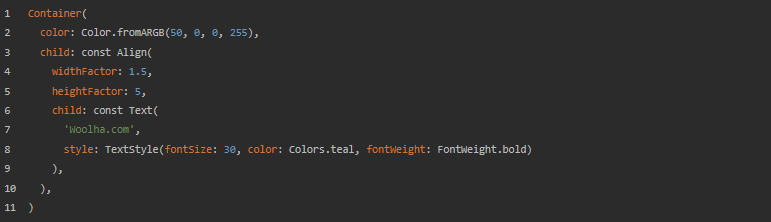
Output:

However, it may not work if the dimension is constrained. For example, the below code has a size constraint for the width. The passed widthFactor doesn’t affect the width of the widget.
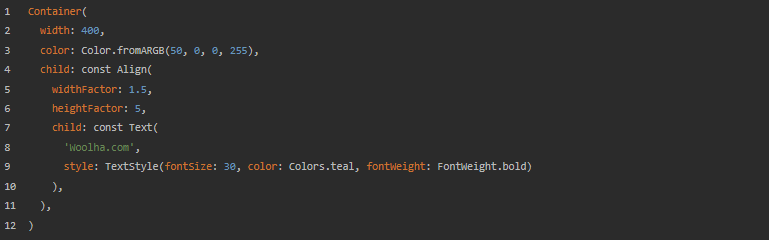
Output:

Align Parameters
Key key: The widget’s key.Alignment alignment: How to align the child. Defaults toAlignment.center.double widthFactor: If non-null, sets its width to the child’s width multiplied by this factor.double heightFactor: If non-null, sets its height to the child’s height multiplied by this factor.Widget child: The widget to be aligned.
Full Code
Below is the full code of this tutorial.