
It’s frustrating when “No Internet, Secured” error message suddenly pops up. It’s a weird, but what’s clear is that your internet connection has stopped working. In this article we will teach you on how to fix “No Internet, Secured” in simple steps.
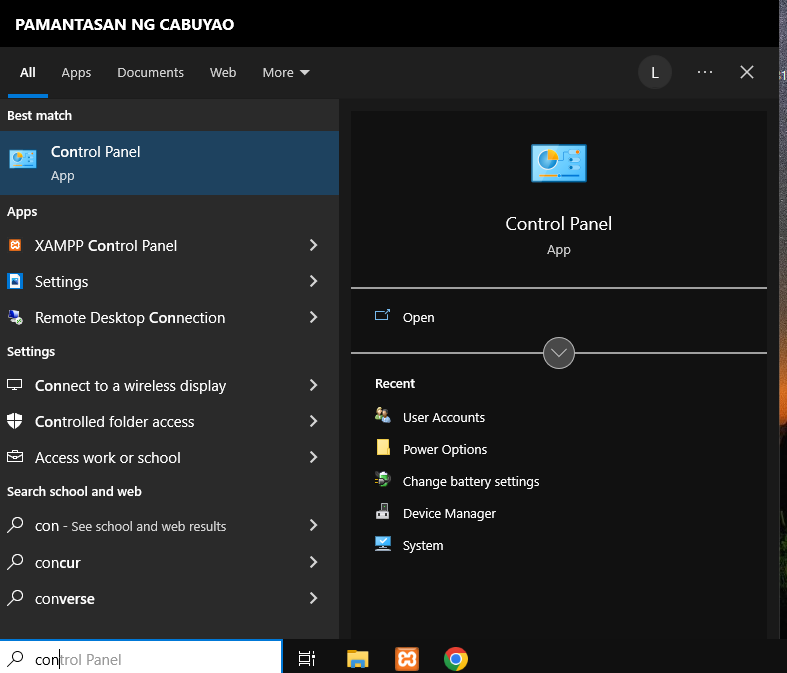
First open the control panel
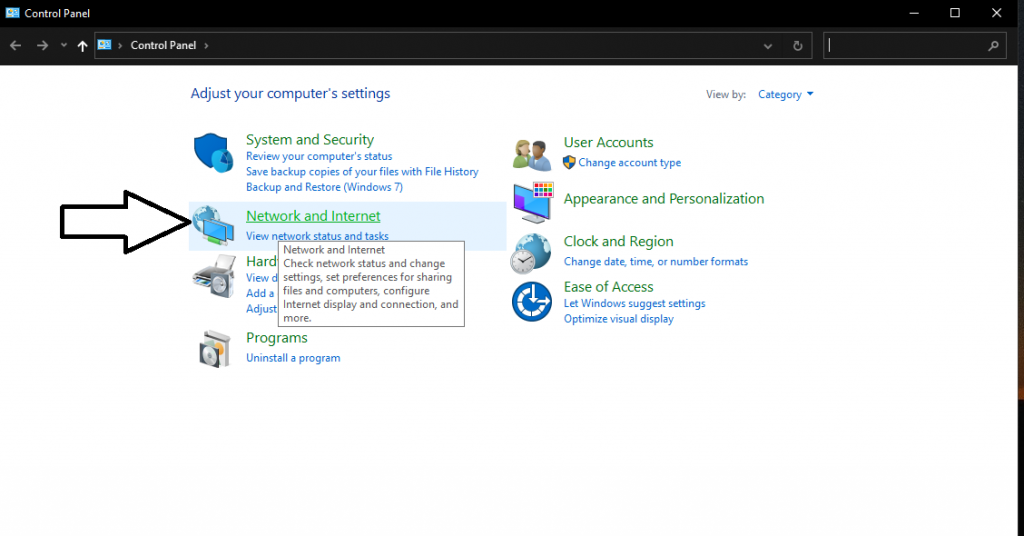
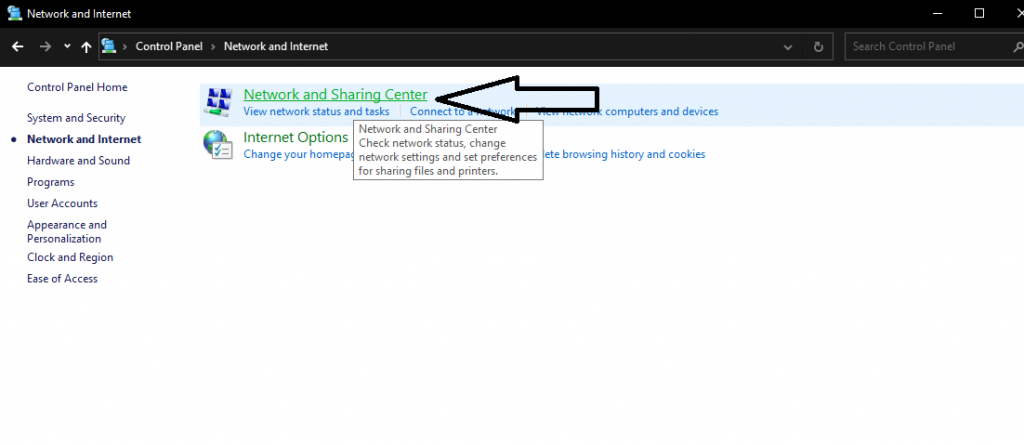
Then open Network and internet then open Network and Sharing Sharing.
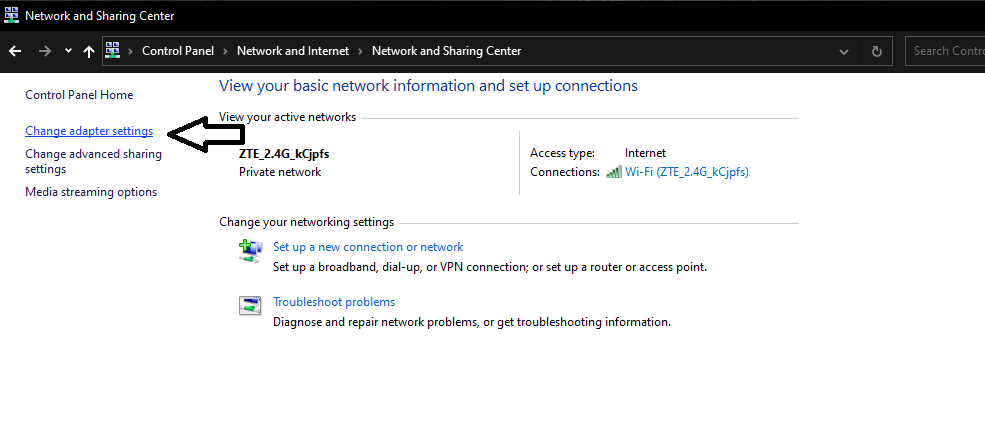
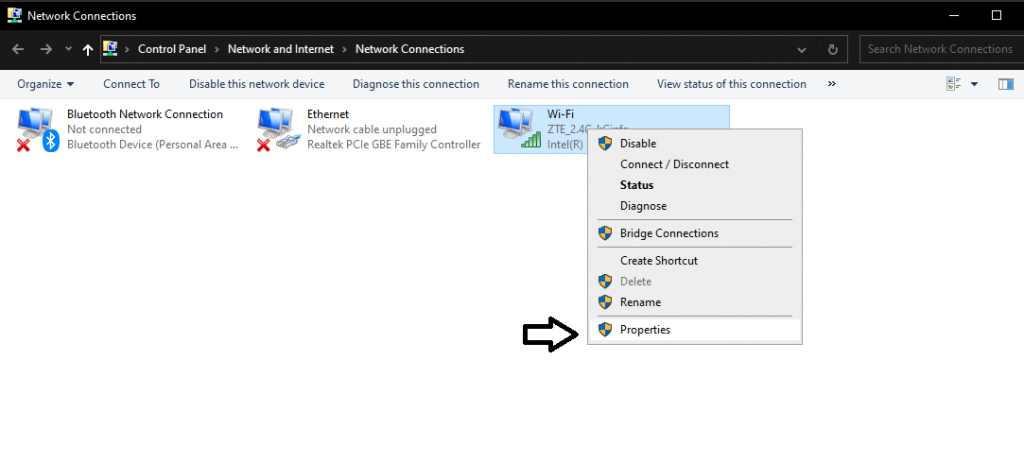
Open the change adapter settings then right click the wi-fi properties.
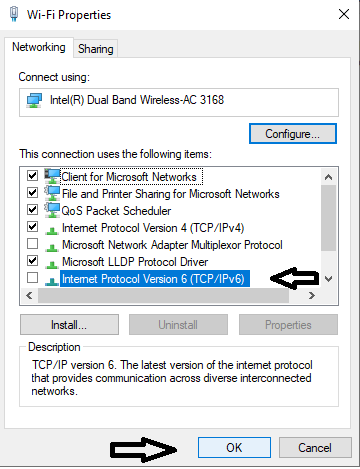
Uncheck the internet protocol and click ok.
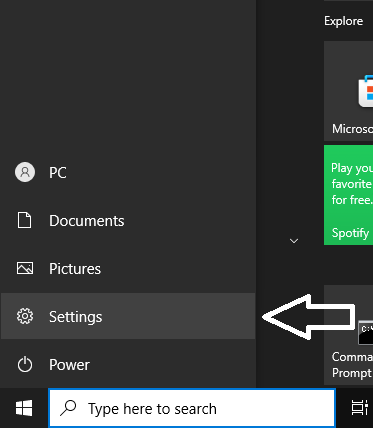
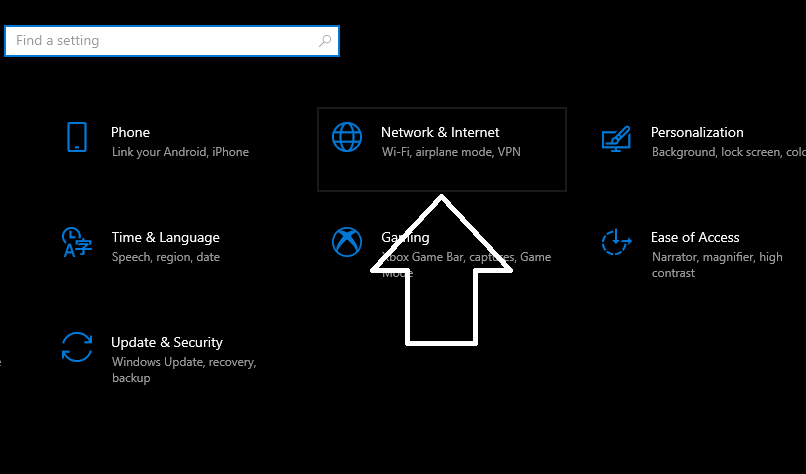
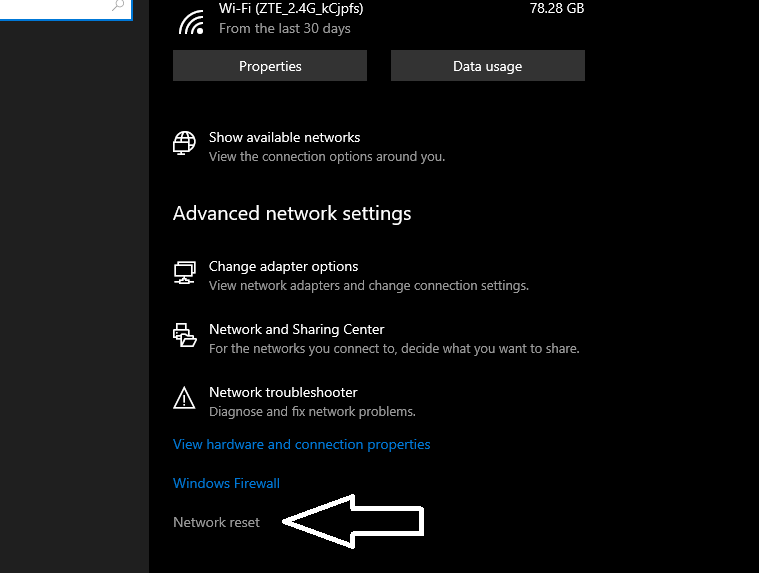
If the problem is still there open the settings and click the Network and Internet.
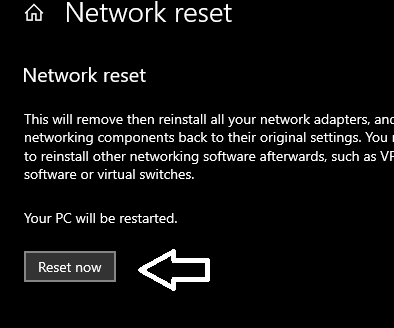
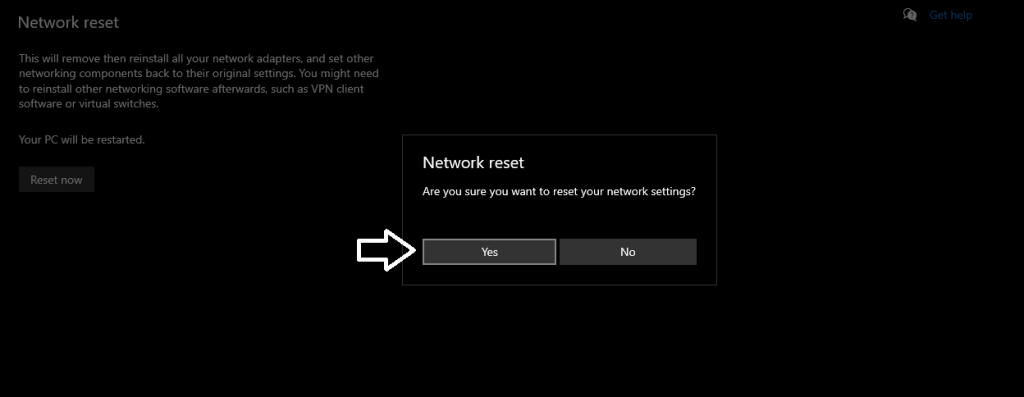
Click the Network Reset, then click the Reset now and click Yes.
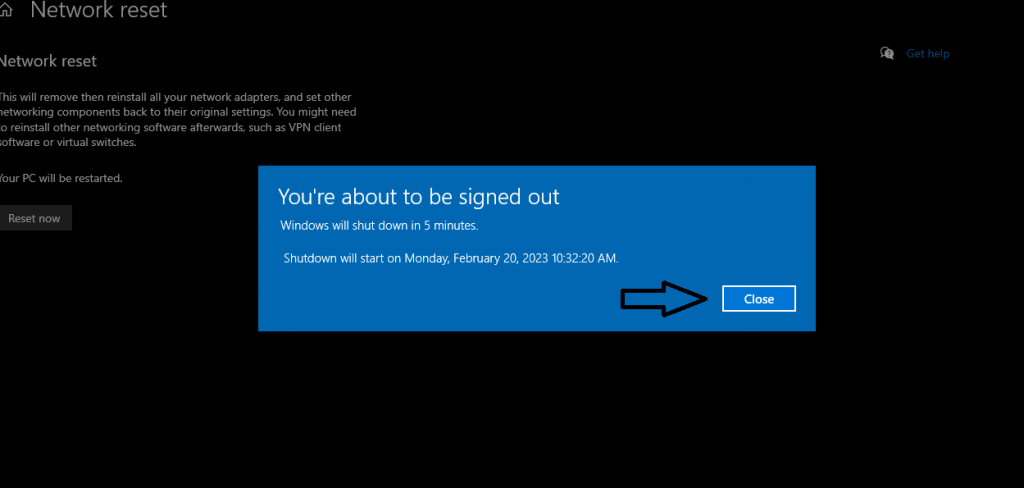
After that Restart Your computer and the problem should be fix.
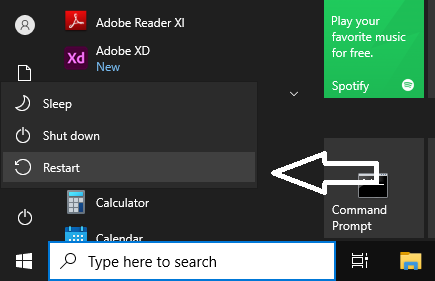
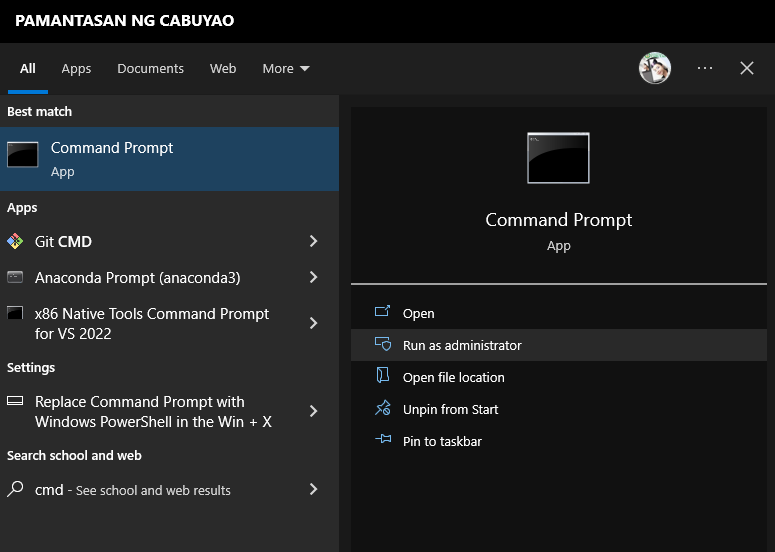
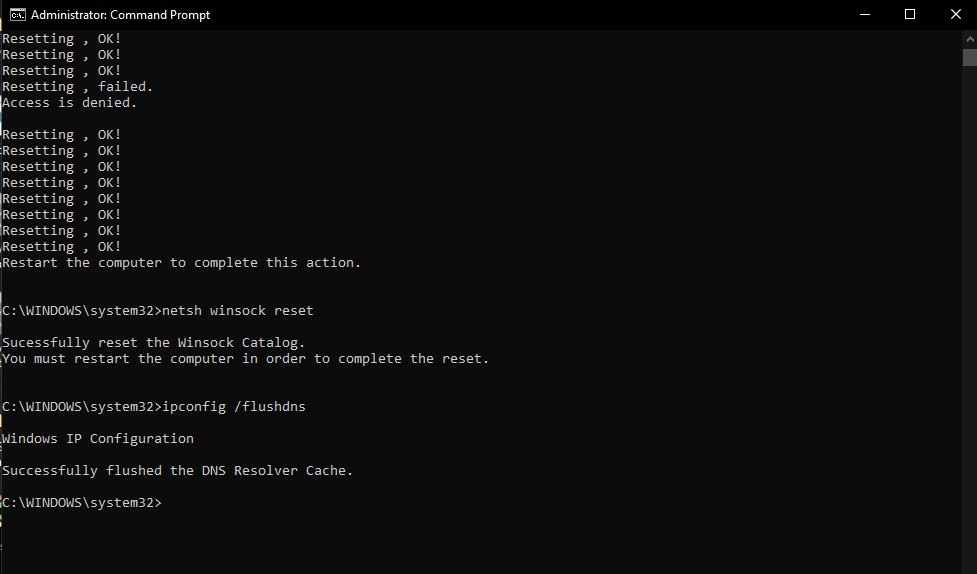
If the problem is still there open the cmd and run as administration.
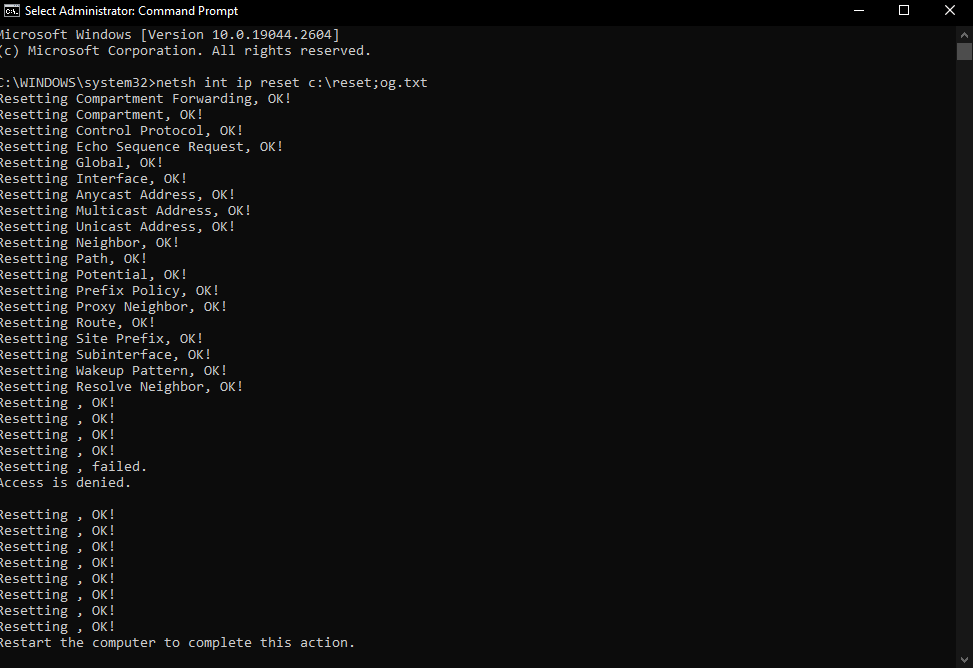
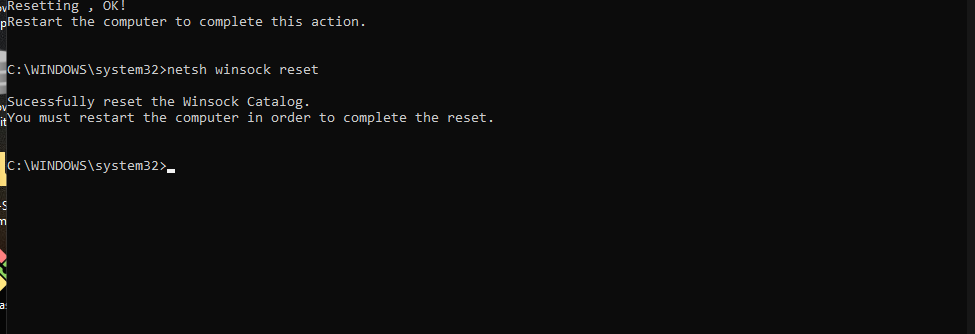
Type netsh int ip seset c:\resetlog.txt and press enter after that type netsh winsock reset and finally type ipconfig /flushdns and restart your computer.

This should be fix your computer
Thanks for reading on How To Fix A “No Internet Secured” Error In Windows 10 & 11 I hope this solved your problem and have a nice day.