
For developers and administrators, the Telnet Client is an excellent tool for managing and testing network access. However, with Microsoft Windows 10, the Telnet Client application is disabled by default. If you try to use it before it’s activated, you’ll get an error notice saying that it’s “not recognized as an internal or external command, operable program, or batch file.”
Telnet is still used by some applications, despite its age, leaving many to question what it is. To use the Telnet client in Windows 10, you must first enable it, which raises the question of whether there are any security concerns to be aware of.
Step-by-Step
To enable Telnet, follow these steps:
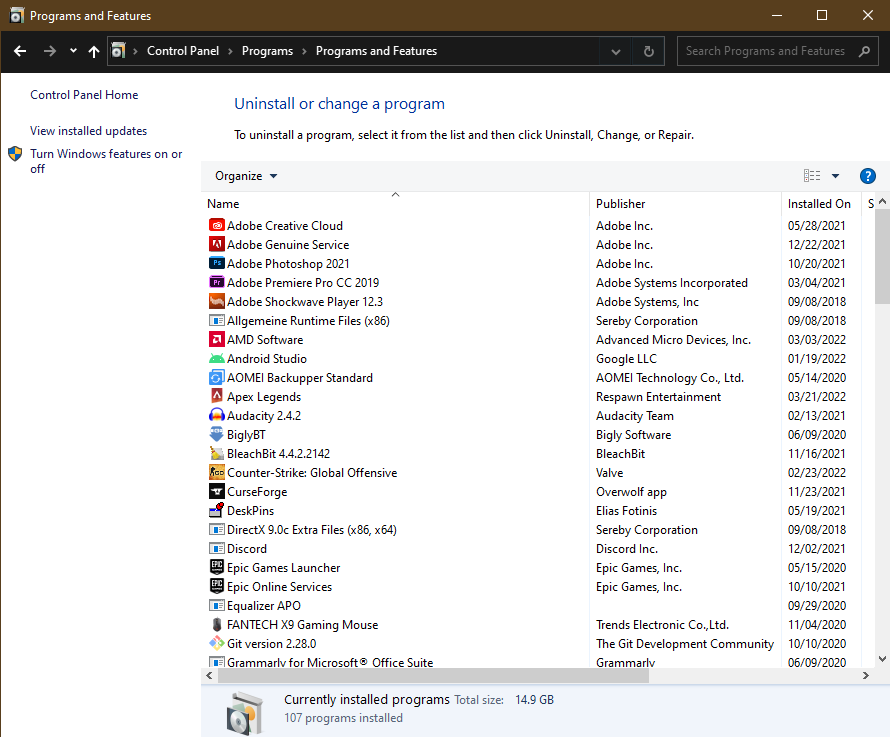
Right-click the Start button and select Apps and Features.
Click Turn Windows features on or off from the left-hand menu.
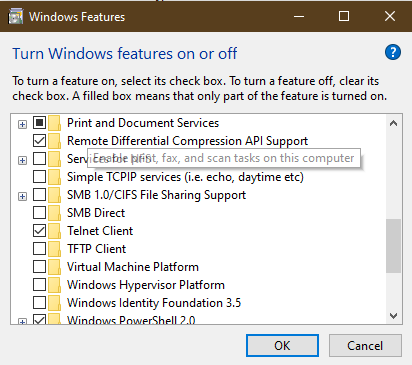
The Windows Features dialog box appears. Scroll down and select Telnet Client. Click OK.
The Telnet Client installations begin.
Once complete, a success message appears.
Click Close. There’s no need to restart your computer.