
Microsoft announced in 2015 that an integrated OpenSSH client would be added to Windows. They’ve finally done it, and an SSH client is hidden in the Fall Creators Update of Windows 10. You can now connect to a Secure Shell server from Windows without the need to install PuTTY or any other third-party software.
Enable SSH in Windows 10:
- Although the SSH client is included in Windows 10, it is a “optional feature” that is not installed by default.
- To install it, go to Settings > Apps and select “Manage optional features” from the Apps & features section.
- At the top of the list of installed features, click “Add a feature.” If you already have the SSH client installed, it will be displayed in this list.
- Scroll down, select “OpenSSH Client (Beta),” and then click “Install.”
- If you want to run an SSH server on your PC, Windows 10 includes an OpenSSH server that you can install. You should only install this if you intend to run a server on your PC rather than simply connect to one that is running on another system.
Use SSH in Windows 10:
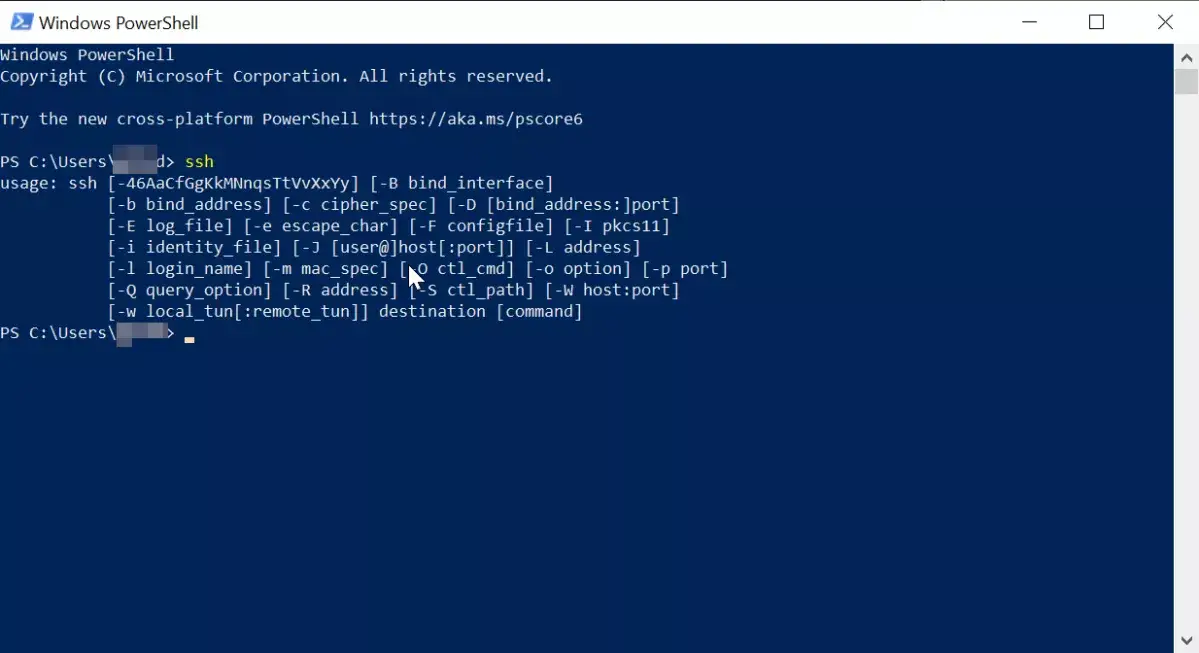
- By running the ssh command, you can now use the SSH client. This works in either a PowerShell or a Command Prompt window, so choose your preference.
- Right-click the Start button or press Windows+X and select “Windows PowerShell” from the menu to open a PowerShell window quickly.
- Simply type “ssh” to see the syntax of the ssh command.
- If you receive an error message stating that the command could not be found, you must sign out and sign back in. Restarting your computer will also work. This should not be required, but it is a beta feature.
- This command functions similarly to connecting to an SSH server using the ssh command on other operating systems such as macOS or Linux. Its syntax and command line options are identical. You can even save server definitions and proxies in an SSH config file.
- To connect to an SSH server at ssh.example.com with the username “bob,” for example, type: “ssh [email protected]”
- The first time you connect, you’ll be prompted to accept the host’s key, as with other SSH clients. You’ll then be presented with a command-line environment from which you can execute commands on the remote system.
References:
https://www.howtogeek.com/336775/how-to-enable-and-use-windows-10s-built-in-ssh-commands/