
Sometimes, a port is blocked by default on a firewall. This can bother especially if you plan to use a port in your applications. In this tutorial, I will show you how to enable a port in windows firewall.
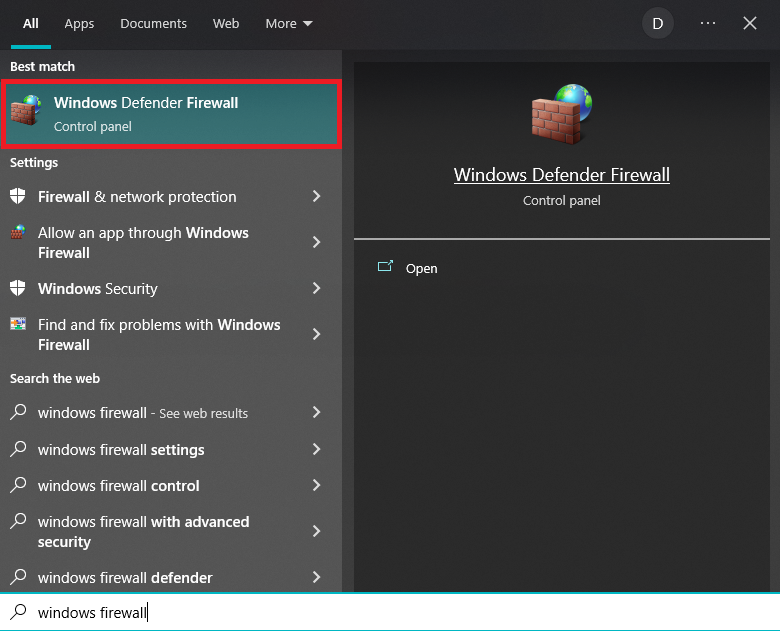
Step 1. Click on Start Button

Step 2. Type “Windows Firewall” and click on it
Step 3. In the Firewall Settings, click on “Advanced Settings” in the top left side of the panel.

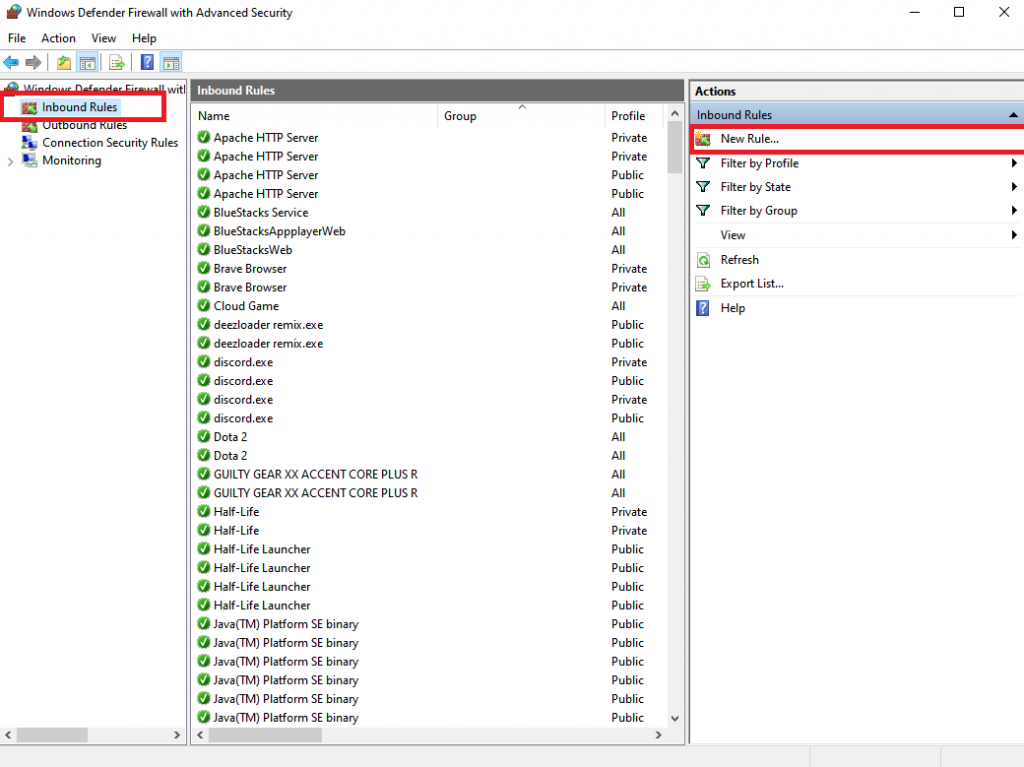
Step 4. Click on “Inbound Rules” in the top left side of the panel. Then click on the “New Rule” on the right side.
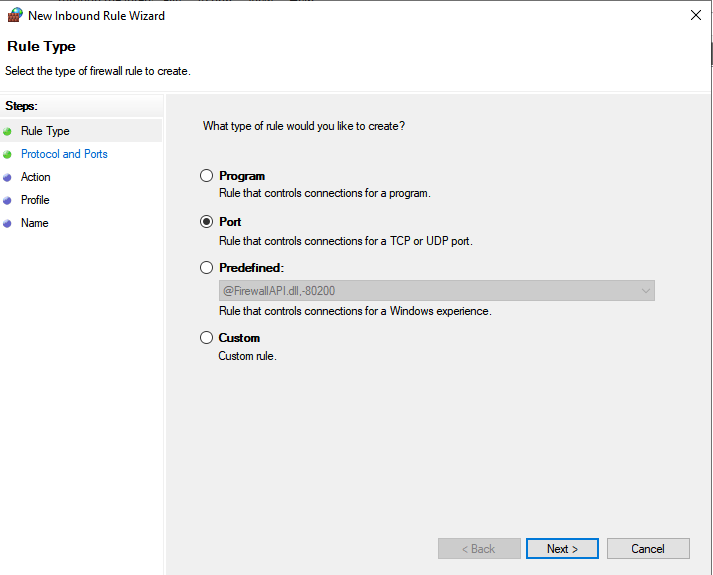
Step 5. In the screen, that appears, select the following:
Port
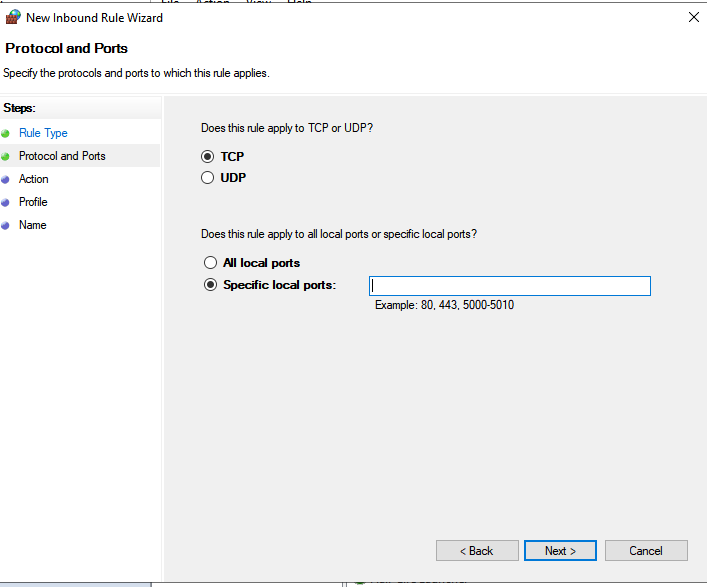
TCP/UDP depending on the port that you are going to allow. Then specify port number.
Select the action that should be taken when a port connects. Note that you can also block the connection.

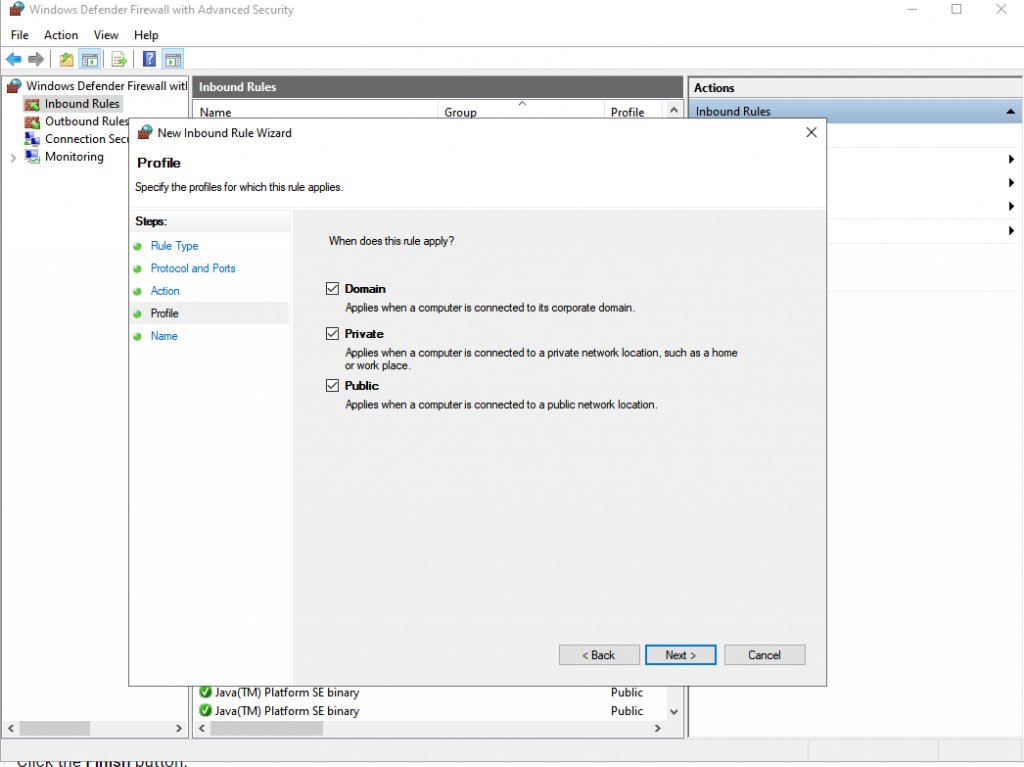
Select the profile. You would want to leave this with the default options.
Enter a name and a description to make sure that you do not forget the purpose of the rule. Now you are done!