
Go to plugins then install, and activate “Elementor Header & Footer Builder”.
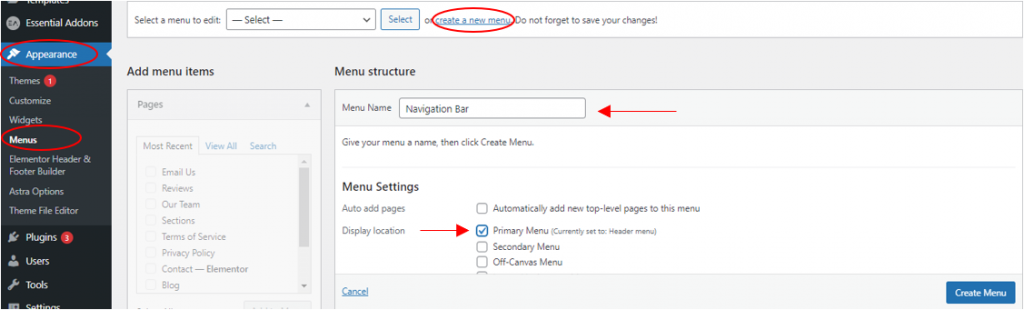
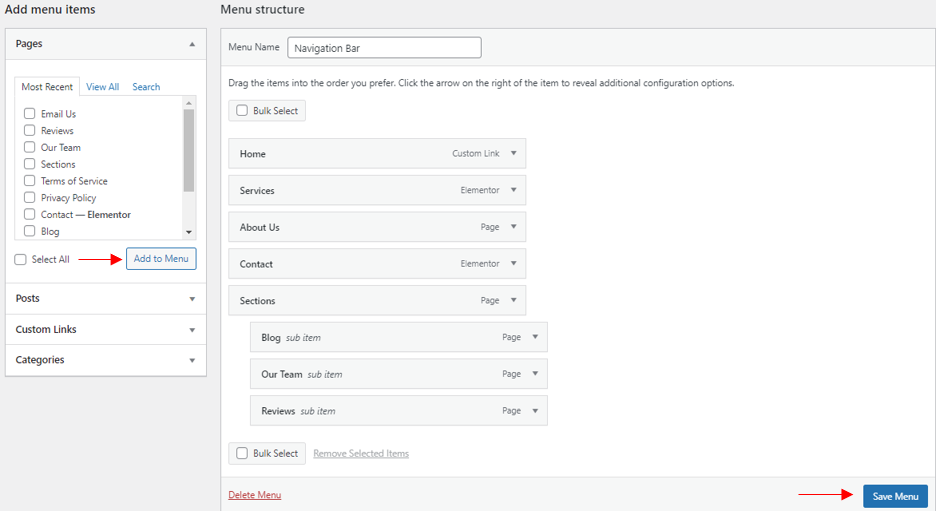
Head over to your dashboard and go to Appearance > Menus. Click ‘create a new menu’ and customize the menu structure based on your preferred appearance on your web navigation. Save menu.
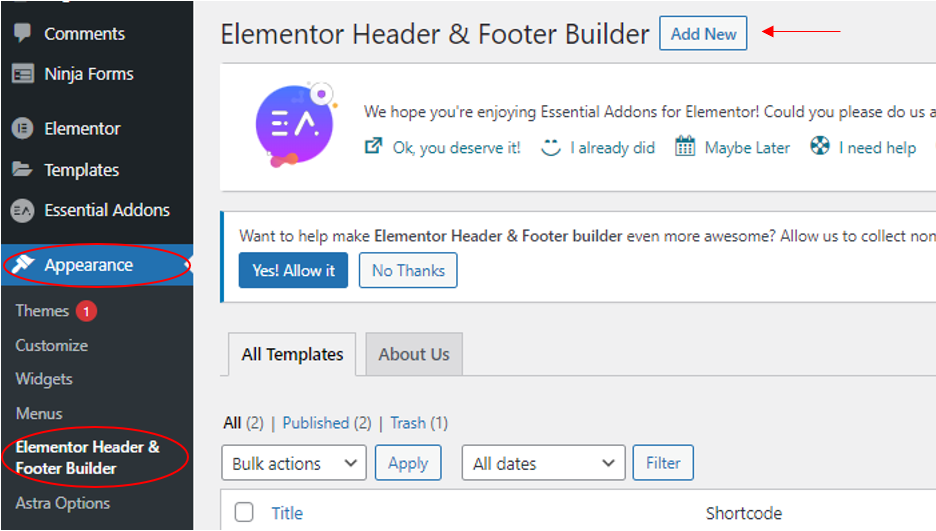
Next, go to Appearance then click the Elementor Header & Footer Builder and Add New.
Name the template and choose the ‘header’ type of template, then select target locations with the ‘Display Rule’ where the template should appear. Set user roles for whom the template will be displayed. Hit the Publish button when you’re done.

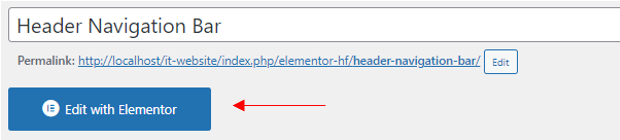
Next, go to Edit with Elementor. From here, you can build your header template from scratch.
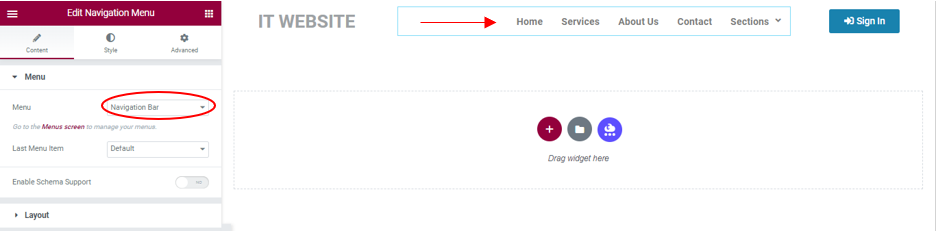
Click on add new section then set the number of columns you want to work with. Drag and drop the navigation element on the column then select the menu that you have created. Customize the header to your desired preference.

That’s it! You have successfully created your website header, I hope this article helps you to learn “How To Create Header In WordPress Elementor For Free“.