In creating a video presentation, it is difficult for the user to organize the video clips wherein there are different elements such as the music, sound effects, animated features, and the video itself. Thus it might be a bit overwhelming to organize the needed clips. And the best way to organize these clips is through the sequence function of Adobe Premiere Pro.
Thus, we’ll be learning today how to create a sequence in Adobe Premiere Pro using the steps below.
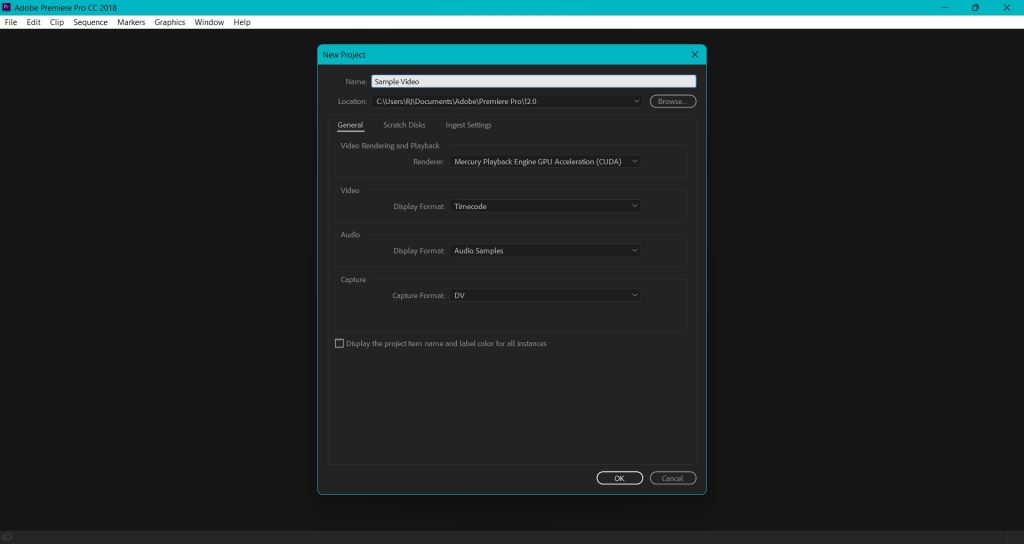
In order to create a sequence, you must create a project:
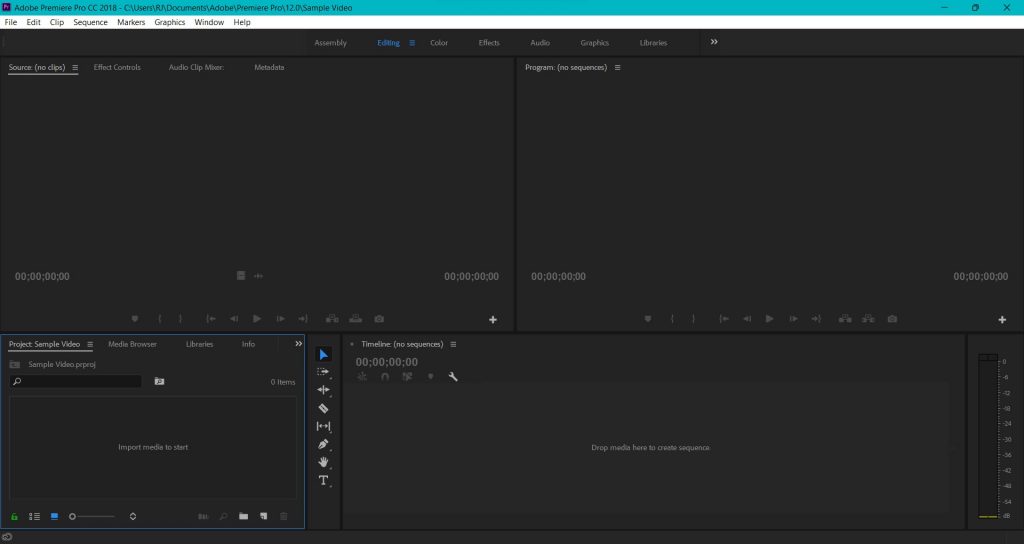
After creating a project, select and navigate the project panel on the bottom left of the screen.
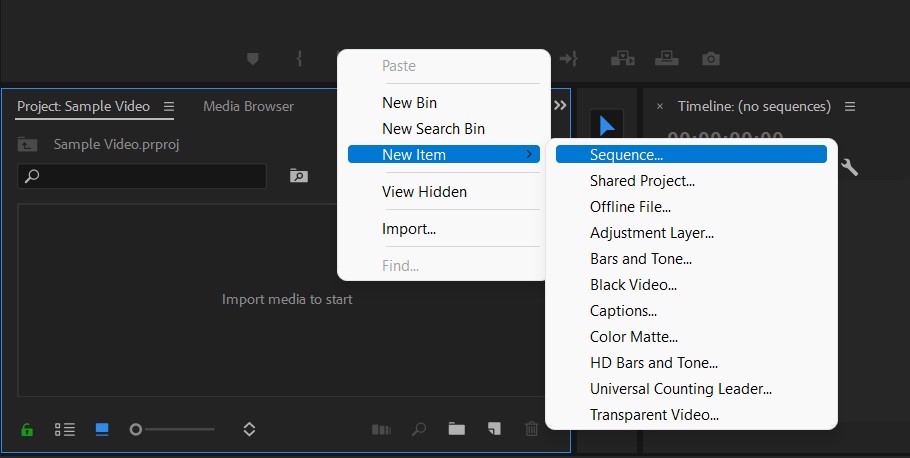
Right-click, select New Item, and choose the sequence.
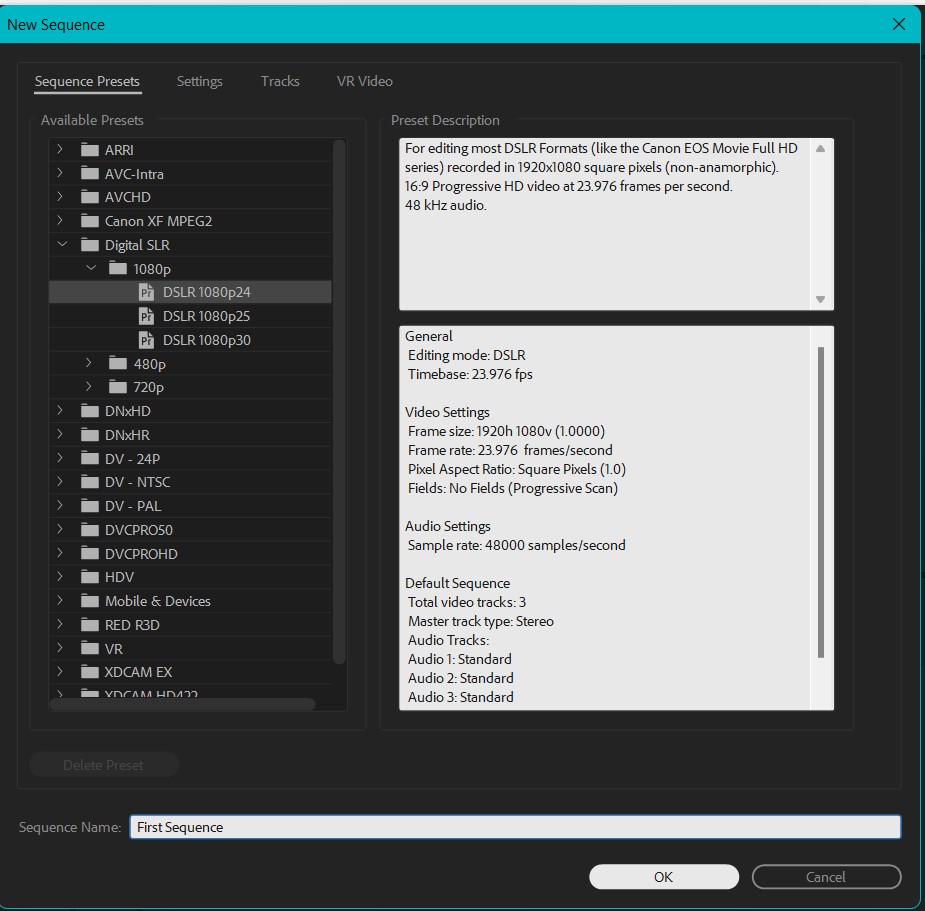
In the new sequence window, choose the preset that matches the resolution of the camera you used to shoot the video of your project. Select Ok.
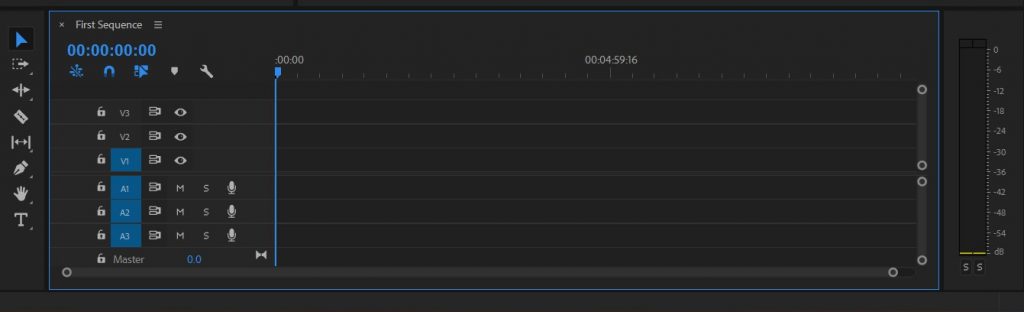
The new sequence will now be displayed on the timeline tab. You can now start importing your clips, music, sound effects, etc.