
Mirth Connect is a powerful healthcare integration engine that allows the exchange of data between disparate systems. One of the ways to exchange data is through RESTful APIs. A REST API in Mirth Connect is a way to send data to external systems or receive data from them using the RESTful architectural style.
Connecting to a REST API in Mirth Connect can be achieved by following these steps;
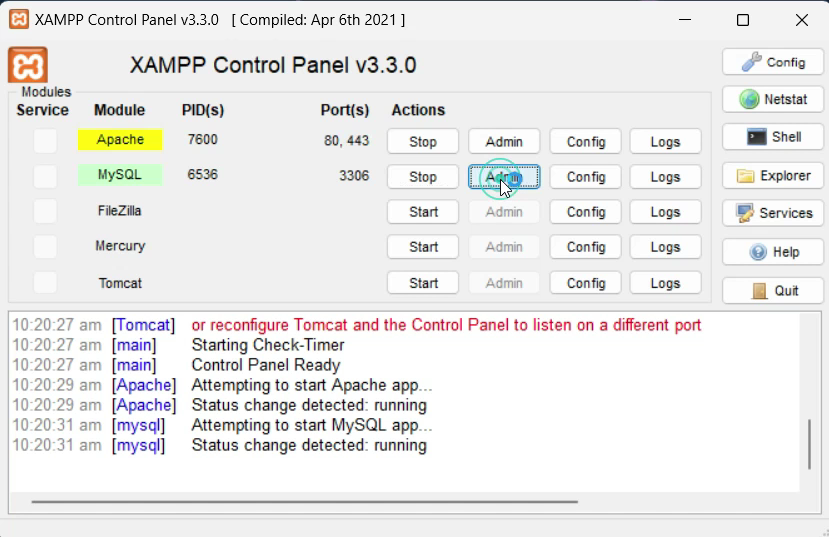
- Open the Xammpp Control Panel and Run the Apache and MySQL Module.
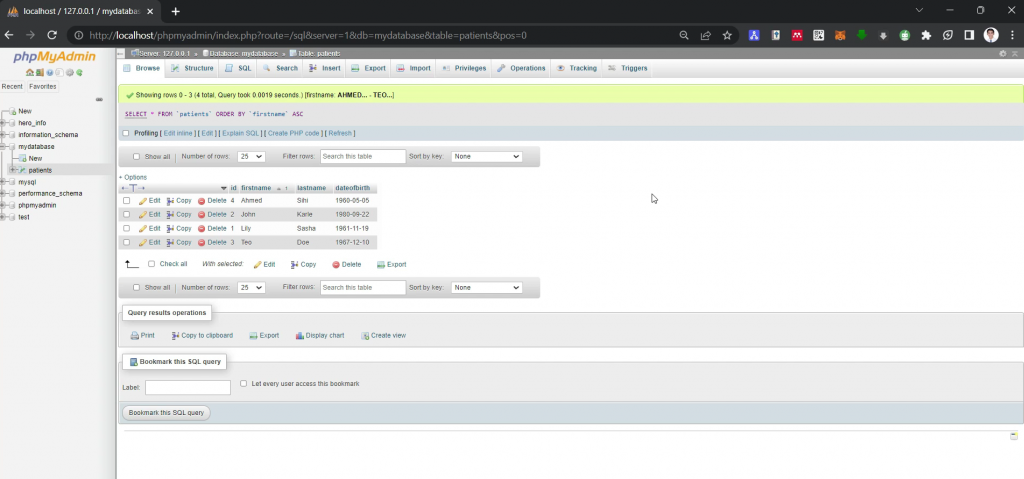
2. Open the MyPhpAdmin. Create the database for the Rest API and Mirth Connect.
3. Once the database is done, Open Mirth Connect Administrator Launcher in your windows.

4. Click the “Launch Administrator” button.

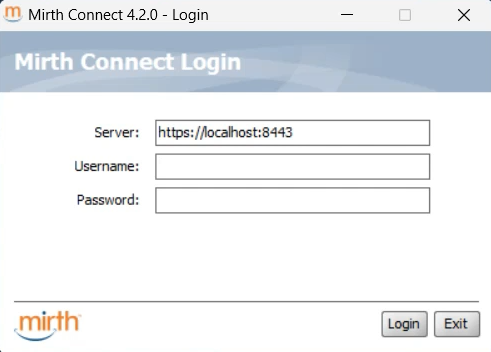
4. Once you have done this, Enter your Mirth Connect Username and password in the appropriate needs. If you are logging for the first time, use the default username “admin” and password “admin”.
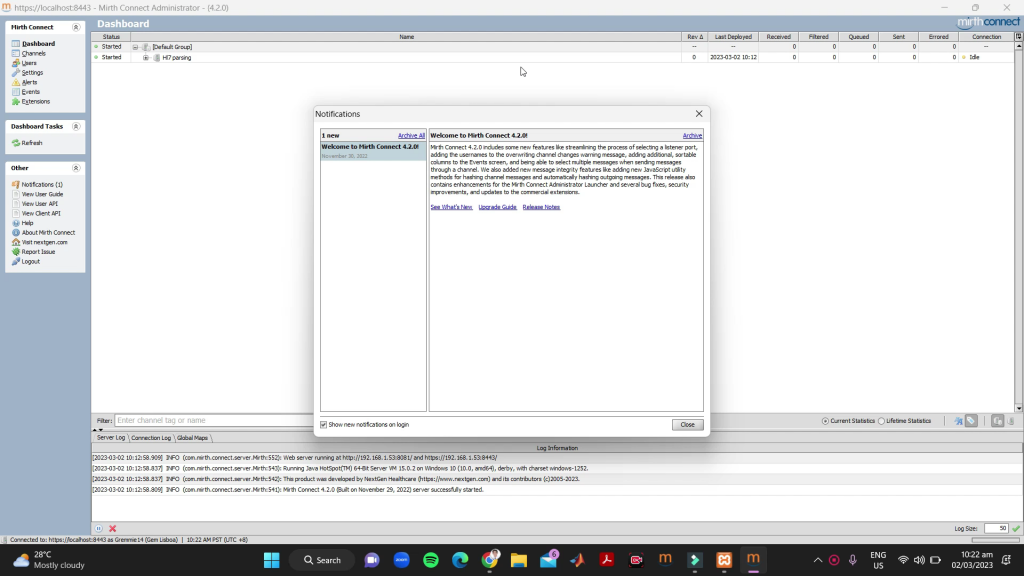
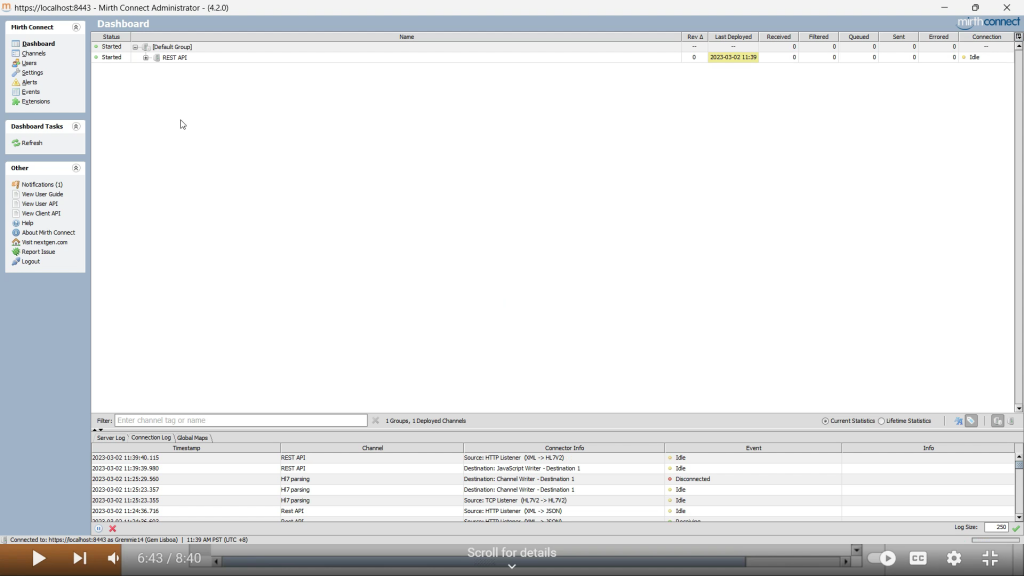
5. After clicking the login button, you will see the Mirth Connect Dashboard. You can manage the channels, view logs, and perform other administrative tasks.
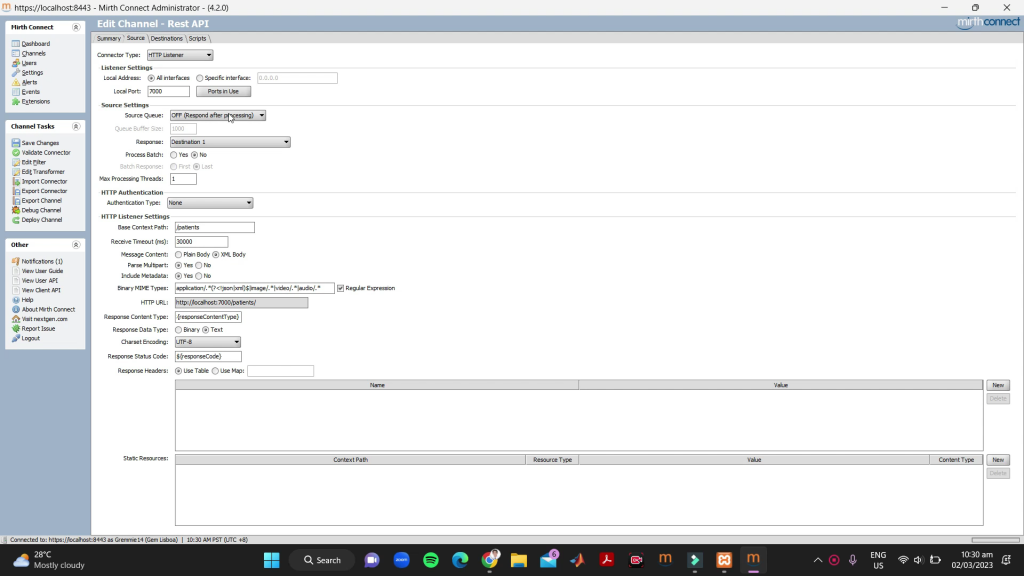
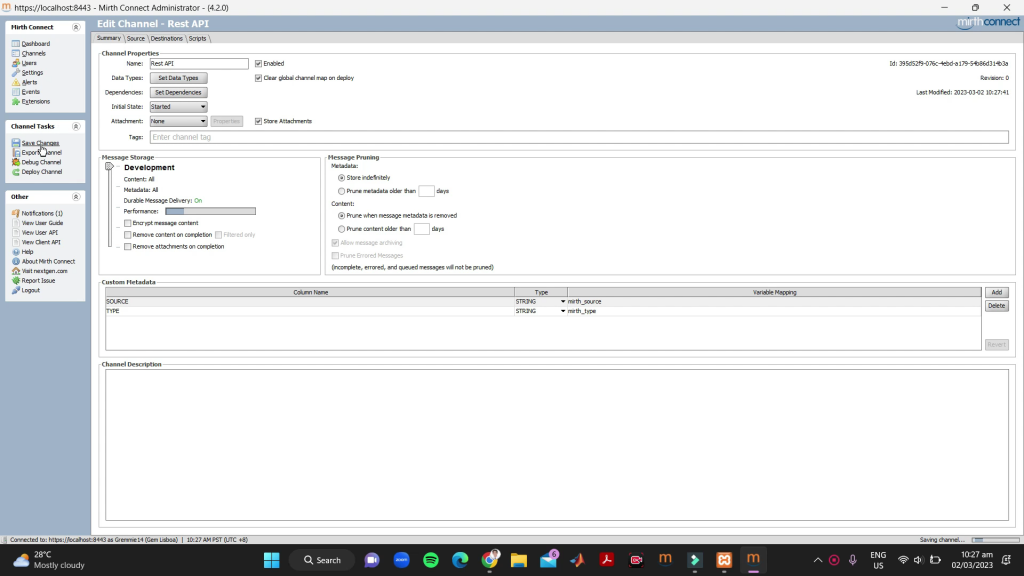
6. Create a new channel in Mirth Connect and configure the source connector. Select the appropriate source connector depending on where the data is coming from. For example, if the data is coming from an HL7 message, select the HL7 source connector.
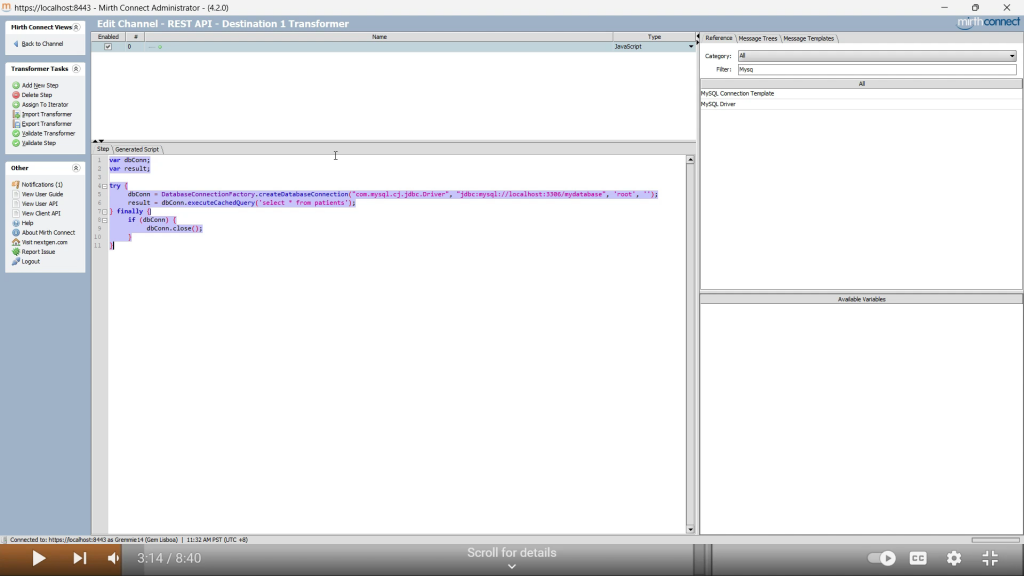
7. Next, add a transformer to the channel. This transformer will convert the incoming data to the appropriate format for the REST API. For example, if the REST API accepts JSON data, the transformer will convert the HL7 message to JSON.
8. Add a destination connector to the channel and select the HTTP Sender connector. Configure the connector with the appropriate REST API endpoint and any required headers.
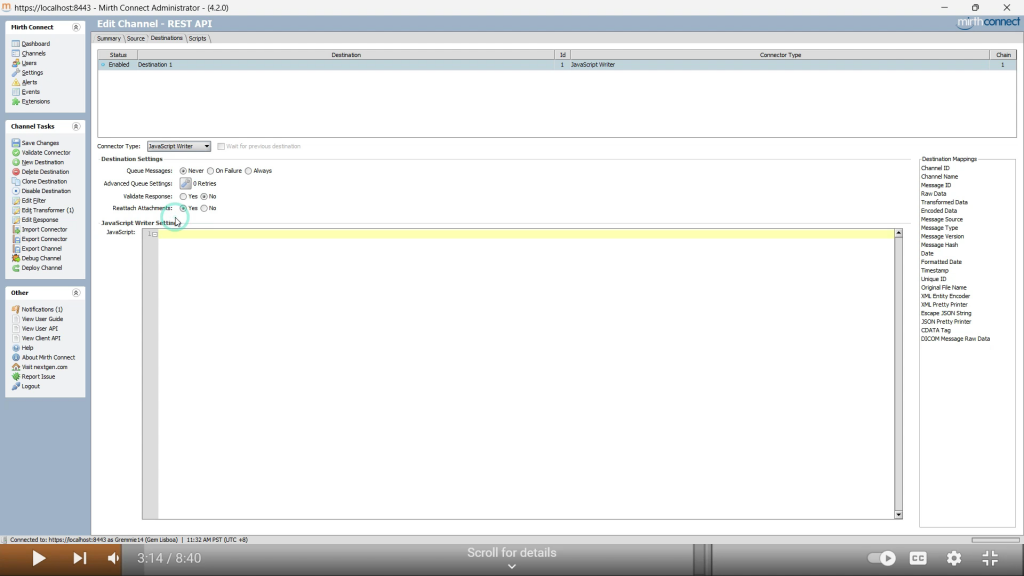
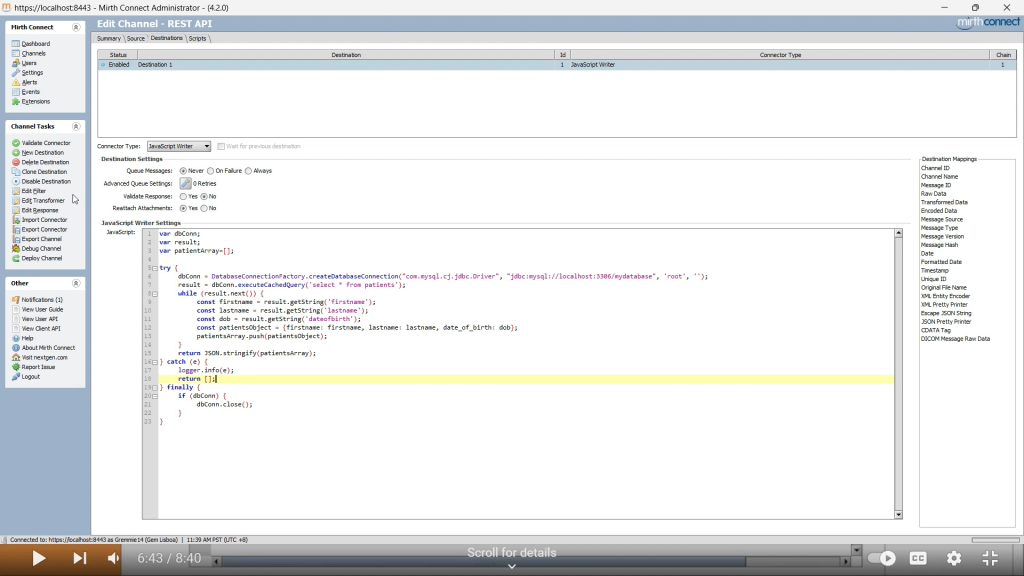
9. In the preprocessor script, write the code to call the REST API. This code will typically use the httpClient function to make a POST request to the REST API. The data to be sent to the REST API can be accessed using the message variable.
For Testing and Verify the Database
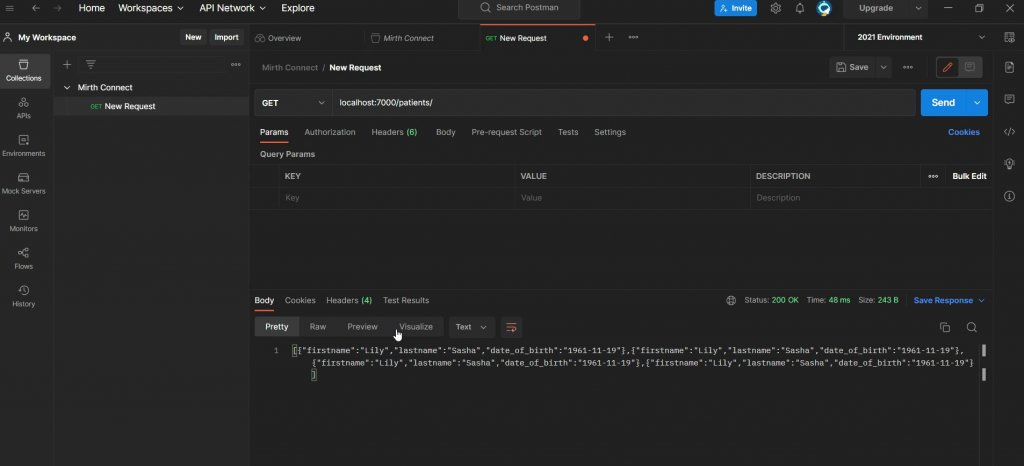
10. You are done, deploy the channel, and Go to the Postman Application to run the channel.

11. Set the request method to POST and create XML/JSON File. Enter the XML/JSON data generated by the channel transformer.
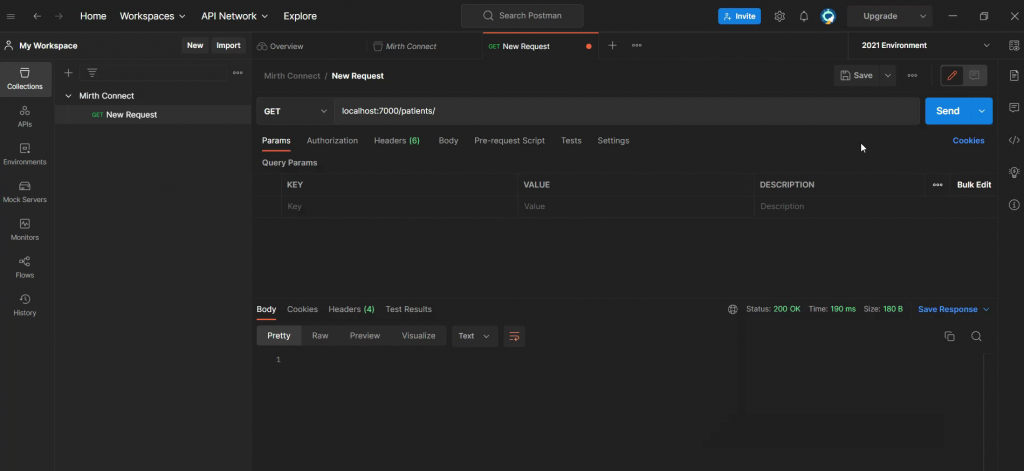
12. Verify that the response received from the endpoint is working.
Note: In a blog post, it would be helpful to provide additional context and explanation for each of these steps. You may also want to include screenshots to show where to find each of the configuration options in Mirth Connect. Additionally, you could provide examples of REST APIs that can be used with Mirth Connect and common use cases for connecting to a REST API in Mirth Connect.