
An administrator account allows you to alter security settings, install hardware and software, view all files, and modify other user accounts. However, if you forget your password, get locked out of your computer, or have your administrator credentials accidentally revoked, you will be unable to make the modifications you desire. To change the administrator in Windows 10, follow these steps:
How to Change the Administrator in Windows 10 Using the Settings Menu?
Changing the type of user account necessitates administrative access. If you just have a regular account, you will need to request this from an administrator. This may be changed by the administrator by navigating to Settings > Account > Family & other users, then selecting the user account. Click Change account, then the Administrator radio button, and finally OK.
1: To begin, press the Windows Start button. This button may be found in the bottom-left corner of your screen.
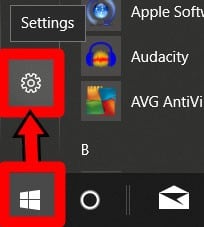
2: Then, select Settings. This is the gear-shaped icon to the right of the power icon.
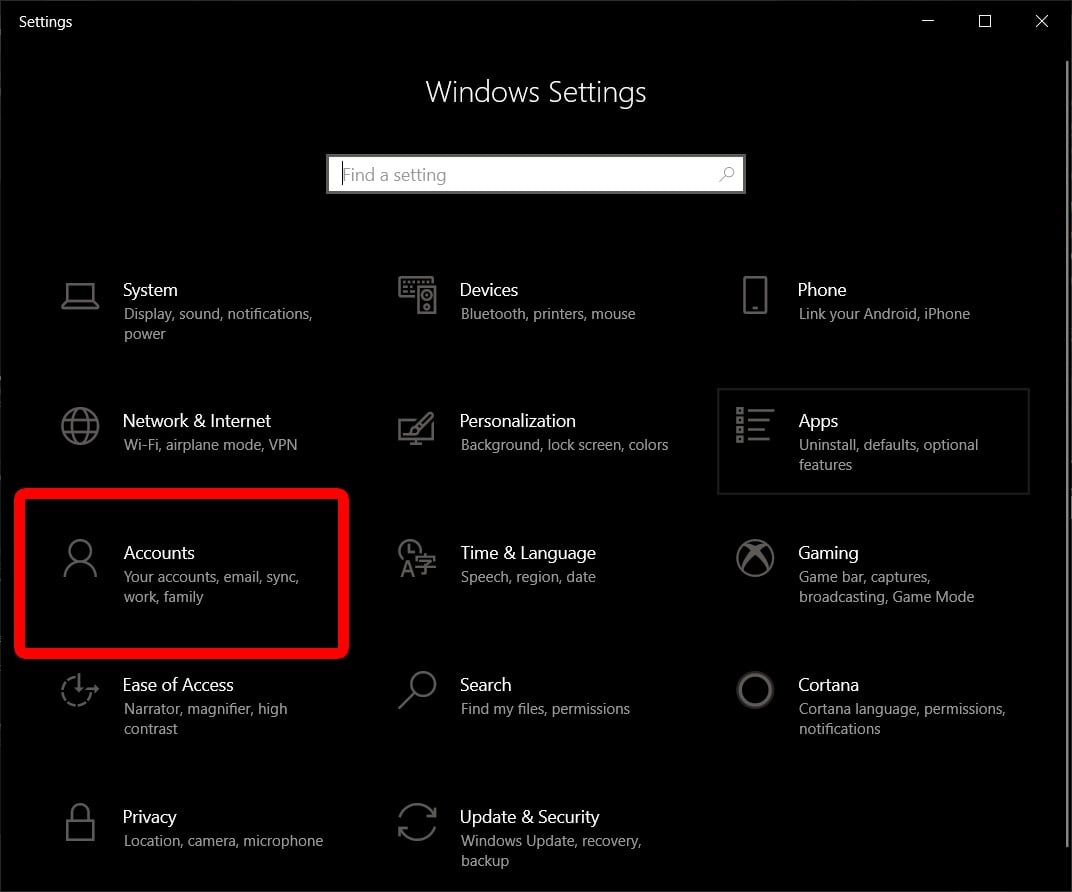
3: Then, choose Accounts.
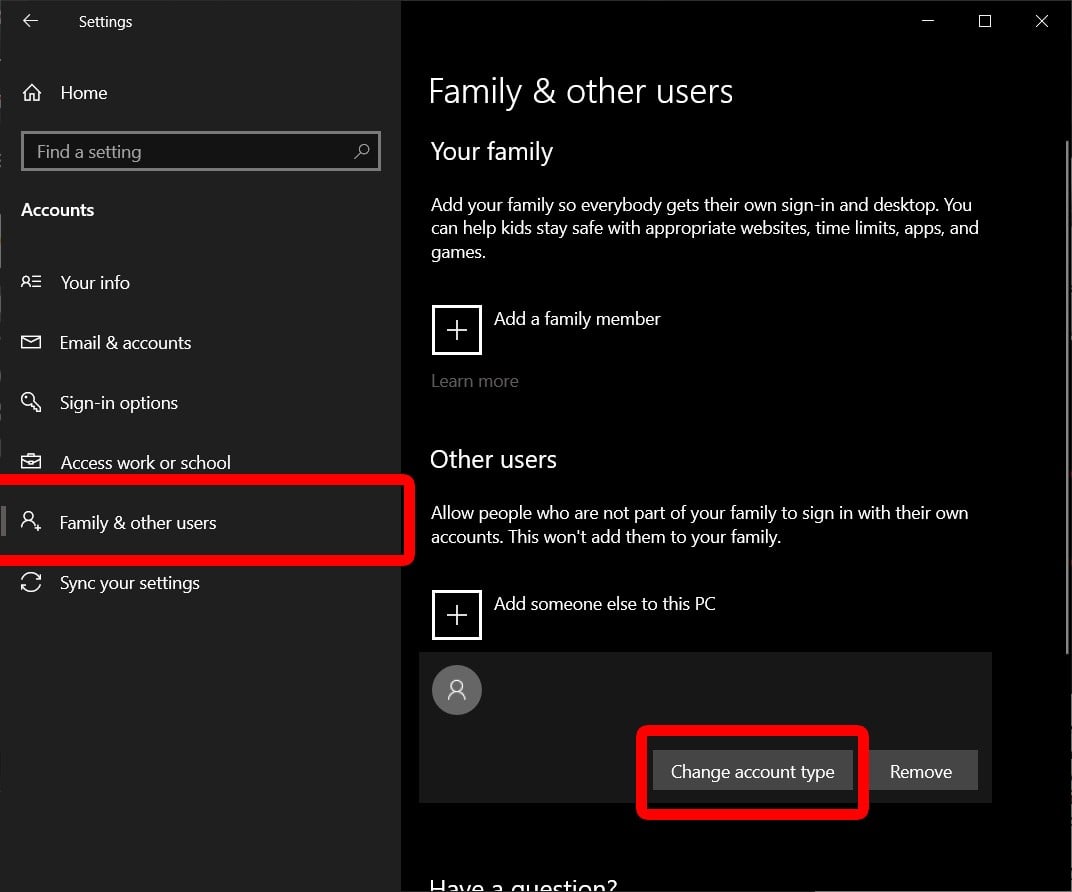
4: Select Family & other users. This option may be found on the left sidebar.
5: Under the Other Users section, select a user account.
6: Then click on Change account type. When you click on a user account, this option will appear.
7: In the Change account type dropdown, choose Administrator.
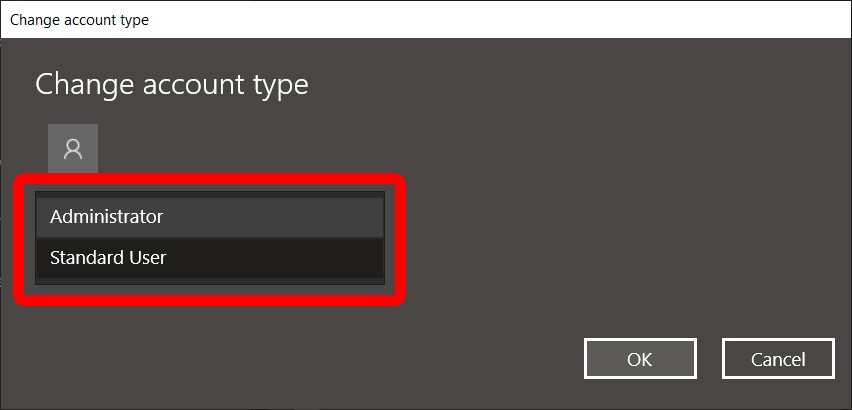
8: Finally, press the OK button. When you return to the Other user’s page, the changes will be reflected in the user account.
9: Repeat these procedures for each user account you wish to modify. However, make sure that you always have access to at least one administrator user. You won’t be able to make adjustments afterward if you don’t.
How to Change the Administrator Using the Control Panel?
You can change a user account type by going to Control Panel, choosing Change account type, and then selecting the user you wish to be an administrator. Finally, click Change Account Type to confirm the change, and your changes will be stored.
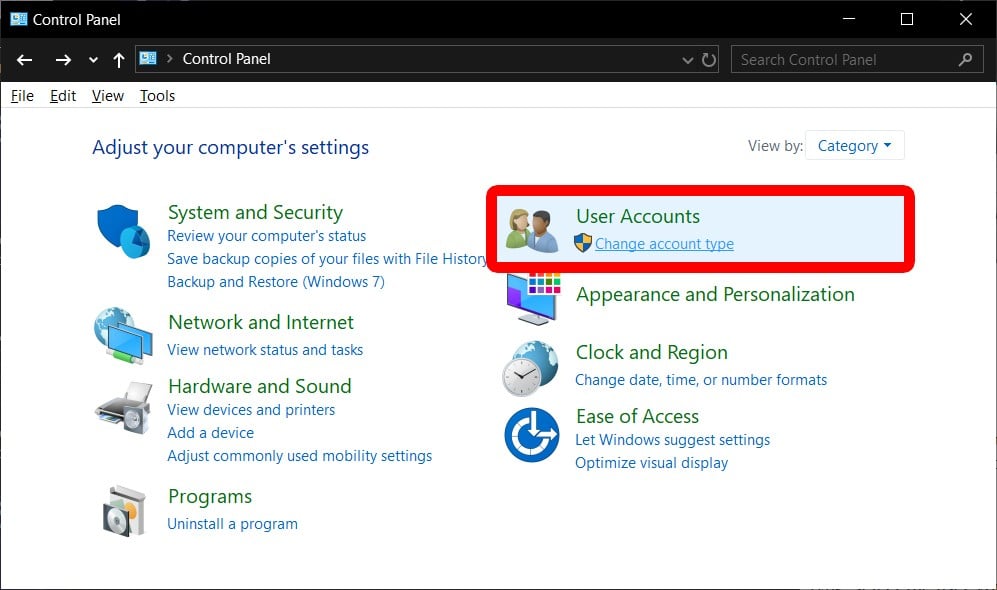
1: To begin, enter Control Panel into the Windows search box.
2: In the search results, select the app.
3: Then, in the User Accounts section, select Change account type.
4: Click on the user whose settings you wish to update.
5: Then choose the Change account type.
6: Select the Administrator radio option.
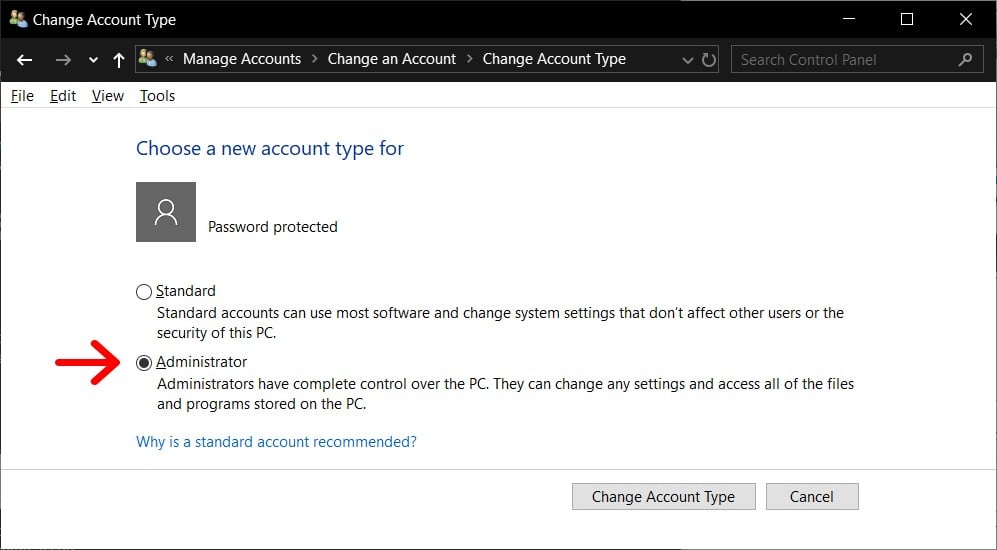
7: Change Account Type should be selected. When you return to the previous screen, the modifications will be reflected.
8: Repeat these procedures for each user you want to change. However, make sure that you always have access to at least one administrator user. You won’t be able to make adjustments afterward if you don’t.