
Many Windows users report that their desktops aren’t responding or are frozen in Windows 11/10. If you are also experiencing this problem on your Windows 11/10 device, here’s something you might find useful. This article provides some troubleshooting tips you can follow to resolve the issue.
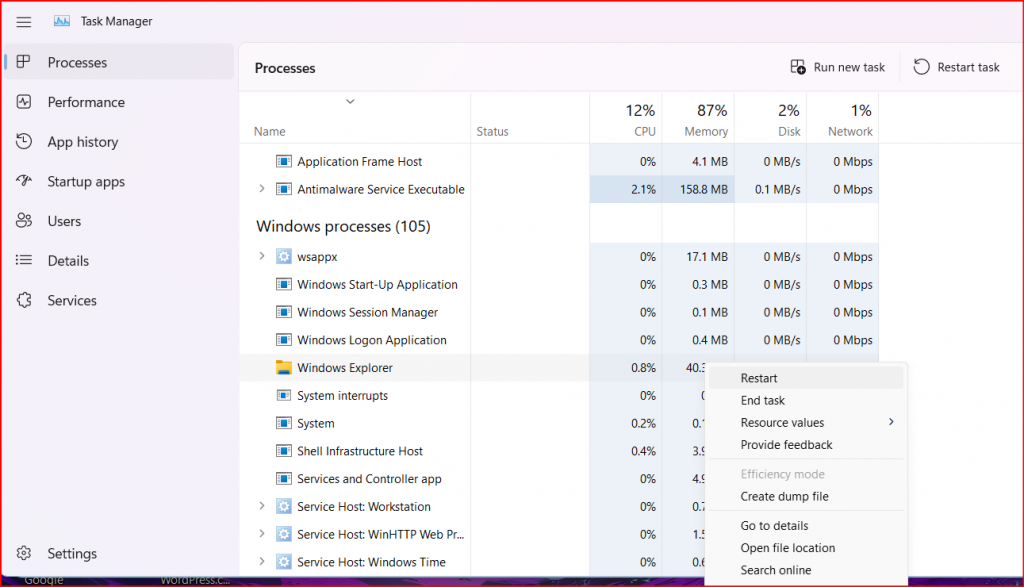
- Restart Explorer
- Restart Display driver
- Rollback the Graphics Drivers
- Update the Graphics Drivers
- Troubleshoot in Clean Boot.
- Restart Explorer
2. Restart Display driver and see if that makes the problem go away. Pressing Win+Ctrl+Shift+B in Windows will reset your Graphics or Display Driver. It will cause the screen to flicker for a moment.
Rollback Graphics Driver update If it’s the Graphics Driver that is causing the problem, especially if you recently updated it or ran Windows Update, then it is best to uninstall it. Chances are the driver is going to be a cause of future problems because it doesn’t work correctly.
- Open the Device Manager ( WIN + X, followed by M)
- Expand Display adapters.
- Right-click on the adapter and click on Properties.
- Switch to the Driver tab, and then choose Roll Back Driver.
- The button will be enabled only when the driver was recently installed. The other way out is to find the previous version of the driver and install it. You will have to go through the OEM website and download and install it. If you are using an old driver, maybe you need to update your Graphics driver.
4. Update the Graphics Drivers this solution requires you to update the graphics drivers and see if it helps HP | Dell | AMD | Intel | NVIDIA | GeForceon requires you to update the graphics drivers and see if it helps.
5. Troubleshoot in Clean Boot If your computer works in Safe Mode, you should try troubleshooting it in Clean Boot Mode to see if any startup applications cause the problem. In a clean boot state, the most essential system files and services will only be loaded.
- Right-click on the Start button, and then choose Run from the menu list.
- Type MSConfig into the search box, then click OK.
- On the System Configuration page, go to the Services tab.
- Check the box next to Hide all Microsoft services, then click Disable all.
- Click OK to save the changes.
- On the Startup tab, select the Open Task Manager link.
- In the Task Manager window, select the Startup tab.
- Select each startup service and click Disable to stop it.
- Next, restart your computer and see if this fixes the problem.
- After that, you should run the System Configuration tool.
- On the General tab, select the Load system services checkbox.
- Click Apply > OK to save your changes and restart your computer.