Creating an Emulator Using Android Studio and Opening It with VS Code

Emulators play a crucial role in the development and testing of Android applications. They allow developers to simulate various Android devices, enabling them to debug and run their apps without needing physical hardware. In this blog post, we will guide you through the process of creating an emulator using Android Studio and opening it with VS Code, a popular code editor.

Setting up Android Virtual Device (AVD)

Open Android Studio and click on the "Device Manager" button
Click Create device
Select your preferred device size
Choose your API level
Name your device and select the orientation needed

Integrating to vS code

Go to your project, enter Ctrl + shift + p and launch the emulator
Choose your newly created emulator
It is working properly now

Conclusion

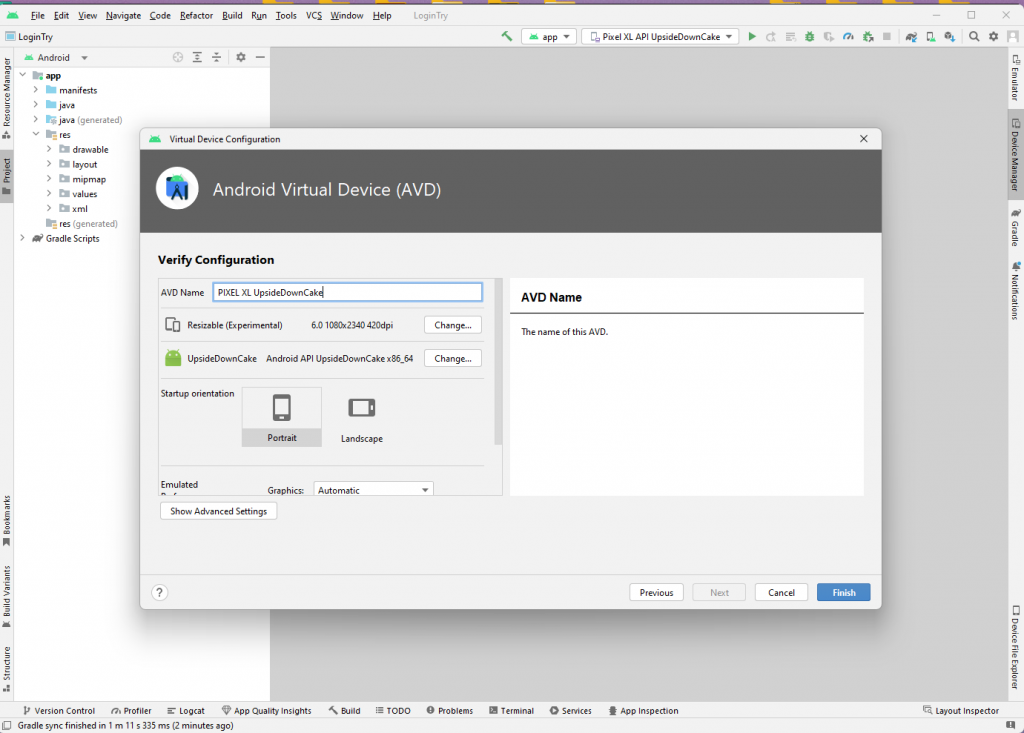
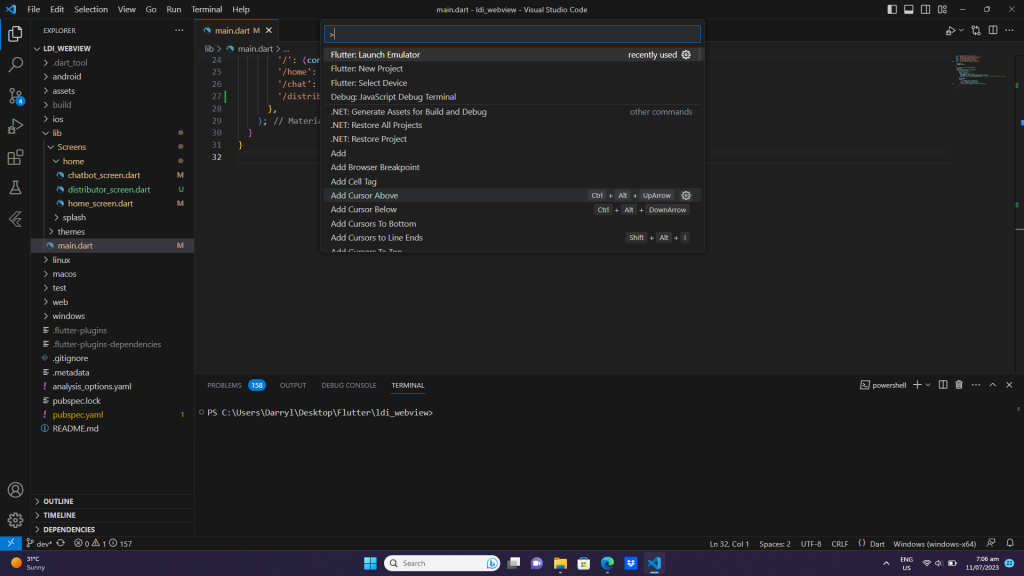
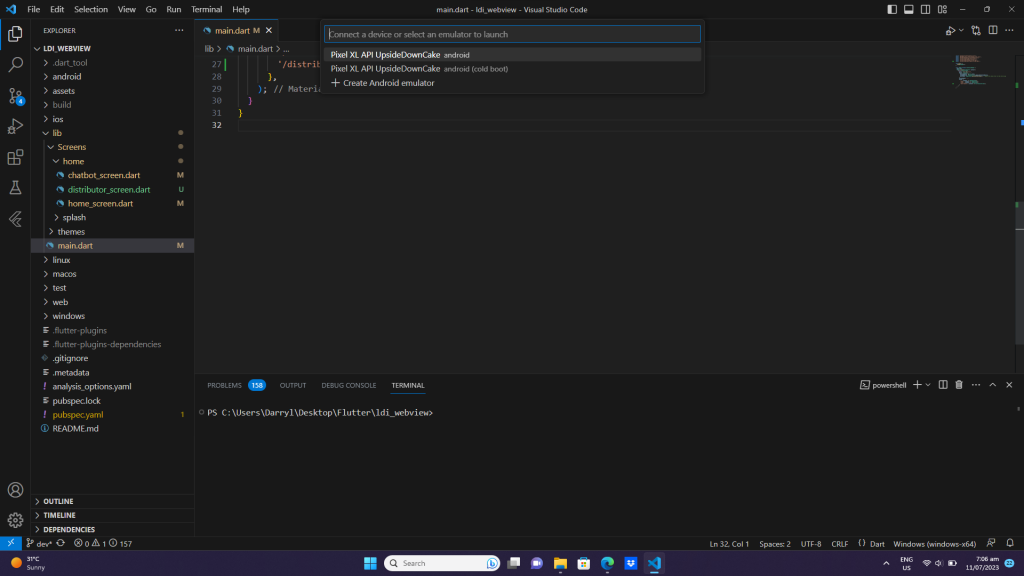
Creating an emulator using Android Studio and opening it with VS Code can significantly enhance your Android app development workflow. Android Studio provides a comprehensive platform for creating and managing virtual devices, while VS Code offers a lightweight and versatile code editor. By combining the two, you can efficiently develop, test, and debug your Android applications without the need for physical devices. Experiment with different emulators, explore advanced features, and leverage the power of VS Code to streamline your development process. Happy coding!

Leave a Comment

Your email address will not be published. Required fields are marked *