How to cut a video and save it as MP4 in DaVinci resolve

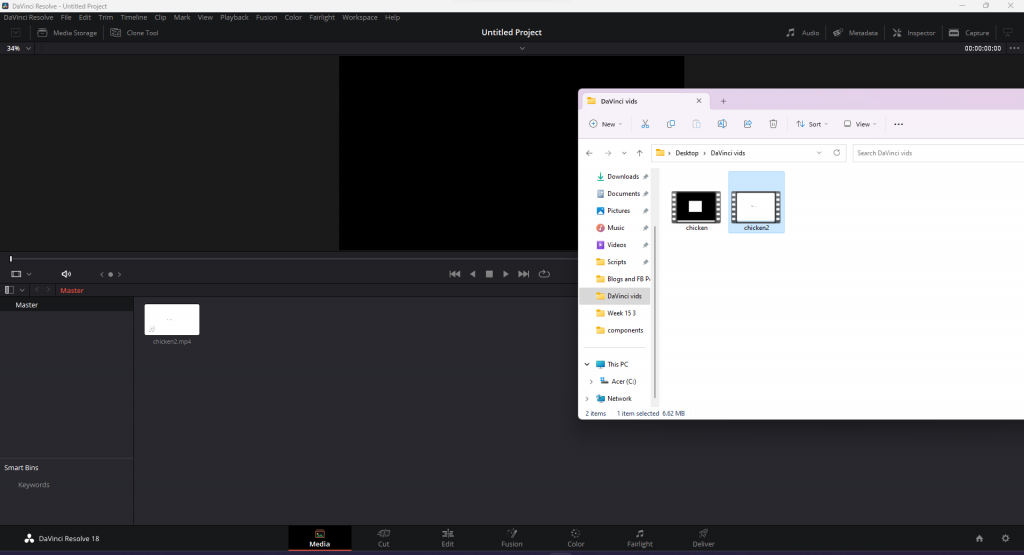
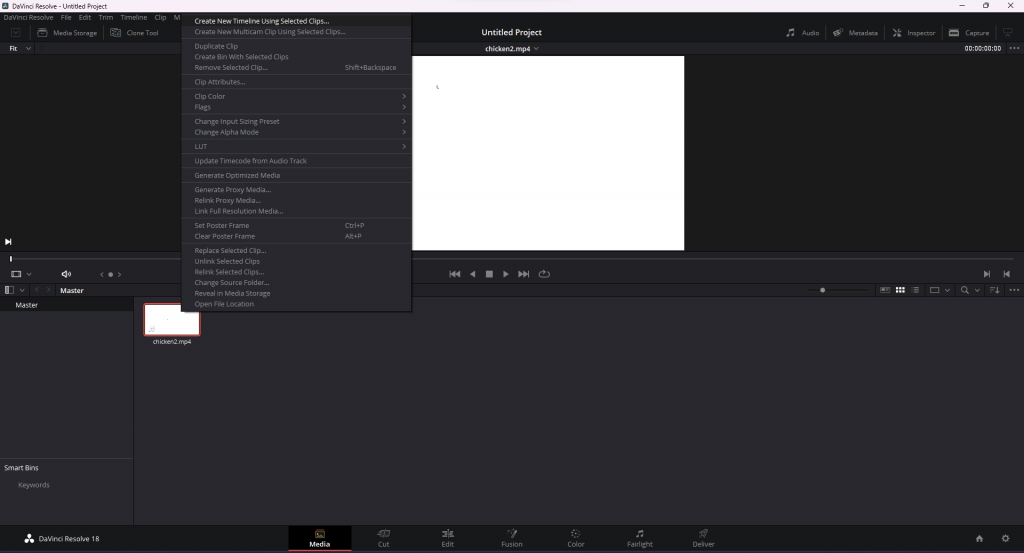
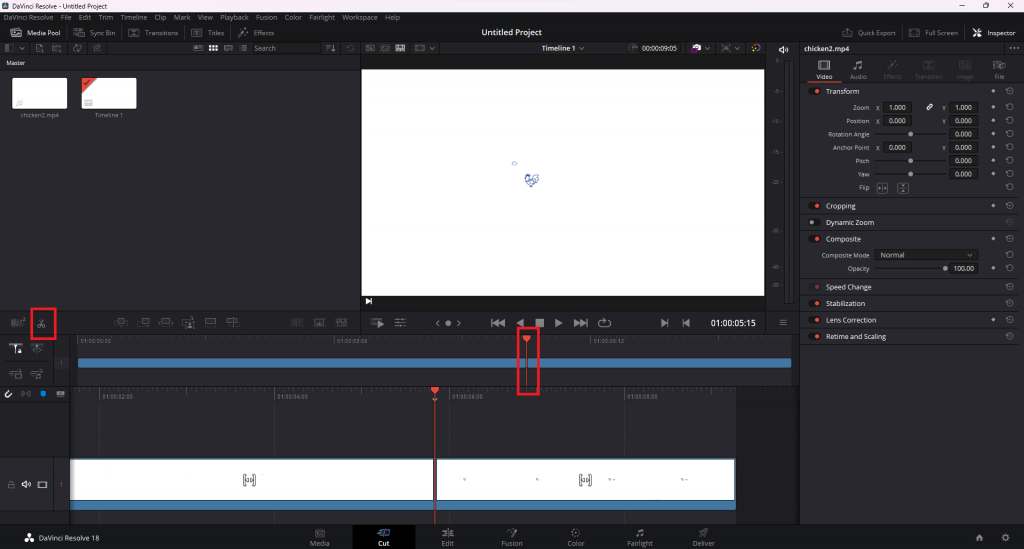
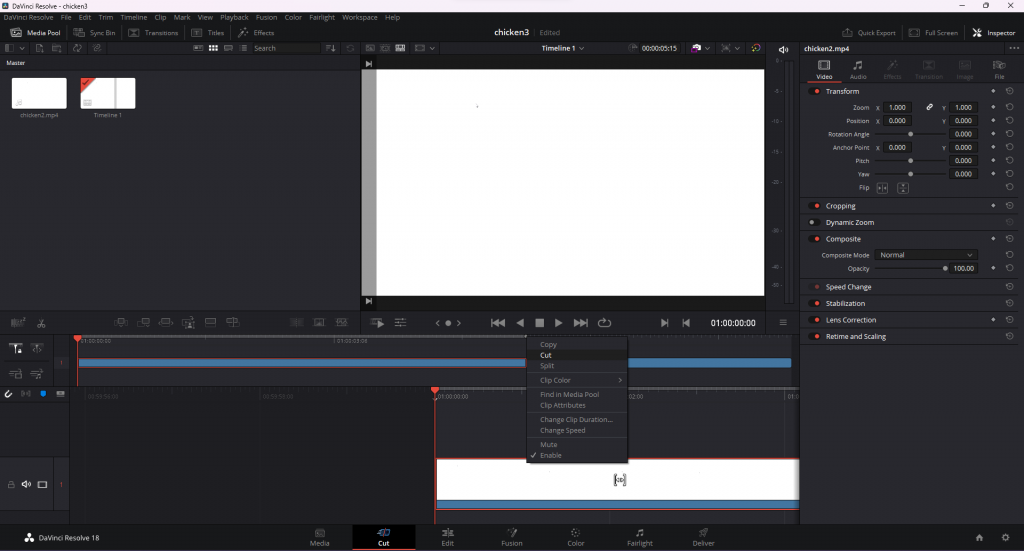
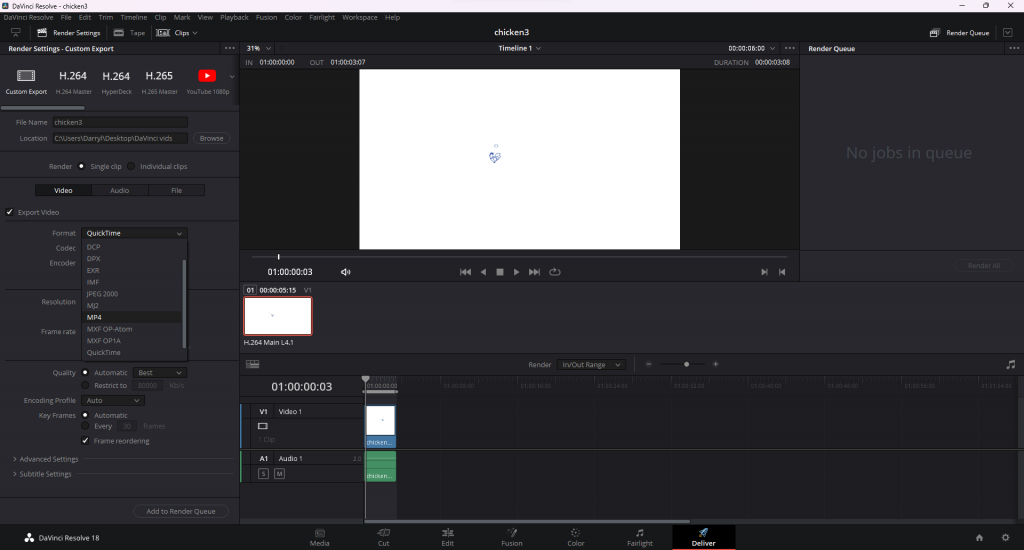
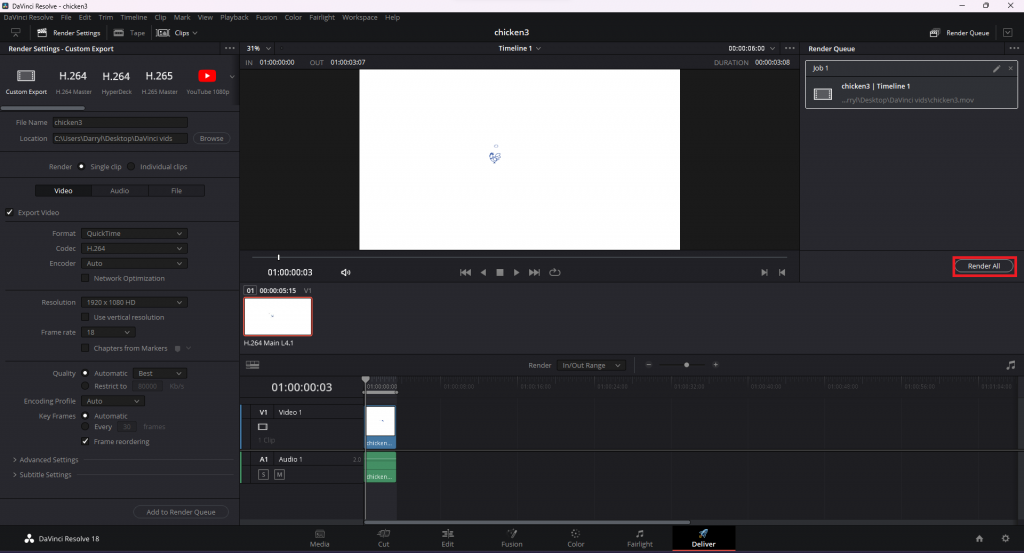
In today’s digital era, video editing has become an essential skill for content creators, professionals, and enthusiasts alike. DaVinci Resolve, a powerful video editing software, offers a wide range of features to bring your videos to life. One of the fundamental tasks in video editing is cutting and saving your footage in a desired format. In this blog post, we will guide you through the process of cutting a video and saving it as an MP4 file using DaVinci Resolve. Let’s dive in!

Open Davinci Resolve and double click the Untitled Project
Drag and drop the video that you want to edit
Right click the video and press Create New Timeline Using Selected Clips
You can use the line to indicate the portion you want to cut and the scissor icon to mark it
Right click on the part you marked earlier and select cut
Go to Deliver screen, name your file, select a path and choose MP4 in the format then Add to Render Queue
Lastly, press Render All

Conclusion

Congratulations! You have successfully learned how to cut a video and save it as an MP4 file using DaVinci Resolve. With this essential skill, you can now create engaging videos by trimming and exporting them in the desired format. Remember to explore the various editing tools and features offered by DaVinci Resolve to further enhance your video editing capabilities. Happy editing!

Leave a Comment

Your email address will not be published. Required fields are marked *