
Ngrok is a popular tool for creating secure tunnels between a local development environment and the internet. It allows developers to expose their local web server to the internet, making it accessible to anyone with the URL.
Ngrok Account Creation
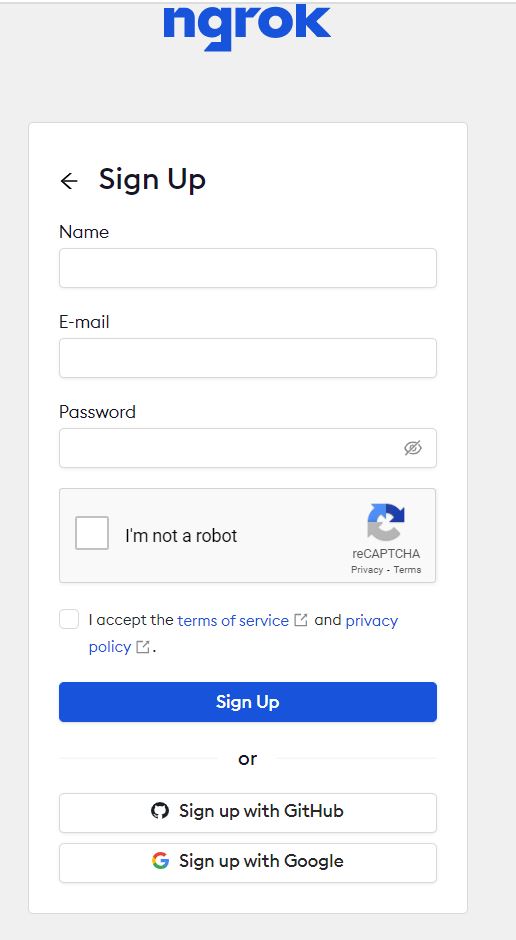
- Go to their official website to create your account. https://ngrok.com/
- Fill out the following fields with the needed information and click sign up.
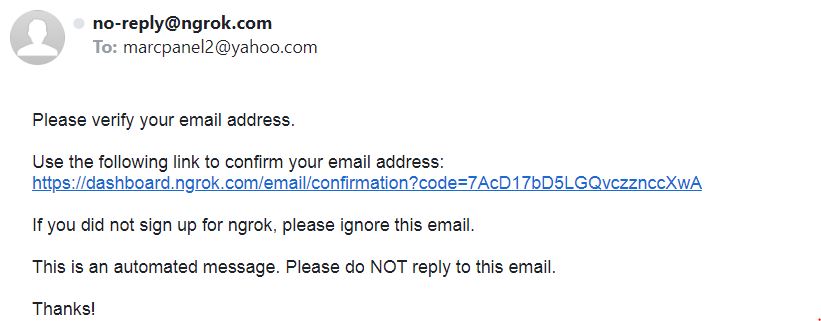
- Open your email to verify your ngrok account.
Installing Ngrok in your linux os
- Open your terminal and type the command:
curl -s https://ngrok-agent.s3.amazonaws.com/ngrok.asc | \
  sudo tee /etc/apt/trusted.gpg.d/ngrok.asc >/dev/null && \
  echo "deb https://ngrok-agent.s3.amazonaws.com buster main" | \
  sudo tee /etc/apt/sources.list.d/ngrok.list && \
sudo apt update && sudo apt install ngrok- Connect your account by adding your token to the newly installed ngrok. Your token can be found on your ngrok account.
ngrok config add-authtoken addyourtokenhere- You can now start your ngrok tunnel by running this command:
ngrok http 8080- The forwarding url will be the public url that can be accessed outside your host machine.
The benefits of using ngrok
- Convenience: Ngrok provides an easy-to-use interface that allows developers to quickly create a tunnel to their local server without having to configure complex network settings.
- Security: Ngrok uses SSL/TLS encryption to secure the connection between the local server and the internet, ensuring that data transmitted over the tunnel is protected.
- Cost-effectiveness: Ngrok offers a free plan that provides basic features and can be used for small-scale projects. Paid plans offer additional features and higher levels of usage, making it a cost-effective solution for larger projects.