
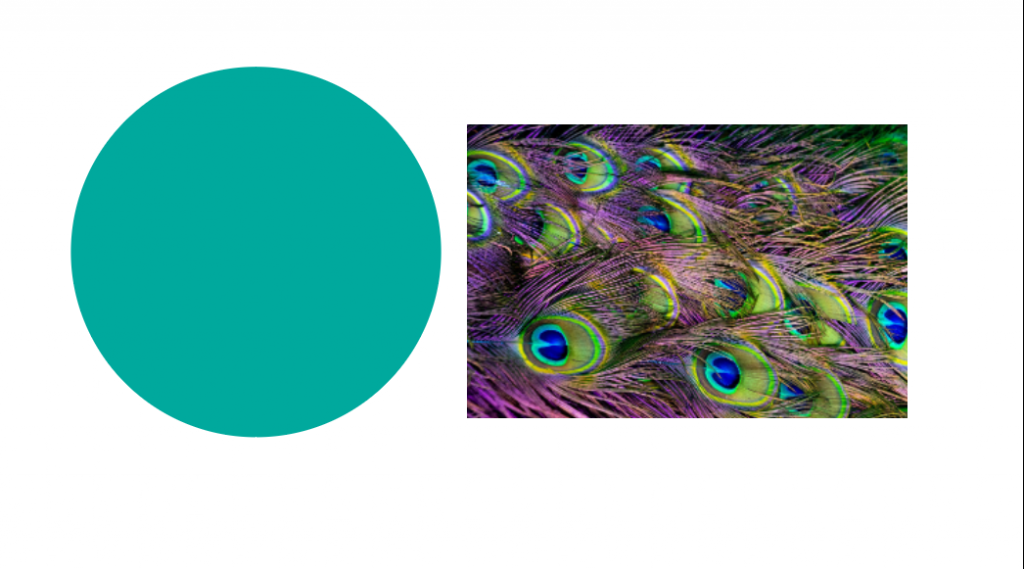
In this demo, I will be showing how easy to create a clipping mask in Adobe Illustrator. I will be utilizing the ellipse tool and a photo from Pexels by Magda Ehlers.
Some things to consider according to the guidelines from adobe support:
- The objects that you mask are moved into the clipping mask’s group in the Layers panel if they don’t already reside there.
- Only vector objects can be clipping masks; however, any artwork can be masked.
- If you use a layer or group to create a clipping mask, the first object in the layer or group masks everything that is a subset of the layer or group.
- Regardless of its previous attributes, a clipping mask changes to an object with no fill or stroke.
Clipping an image to an ellipse Tool
First import create an ellipse using the ellipse tool and import your photo.
Overlap the ellipse and the image with the ellipse above the image. To do this right click the ellipse and then select Arrange>Bring to Front or use the shortcut Shift+Ctrl+].
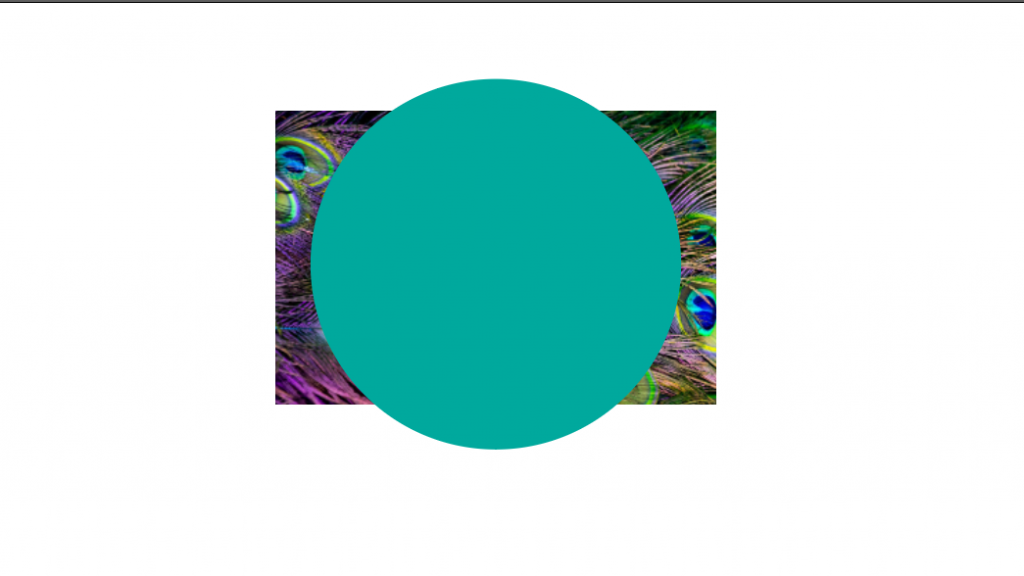
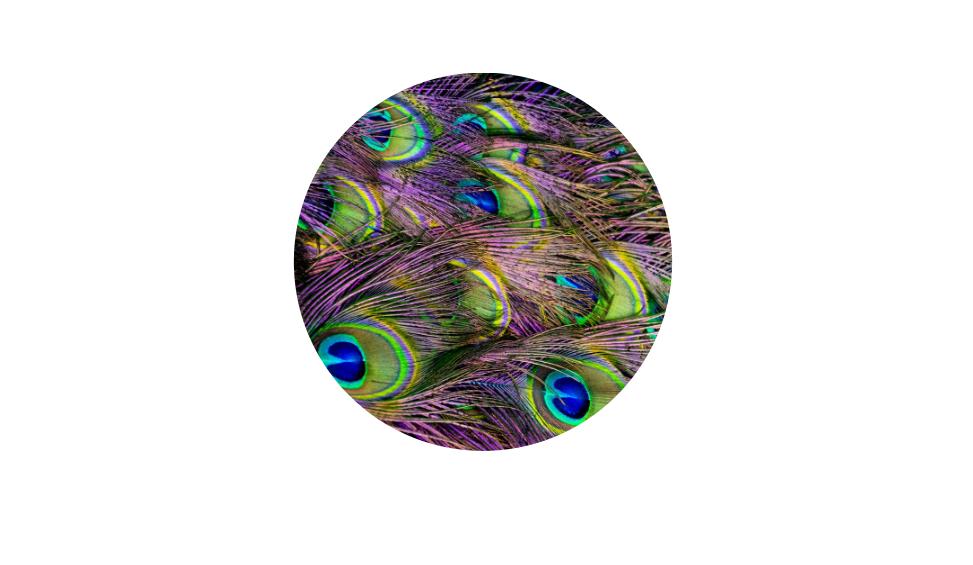
Now select both then go to Object>Clipping Mask>Make or use the shortcut Ctrl+7. You will end up with the result like the photo below.
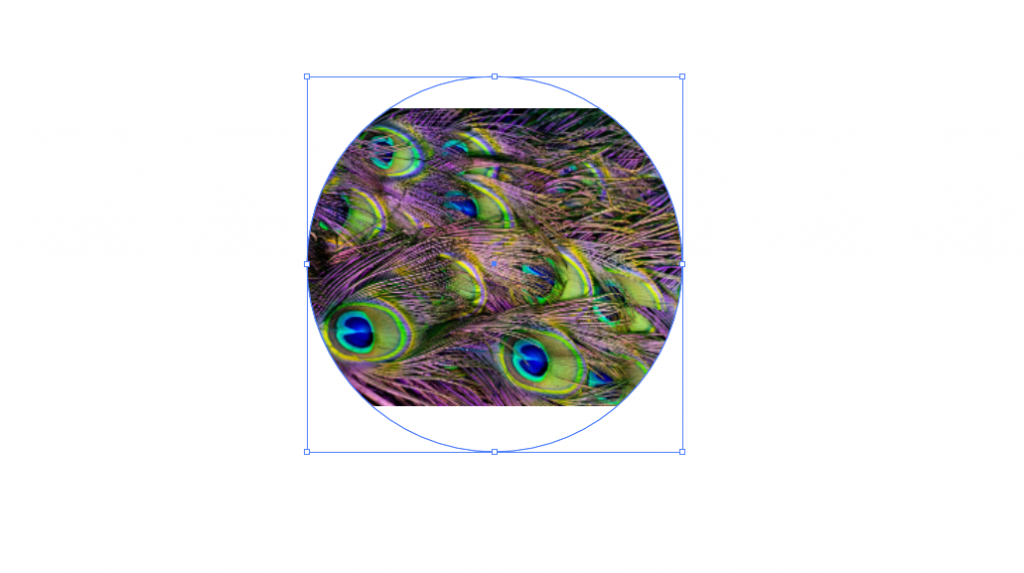
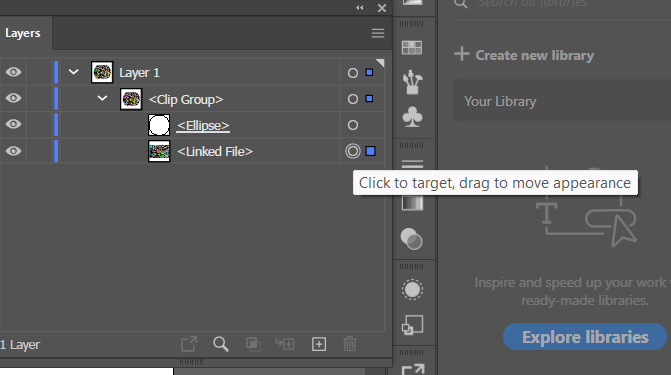
Adjust the photo to fit the whole ellipse by going to your layers tab expand the Clip Group and select the photo by clicking the circle to target the photo. You can move the photo around and also resize it.
The Result:
Conclusion
And there you have it you successfully created a clipping mask. You can also use this method if you want a text to have a photo as its texture/ appearance. I hope this demo help you and now you can incorporate this to your future project.